Better Homemade? - Issue #38

Greetings, Food Enthusiasts!
The holiday season is sneaking up on us fast, with stores already filling up with Christmas goodies and our calendars bustling with one event after another. I'm excited to share some delicious homemade chocolate bars and truffles with you in this issue - at this time of year it's always handy to have something 'special' up your sleeve!
Additionally, we've got an upcoming video tutorial on a fool proof hollandaise sauce that's sure to up your breakfast game. No more worrying about a curdled sauce – you'll be serving café-quality breakfasts at home in no time.
If you're eager for an enjoyable culinary adventure, don't miss our edible bouquet inspiration. Food presentation is so much fun – grab your ingredients, get creative, and see what delightful creations you can whip up.
In this issue:
- What’s in the pipeline? - How To Make A Cheats Hollandaise Sauce
- Better homemade - Chocolate Truffles And Chocolate Bars
- Inspiration from my kitchen - Edible Bouquets
What's in the Pipeline?
Whipping up a hollandaise sauce has a bit of a bad reputation – it's often seen as being a difficult sauce to master. But the way it elevates your eggs, veggies, and meats makes it worth mastering!
A lot of people shy away from making it because they fear the dreaded sauce will split. Well, guess what? There's an easy, fool proof way to make hollandaise that'll have you confidently making it time and time again.
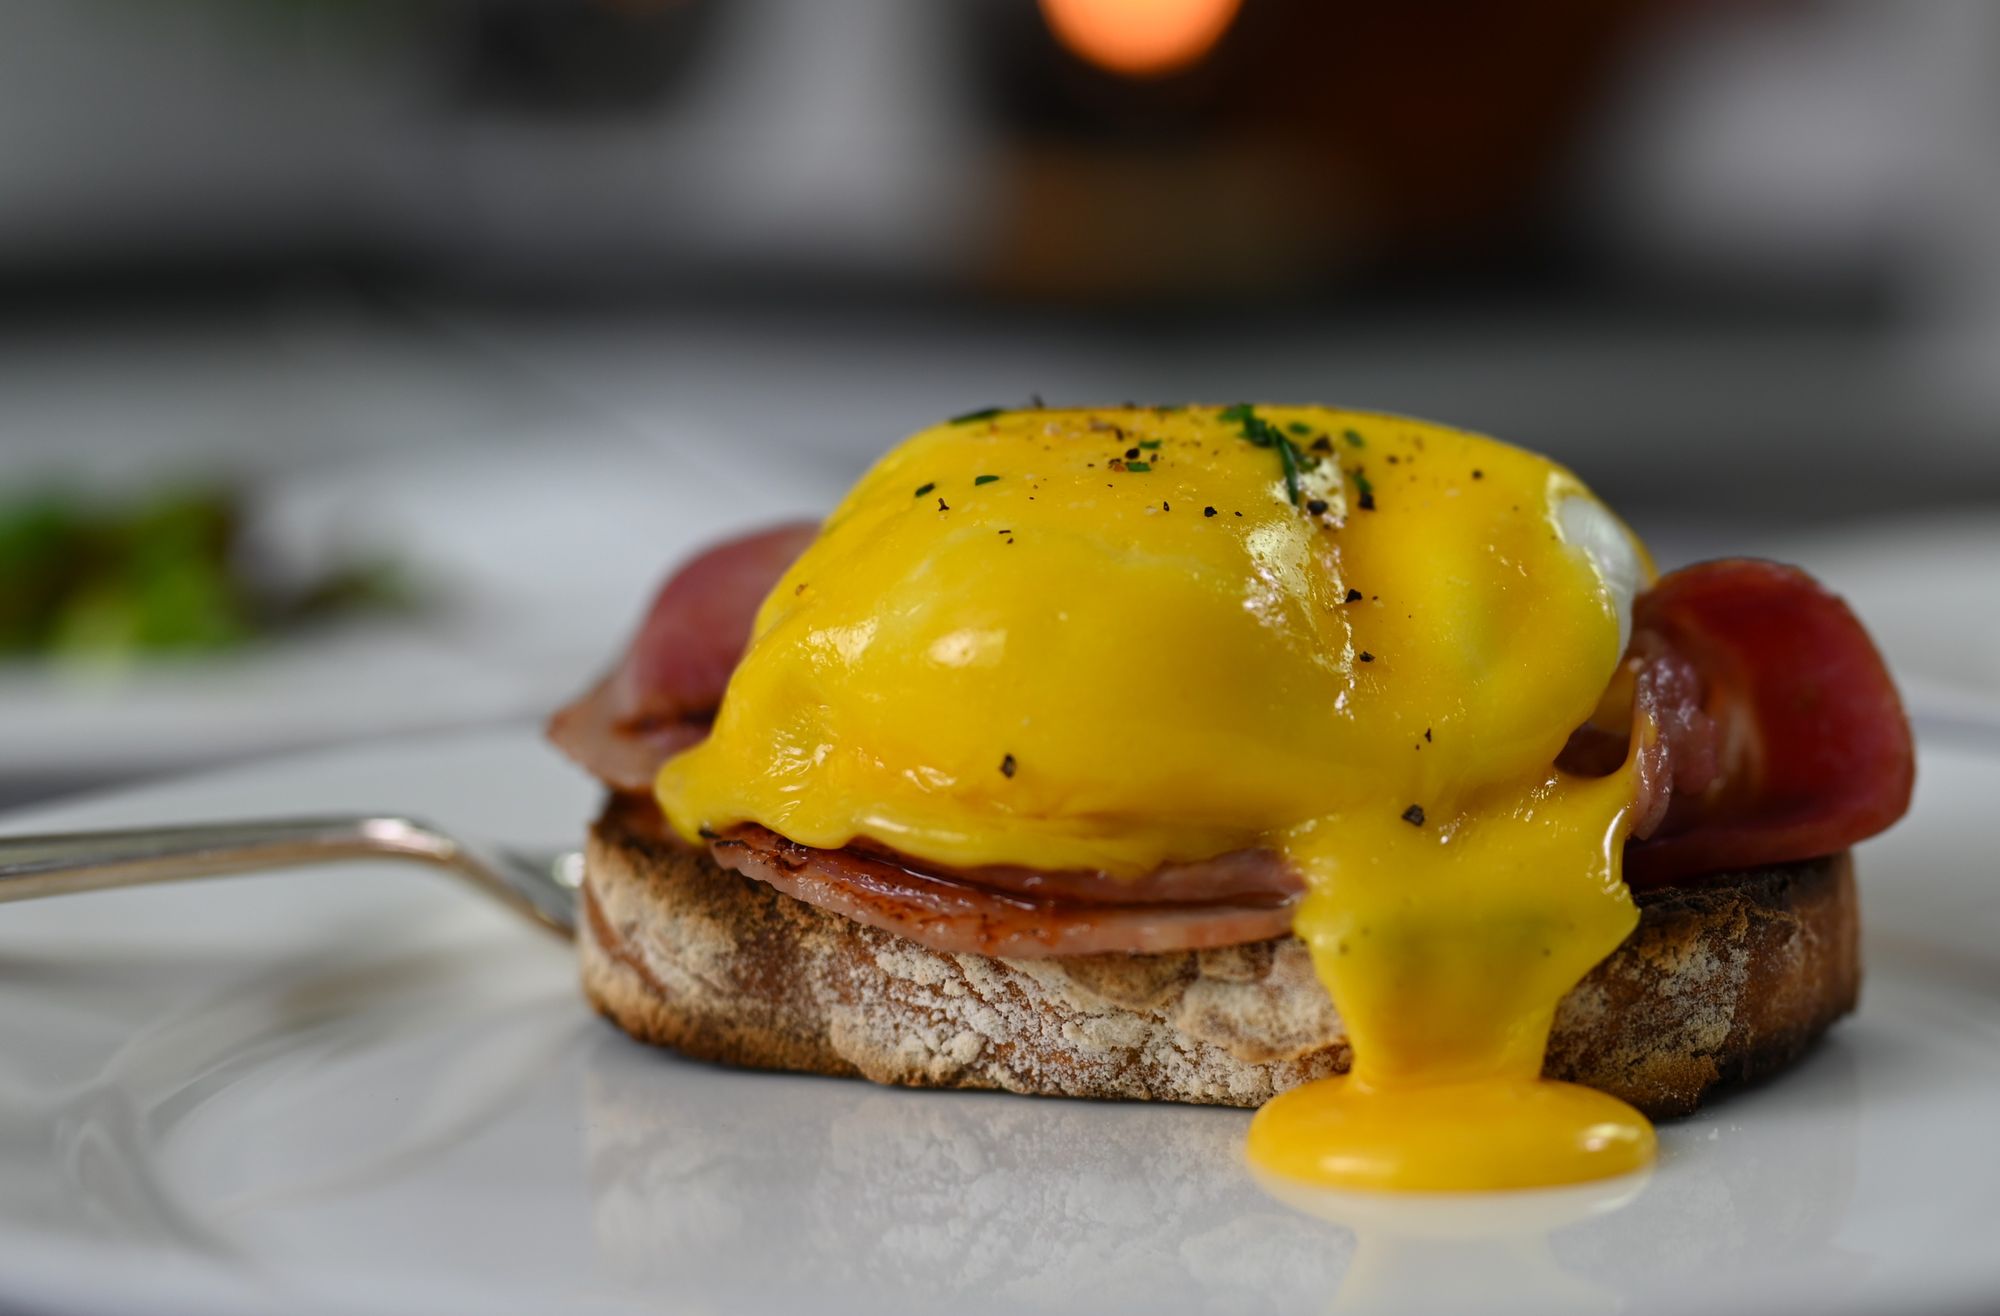
Keep a look out for this new video coming next week where we share all the tips for this hollandaise sauce hack. Once you give it a shot, you'll be serving up café quality breakfasts at home without breaking a sweat – and that sauce? It'll be the secret ingredient that takes your dishes to a whole new level of yum and style!
Better Homemade - Chocolate Truffles and Chocolate Bars
Picking up a fancy box of chocolates at the store is a breeze, but when you've got the time, whipping up your own from scratch is surprisingly straightforward.
There's a special touch that homemade goodies bring that just can't be matched by store-bought treats!
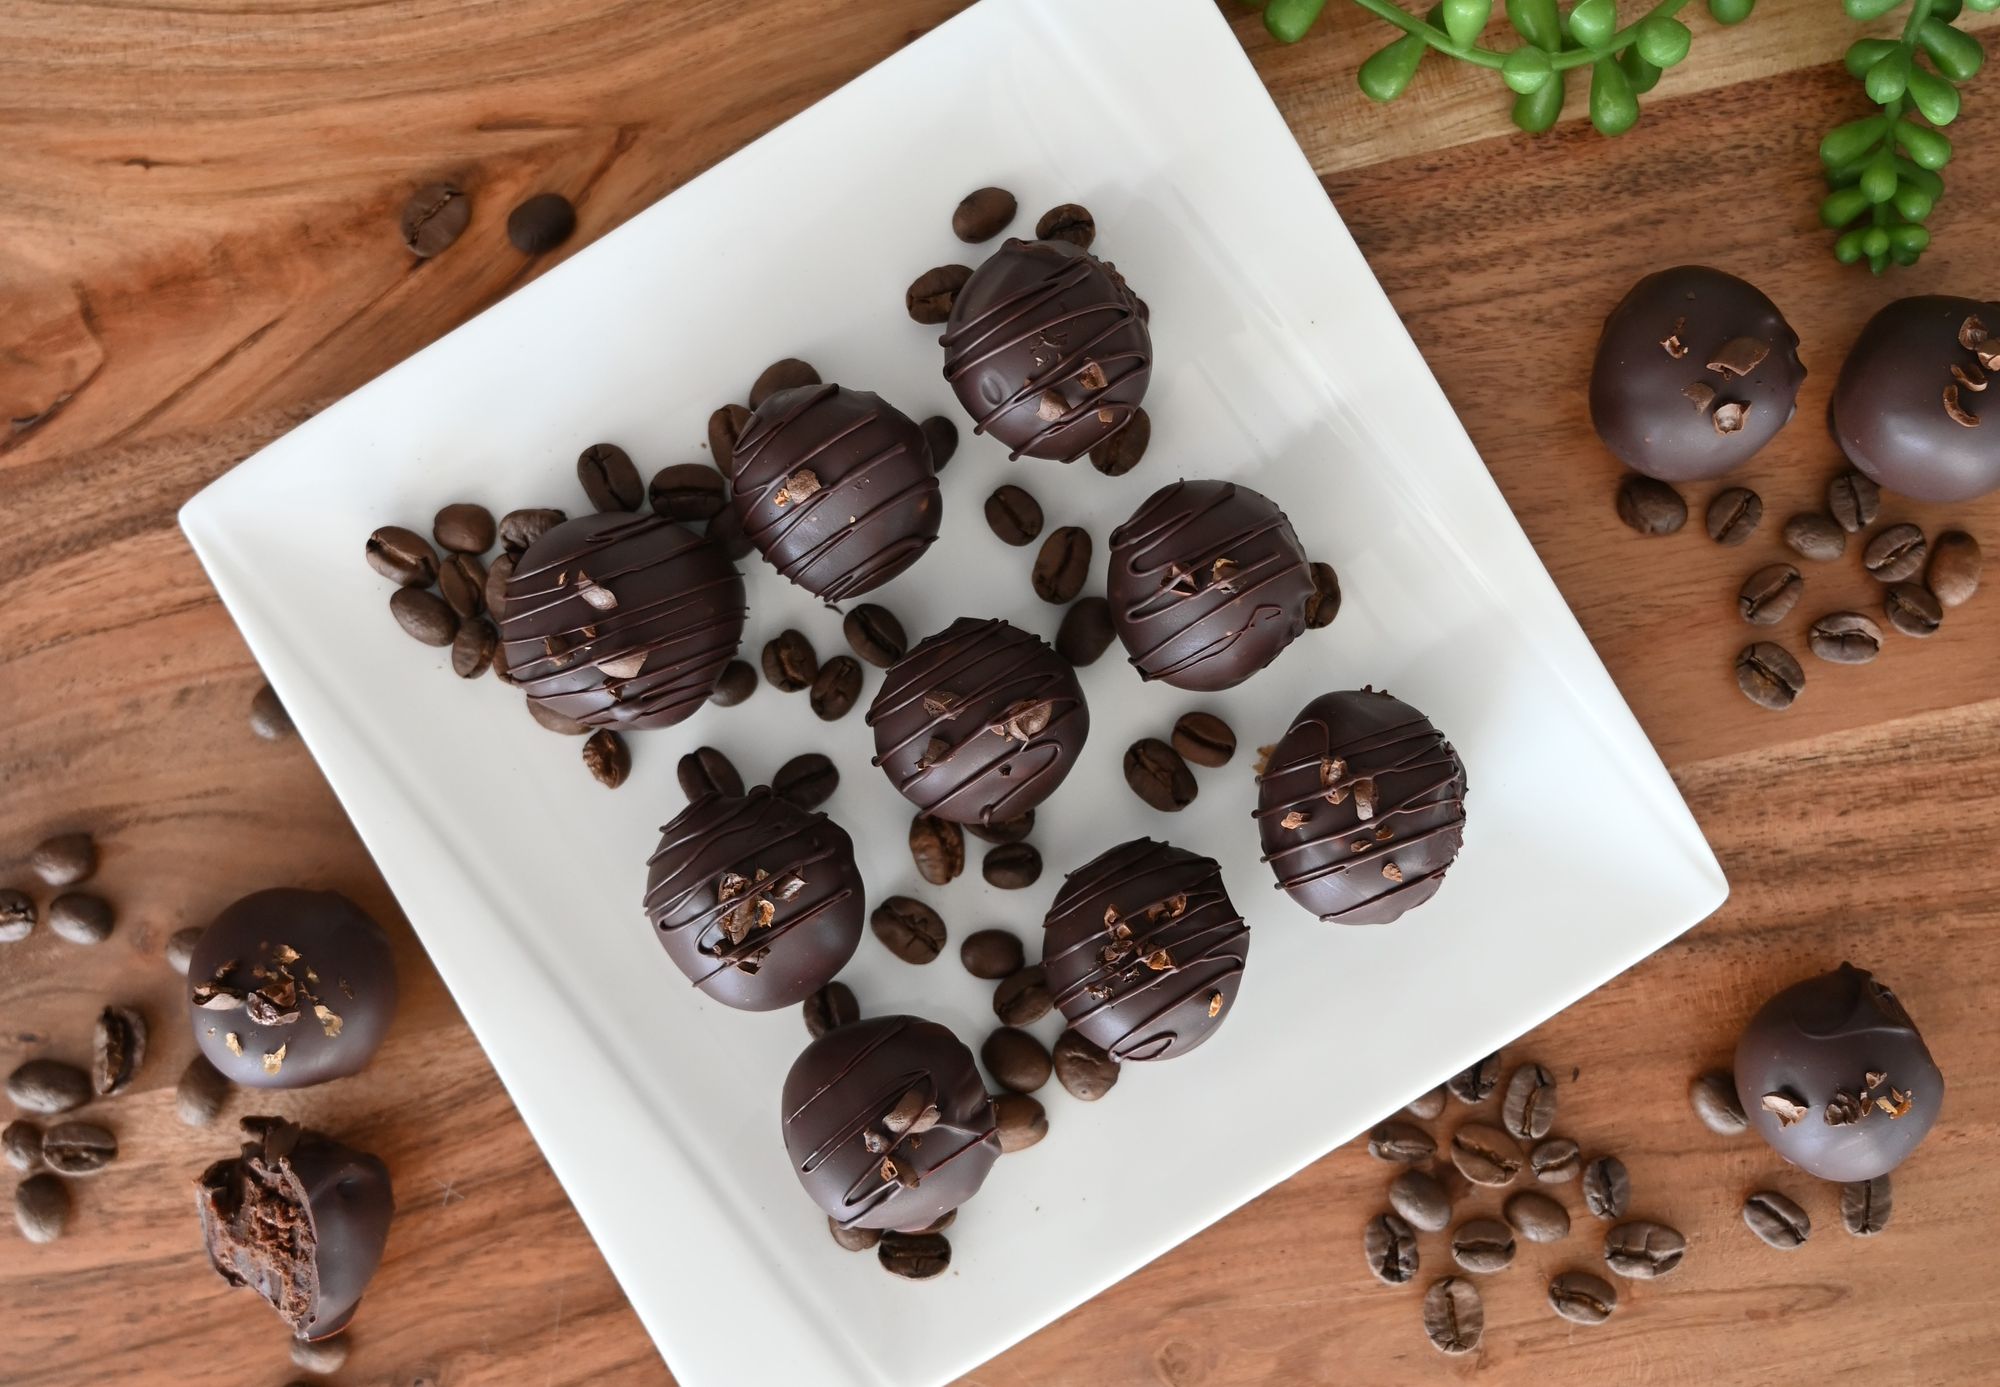
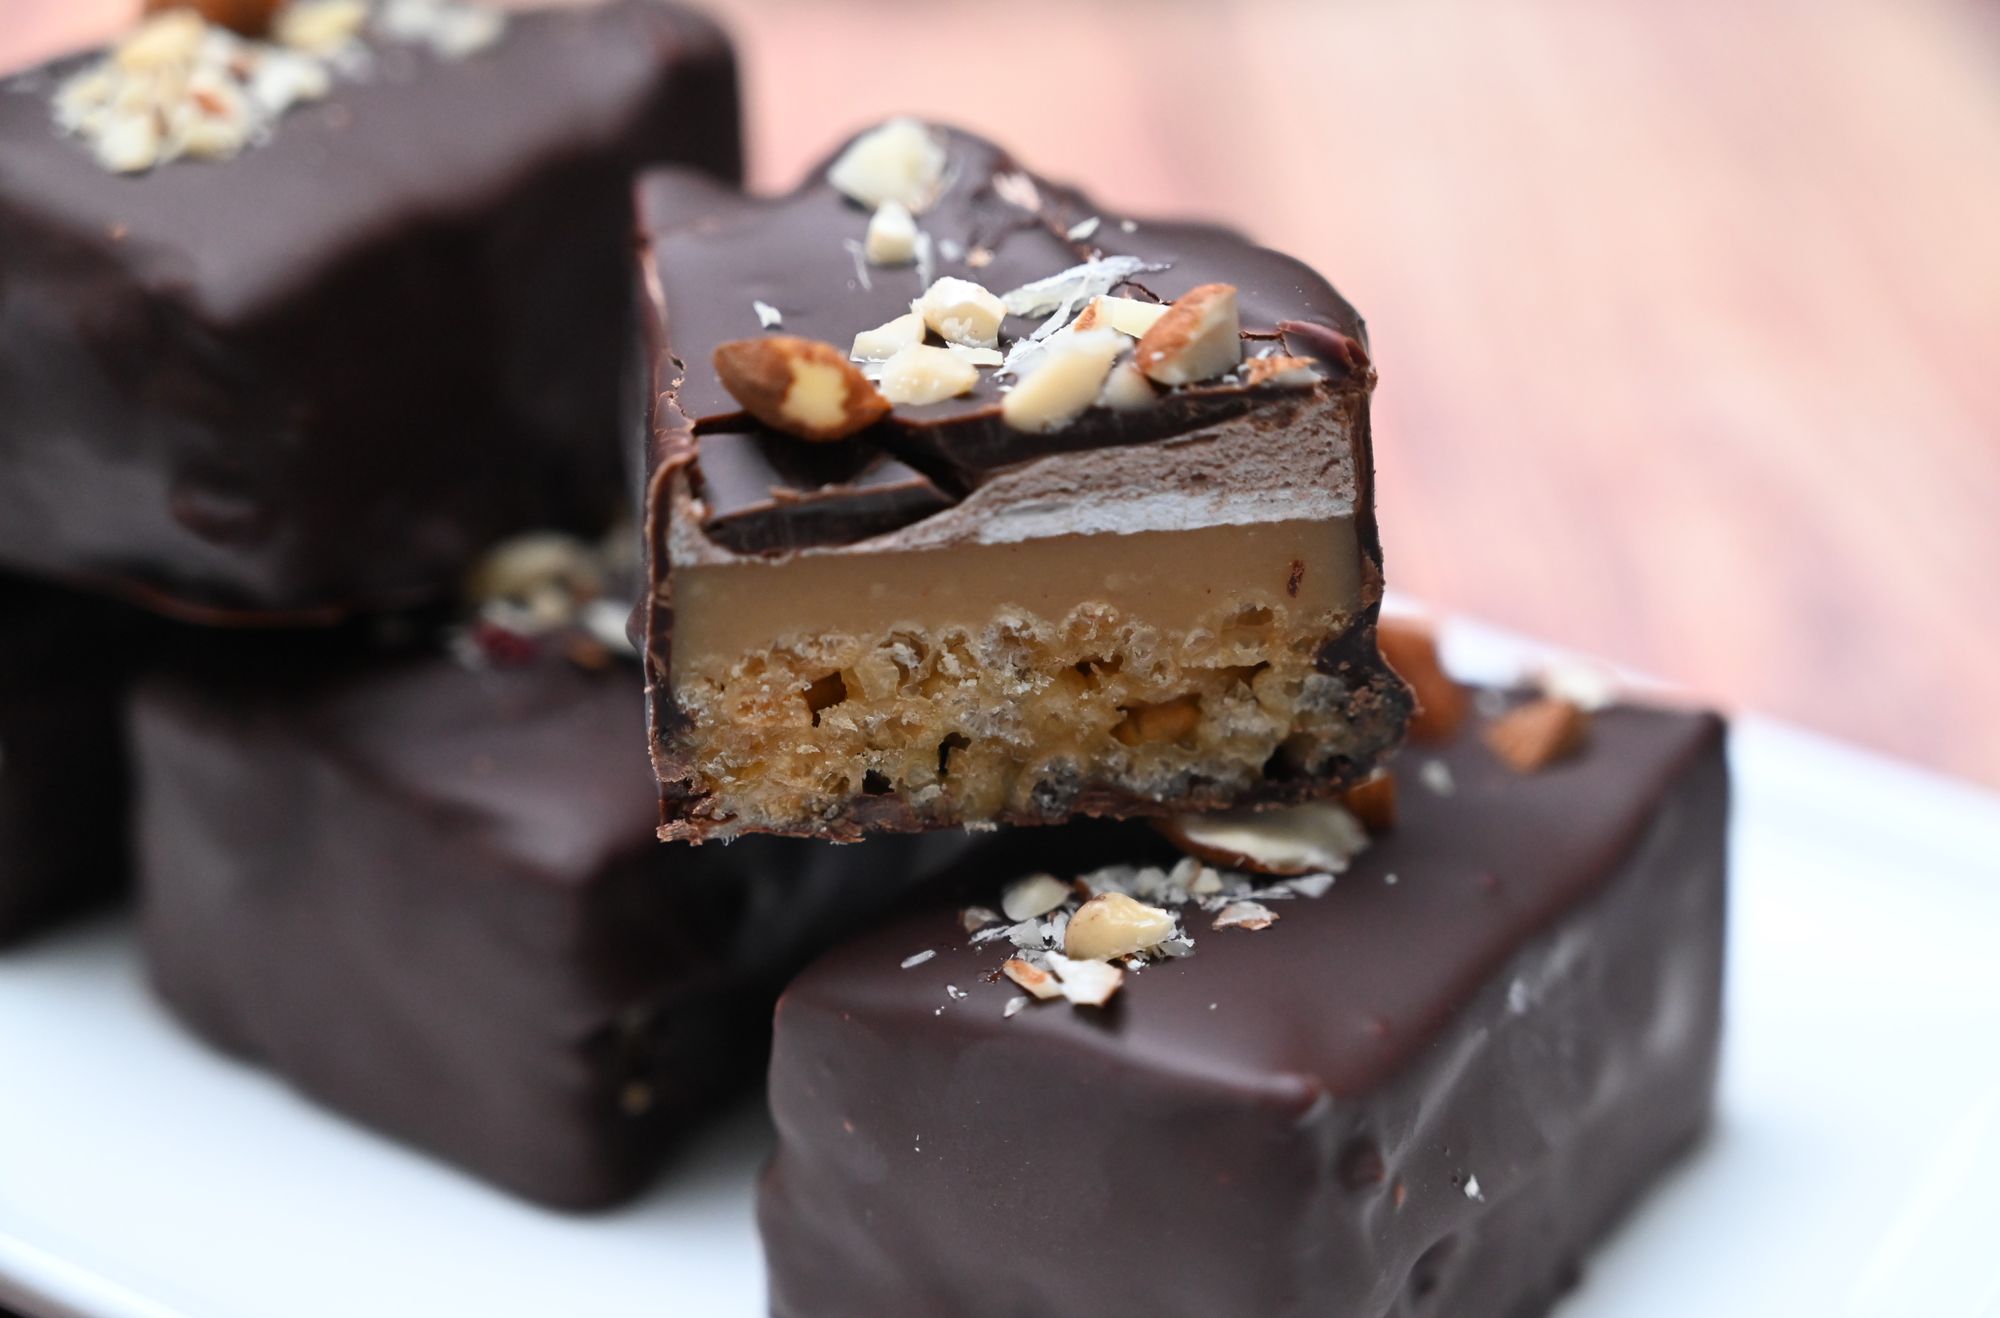
Homemade coffee infused truffles and peanut butter marshmallow bars.
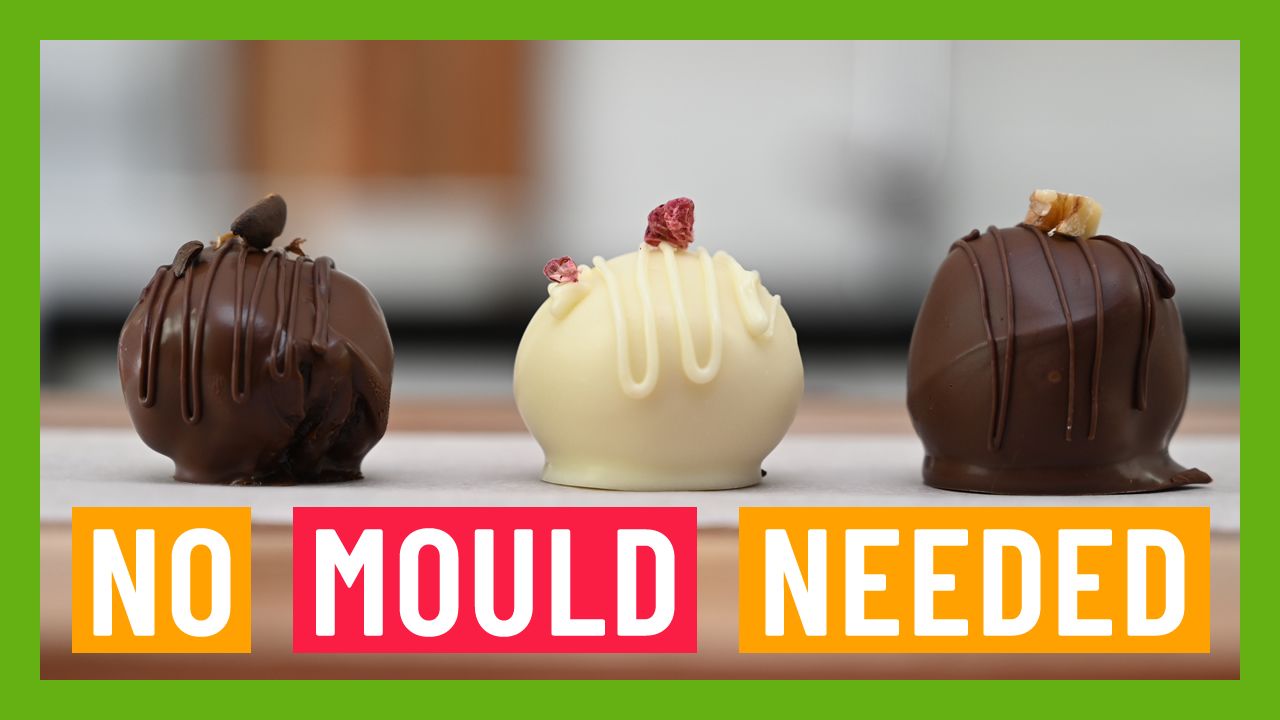
If you're keen to give some homemade truffles a go, here's a link to an older video where I'll show you how easy it is to make your own. In the video we make 3 different flavours and guide you through the process step by step. The bonus is you don't need any special equipment - just some patience ;).
Making chocolate bars is fairly similar to the truffles when it comes to the dipping part, but the bar part is made in a slice tin and cut into bars.
These are made with common pantry ingredients, yet look so much more sophisticated. It does look like a lot of ingredients and steps, but it really isn't a tricky recipe to make.
Fudgy Peanut Butter Marshmallow Bars
Ingredients for base layer:
- 2 cups rice bubbles (or puffed rice)
- ¼ cup caster sugar
- 35g (1 oz) honey
- 35g (1 oz) golden syrup
- 70g (2 1/2 oz) butter
- 1 tablespoon milk
- Pinch of salt
Ingredients for peanut butter fudge layer:
- ¾ cup icing sugar
- 25g (1 oz) butter, cubed
- ½ cup brown sugar
- ¼ cup cream
- Pinch of salt
- ¼ cup smooth peanut butter
Ingredients for marshmallow layer:
- 4 tablespoons cold water
- 1½ teaspoons powdered gelatine
- ½ cup caster sugar
- Pinch of salt
- 1 tablespoon cocoa powder, sifted
Ingredients for chocolate layer:
- 250g (8 oz) dark chocolate (50% cocoa), roughly chopped
- ⅓ cup roasted nuts, finely chopped (I used almonds, but you can use peanuts or whatever you have on hand)
Method:
To make the base layer:
- Grease a 20cm square slice tin and line with baking paper. Set aside.
- Measure out the rice bubbles into a large bowl and set aside.
- Put the sugar, honey, golden syrup, butter, milk and salt, into a medium saucepan and gently bring to the boil. Boil for 2 minutes, stirring occasionally to prevent burning.
- Remove from the heat and immediately pour over the rice bubbles. Quickly fold it in until the rice bubbles are completely coated.
- Spoon into the prepared tin and press down firmly with a spoon or the base of a measuring cup. Make sure the surface is as level as possible.
- Refrigerate while you make the peanut butter fudge.
To make the peanut butter fudge layer:
- Melt the butter in a small saucepan over medium heat.
- Stir in the brown sugar, cream and salt, and bring to the boil. Boil for 2 minutes, then remove from the heat.
- Whisk in the peanut butter.
- Add the icing sugar and stir thoroughly to combine.
- Pour over the puffed rice base and spread out evenly.
- Gently tap the tin against the bench a few times to level out the surface and get rid of any bubbles.
- Chill in the freezer while you make the marshmallow.
To make the marshmallow layer:
- Put half of the water into a small bowl. Sprinkle over the gelatine and set aside to bloom.
- Combine the sugar and remaining water in a small saucepan over a medium heat and stir until the sugar has dissolved.
- Whisk in the gelatine and bring to the boil. Remove from the heat and pour into the bowl of a stand mixer fitted with a whisk attachment.
- Add the salt.
- Whisk on a high speed for approximately 4–5 minutes, or until doubled in volume.
- Roughly fold in the cocoa powder to create a marbled effect.
- Spread over the peanut butter fudge and leave to set in the freezer until the marshmallow is firm enough to hold its shape when cut (approximately 30 minutes).
To finish off and chocolate dip:
- Remove the slice from the tin and peel off the baking paper.
- Using a knife dipped in hot water, slice into bars roughly 4cm x 10cm. Refrigerate while you melt the chocolate.
- For the chocolate layer, put the chocolate into a heatproof bowl over a pot of simmering water. Heat gently, stirring occasionally, until fully melted. Alternatively you can melt the chocolate in a microwave. Melt it in 10 second bursts with a stir in between.
- Remove from the heat and pour into a small but deep bowl.
- Dip each bar into the melted chocolate, using two forks to help lower them in and out of it.
- Lift each bar out and carefully tap against the side of the bowl to allow the excess chocolate to drip off.
- Place onto a piece of baking paper and sprinkle over the chopped nuts.
- Leave until the chocolate has cooled and set.
Inspiration from my Kitchen - Edible Bouquet
Have you ever surprised someone with an edible bouquet? There's a world of creative ideas out there - chocolates, sweets and cupcake bouquets are all the rave at the moment.
Today I'd like to share an edible bouquet I recently made. I was inspired by the beautiful packaging from a floral bouquet I'd received and stashed away. I decided to repurpose it and gather the ingredients for my own edible arrangement.
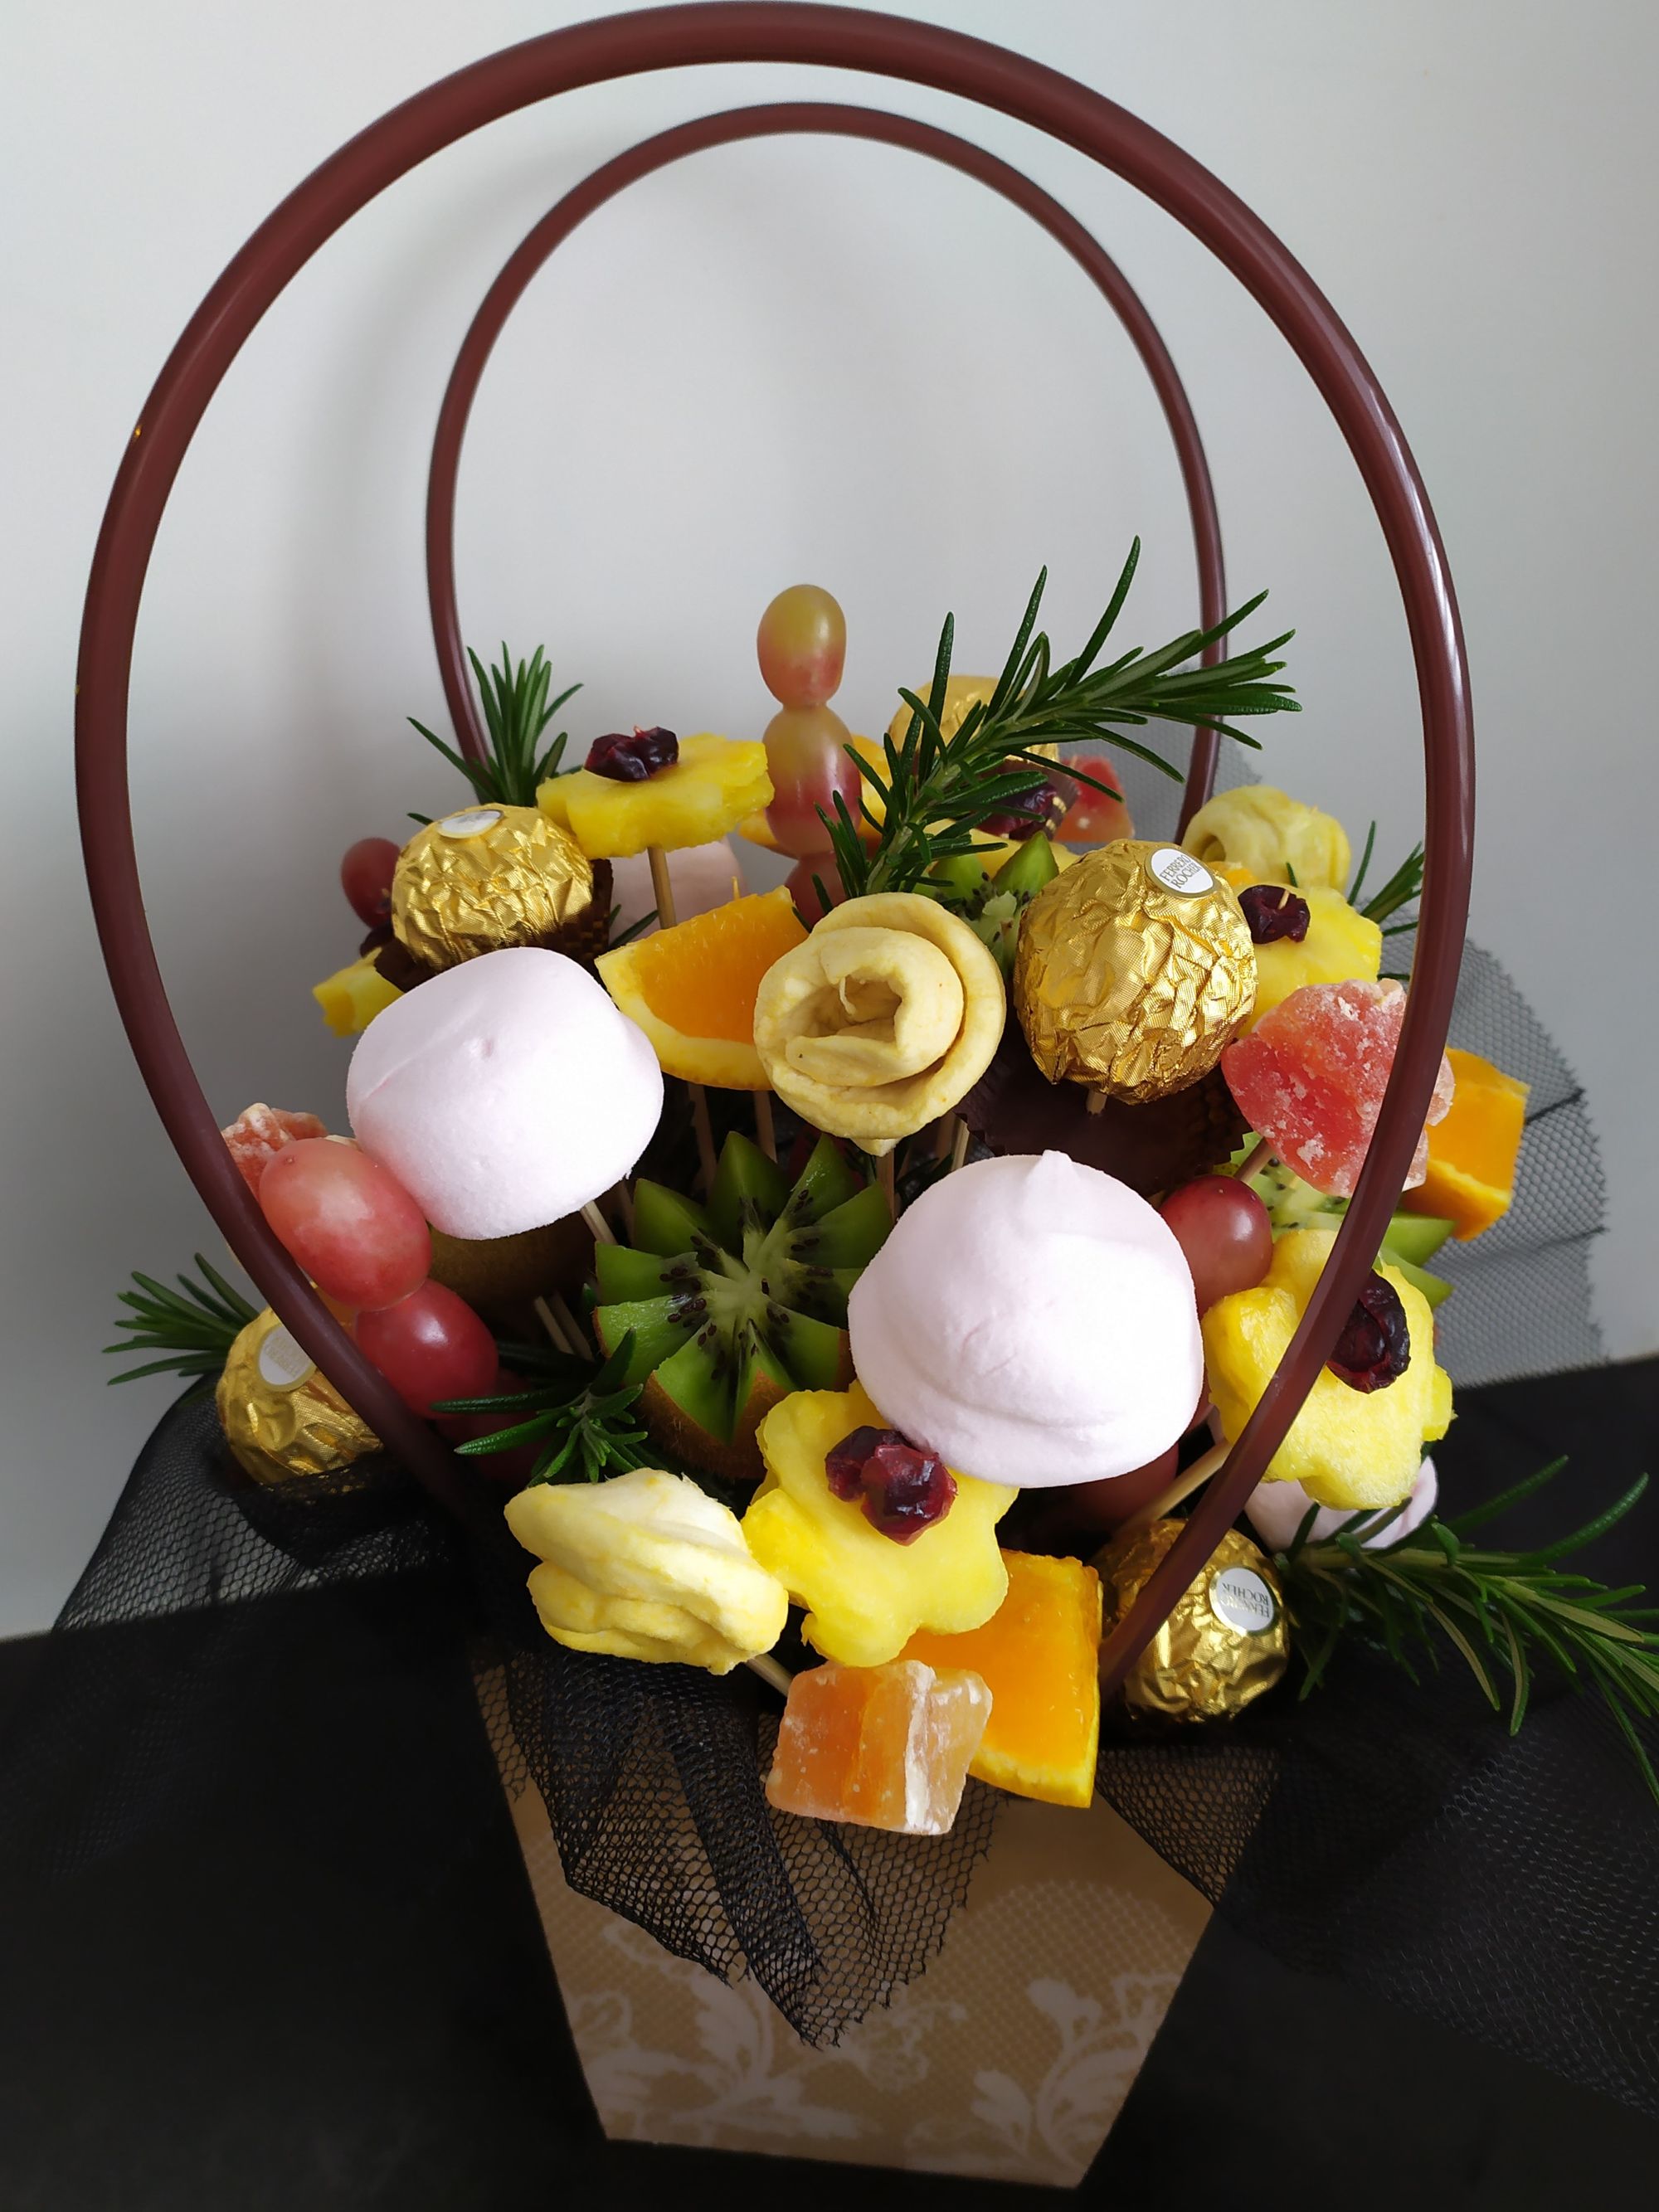
This 'bouquet' included a mix of fresh and dried fruits, chocolates, marshmallows, and some sprigs of fresh rosemary to add a pop of colour. To add some extra intrigue, I used flower shaped cookie cutters to cut shapes out of the fresh pineapple. I even coiled the dried apple rings into spiral shapes to give them a floral twist. Each element was carefully put onto skewers and then arranged in a block of oasis.
As I assembled it, I played around with different colours and made sure to vary the depth of the skewers, creating different levels within the bouquet.
Isn't it amazing how much fun food presentation can be – you're essentially using food as your artistic medium, and the best part is you get to enjoy eating it all once the masterpiece is complete!
What are some of your favourite edible creations?
Happy cooking,
Taryn



Member discussion