Never Boring - Issue #36

Hey there, Food Lovers!
Another week has passed and somehow it's already October! Do you feel like the year is rapidly flying by? As much as I was looking forward to school holidays and a slower pace, they're almost over again and it feels like the busiest school term is about to begin. I'll definitely be doing some baking over the weekend to freeze so that I have some snacks on hand when things get hectic. And remember, just because it has been frozen it doesn't mean it needs to look boring!
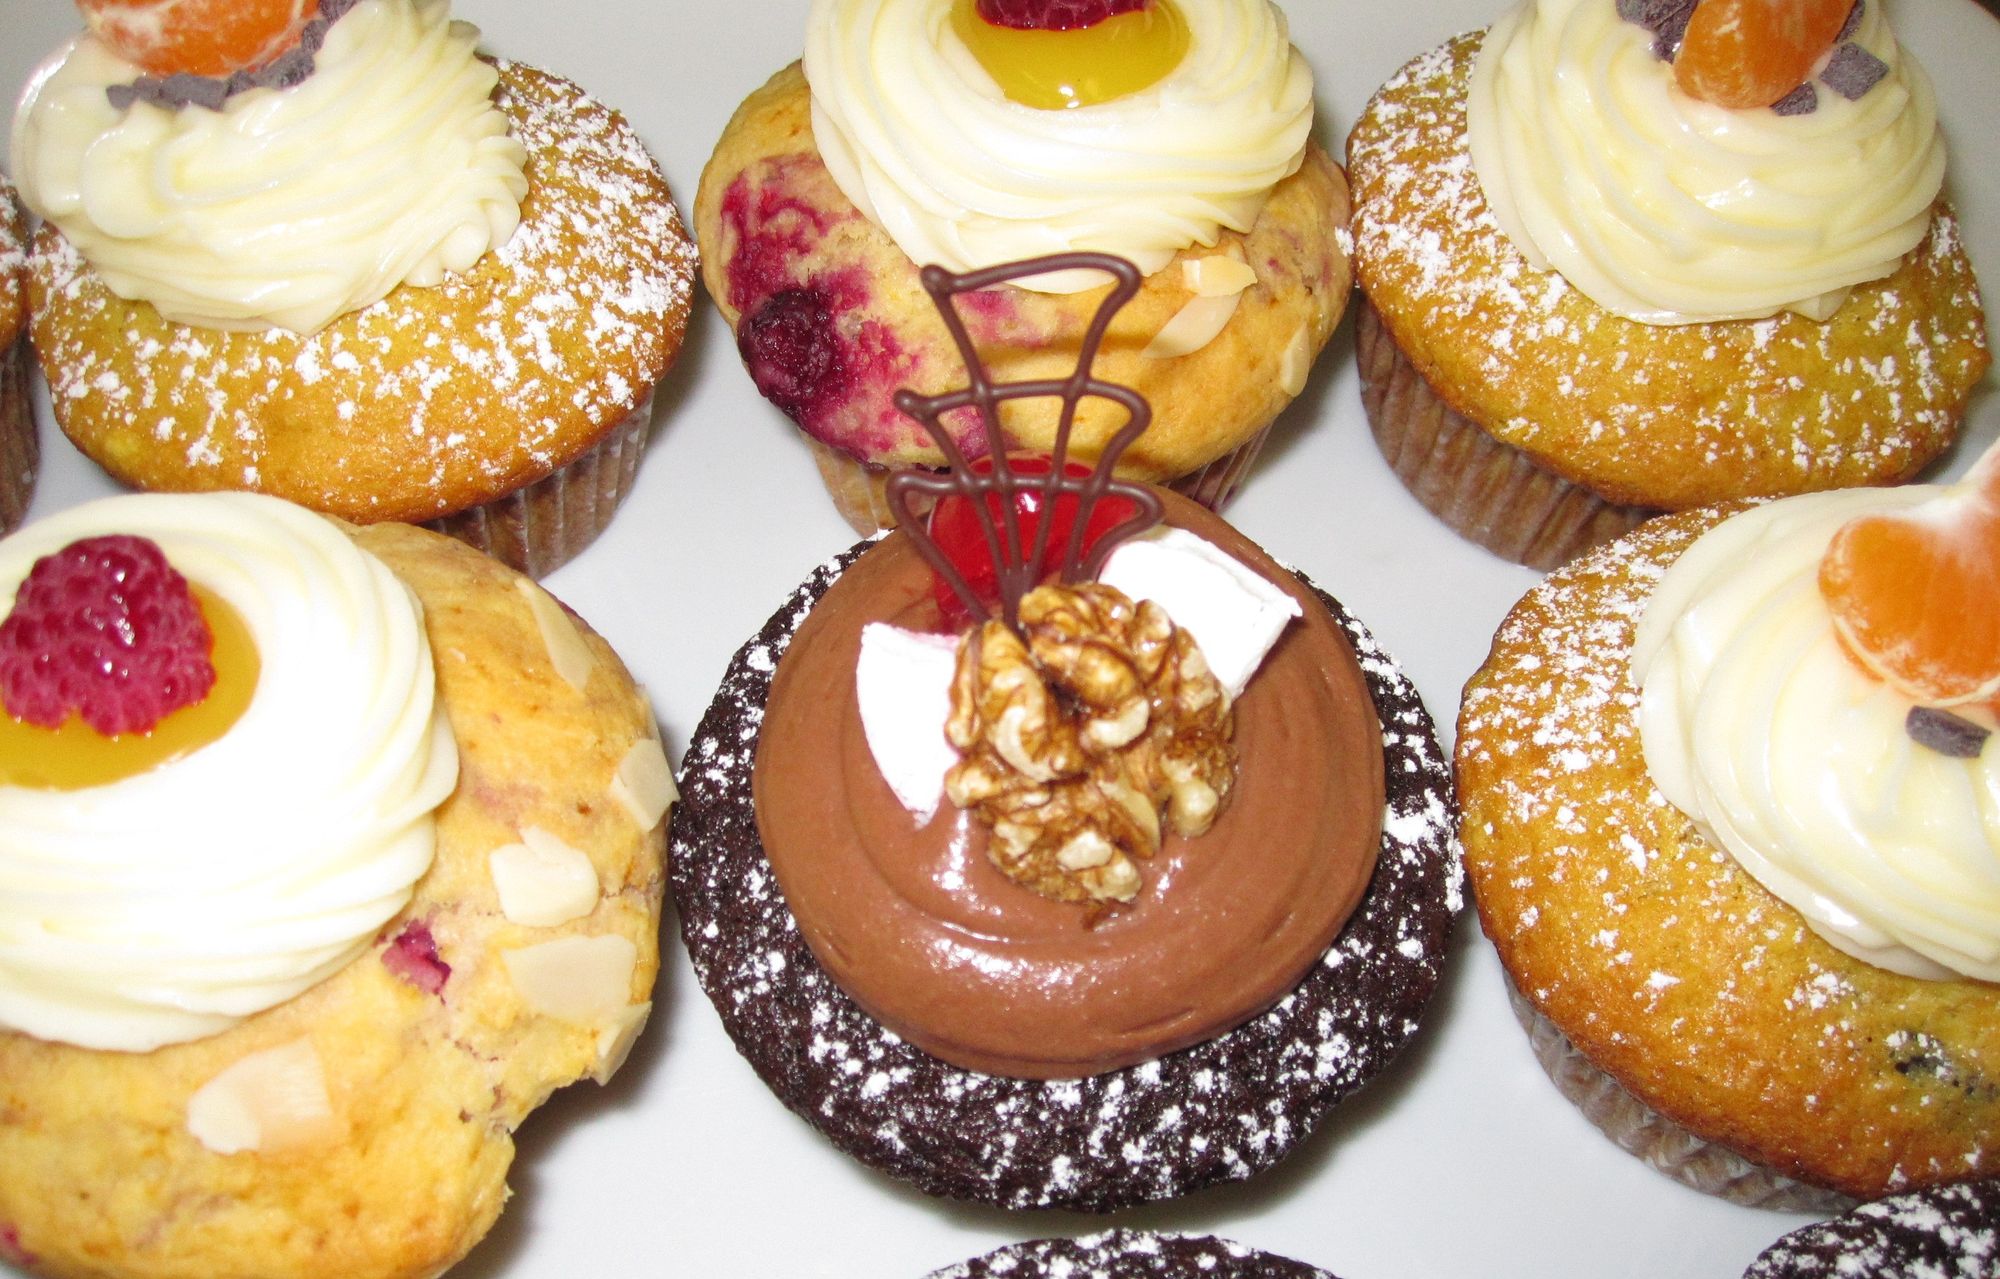
These muffins from Newsletter Issue #6 are always a hit. Using the base recipe you can add lots of different flavourings or seasonal fruit that you might have on hand. You can also up your presentation game by adding a topping before you serve these.
Making pastries from scratch can be time consuming, but once they're made you can freeze them too, ready to pull out and bake whenever you need to. There's a great gluten free pastry option featured in this newsletter.
With the silly season soon upon us having some food presentation tips up your sleeve is always handy. You know, when food looks good, people's perception of the taste is even better. There's more about this featured in this newsletter too.
In this issue:
- What’s in the pipeline? - How to Plate a Full Breakfast
- Featured Article - What is Food Presentation?
- Inspiration from my Kitchen - Gluten Free Puff Pastries
What's in the Pipeline?
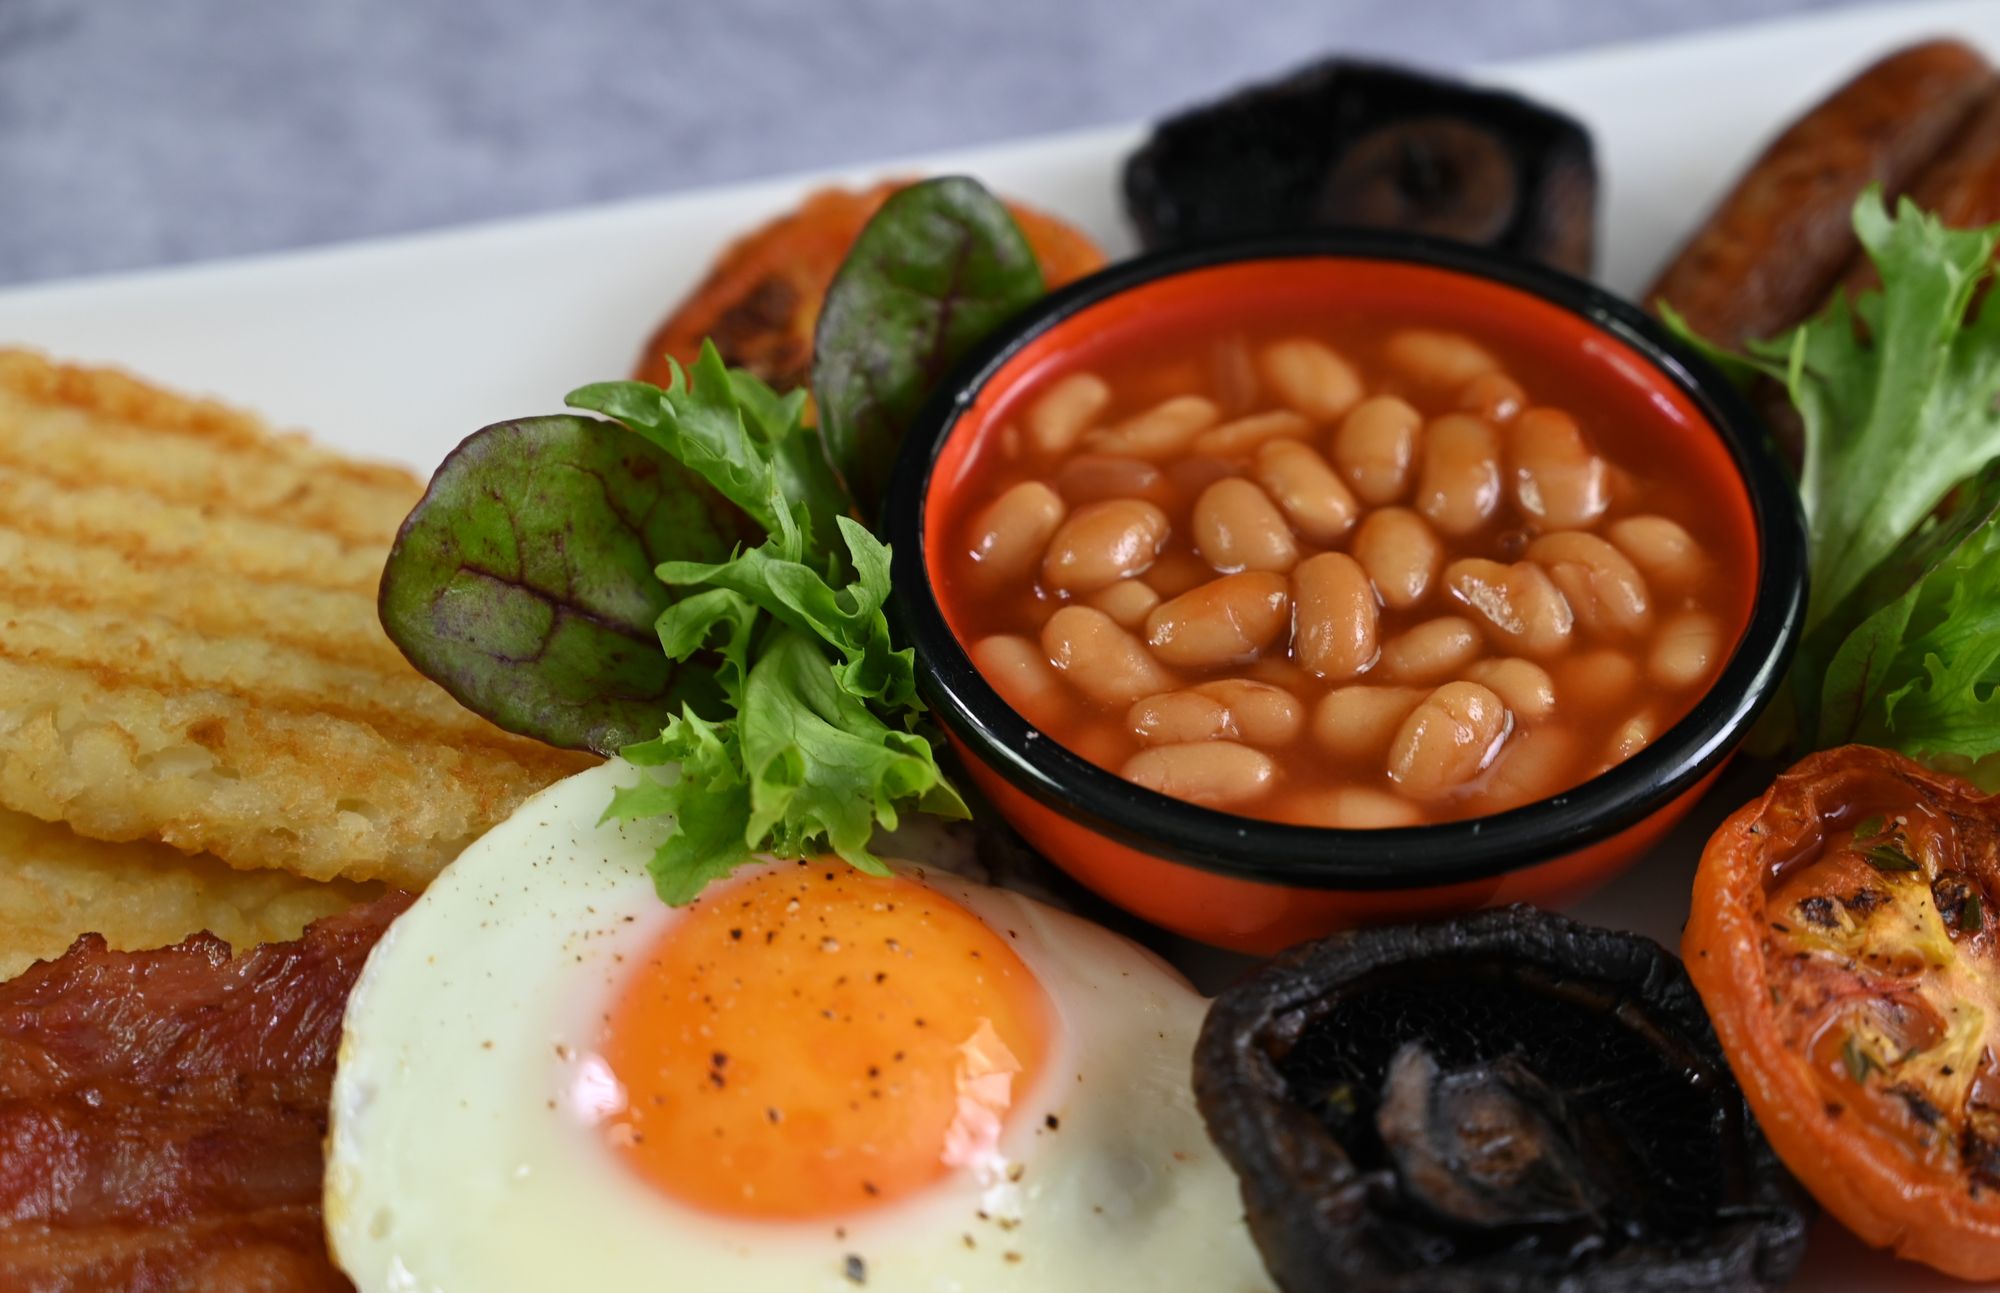
A while ago, I received a special request from one of our YouTube viewers. They were curious to see how I would go about plating a hearty big breakfast. As you know, these breakfasts consist of numerous components, and it's easy to feel a bit overwhelmed when it comes to arranging everything on a single plate.
To address this, we've been working on a new video tutorial. In this video we'll share valuable tips and techniques for assembling a visually stunning breakfast plate, even when dealing with a wide variety of ingredients that might share similar bland colours.
The process of crafting a visually appealing big breakfast can be both fun and rewarding, and we're excited to share what we've done in this new video, which will be released next week.
Stay tuned, as we can't wait to share these valuable plating strategies with you!
Featured Article - What is Food Presentation
Have you ever wondered what exactly is food presentation? And why it matters?
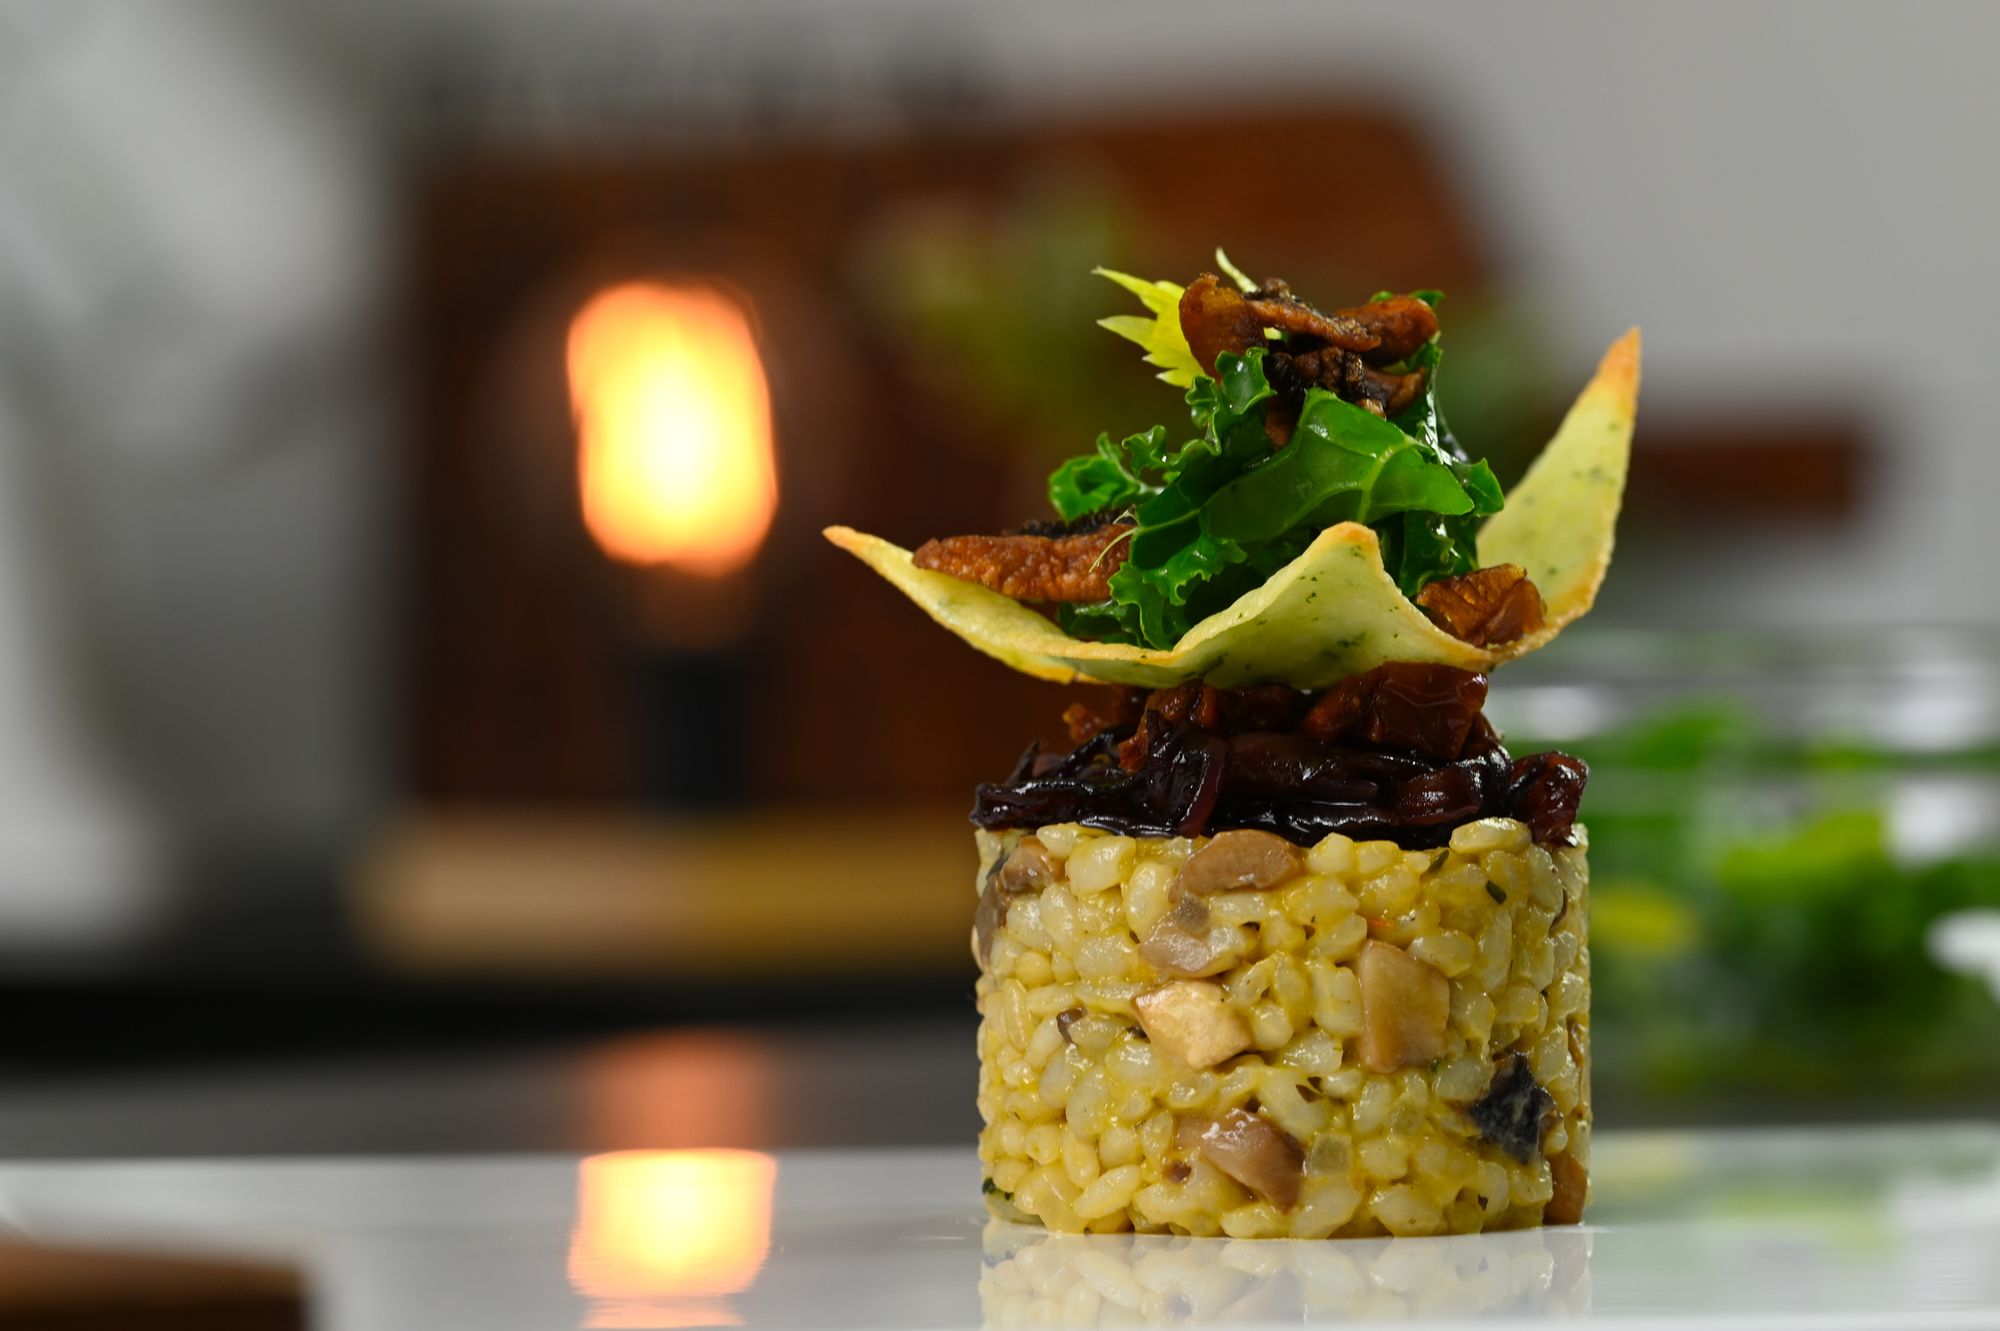
Is it the way food is put on the plate? Is it the way the table is set? Or is it plates we use to put the food on? We've got a new article on our website all about food presentation and why it's so important. Go and check it out. I hope you feel inspired to give it a go!
Inspiration from my Kitchen - Gluten Free Puff Pastries
After the success of my homemade apricot and almond Danish pastries last week, which were a hit with our family, I was inspired to take on a new challenge: creating a gluten-free version.
I don't often venture into making gluten-free alternatives for traditional baked goods, but this week I decided to experiment with a gluten-free rough puff pastry. I was pleasantly surprised by how straightforward the process was - very much like making a traditional pastry just with gluten free flour alternatives. As with any pastry it does require a bit of time to make, but the end result was a crunchy and delicious pastry.
There are several different folds and styles you can use for these. I love the design I show you below. It looks sophisticated, but honestly it's so much easier than it looks. The addition of a few nuts, a glaze or a chocolate drizzle also finishes these off - just like a bought one.
Gluten Free Rough Puff Pastry
Pastry ingredients:
- 100g (3 1/2 oz) butter, cut into small blocks and frozen
- 50g (1 3/4 oz) ice cubes
- 100g (3 1/2 oz) gluten free flour
- 1 teaspoon xanthan gum
- Pinch of salt
- 1 tablespoon cold water
Filling ingredients:
- 12 teaspoons apricot jam
- 12 tinned apricot halves, drained
- 6 whole almonds, roughly chopped
Method:
- Add the first 5 ingredients in order to a food processor or high speed blender. (I used a Thermomix).
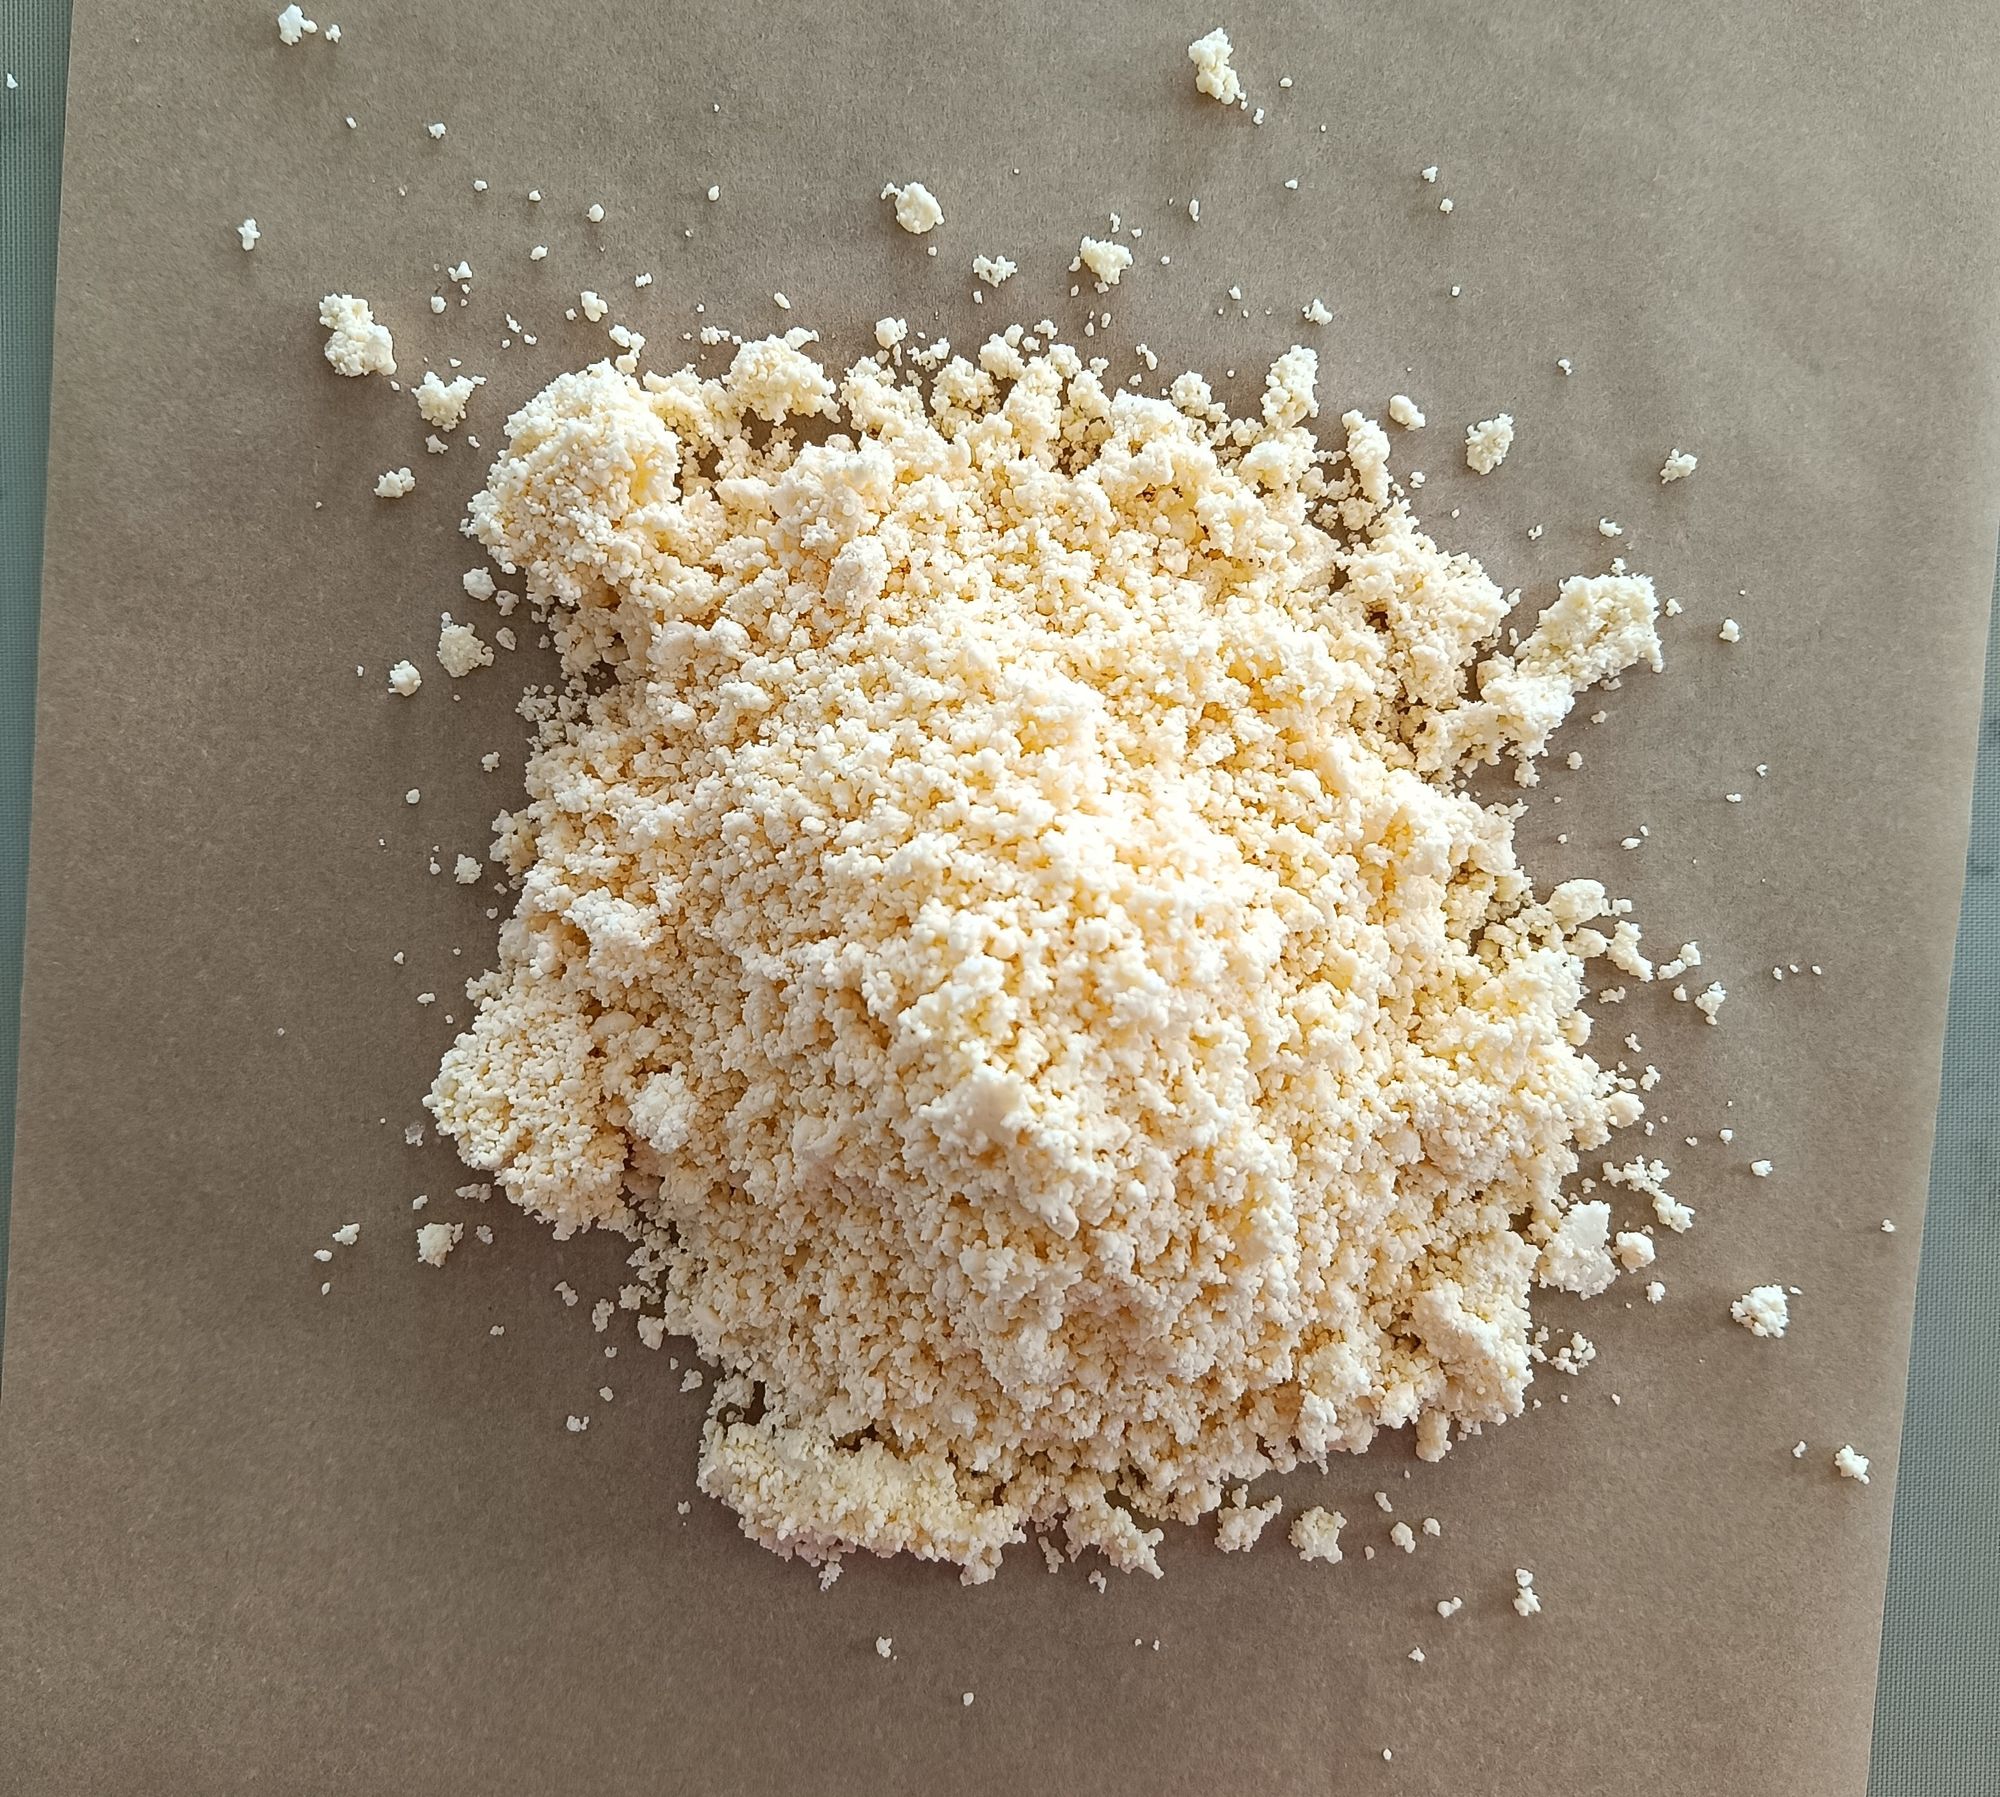
- Blitz until the mixture resembles bread crumbs. It should only take a few seconds.
- Pour in the water and blitz at intervals until it's combined, but still looks like little balls.
- Tip it out onto some baking paper and use the baking paper to squash the pastry into a small rectangular shape.
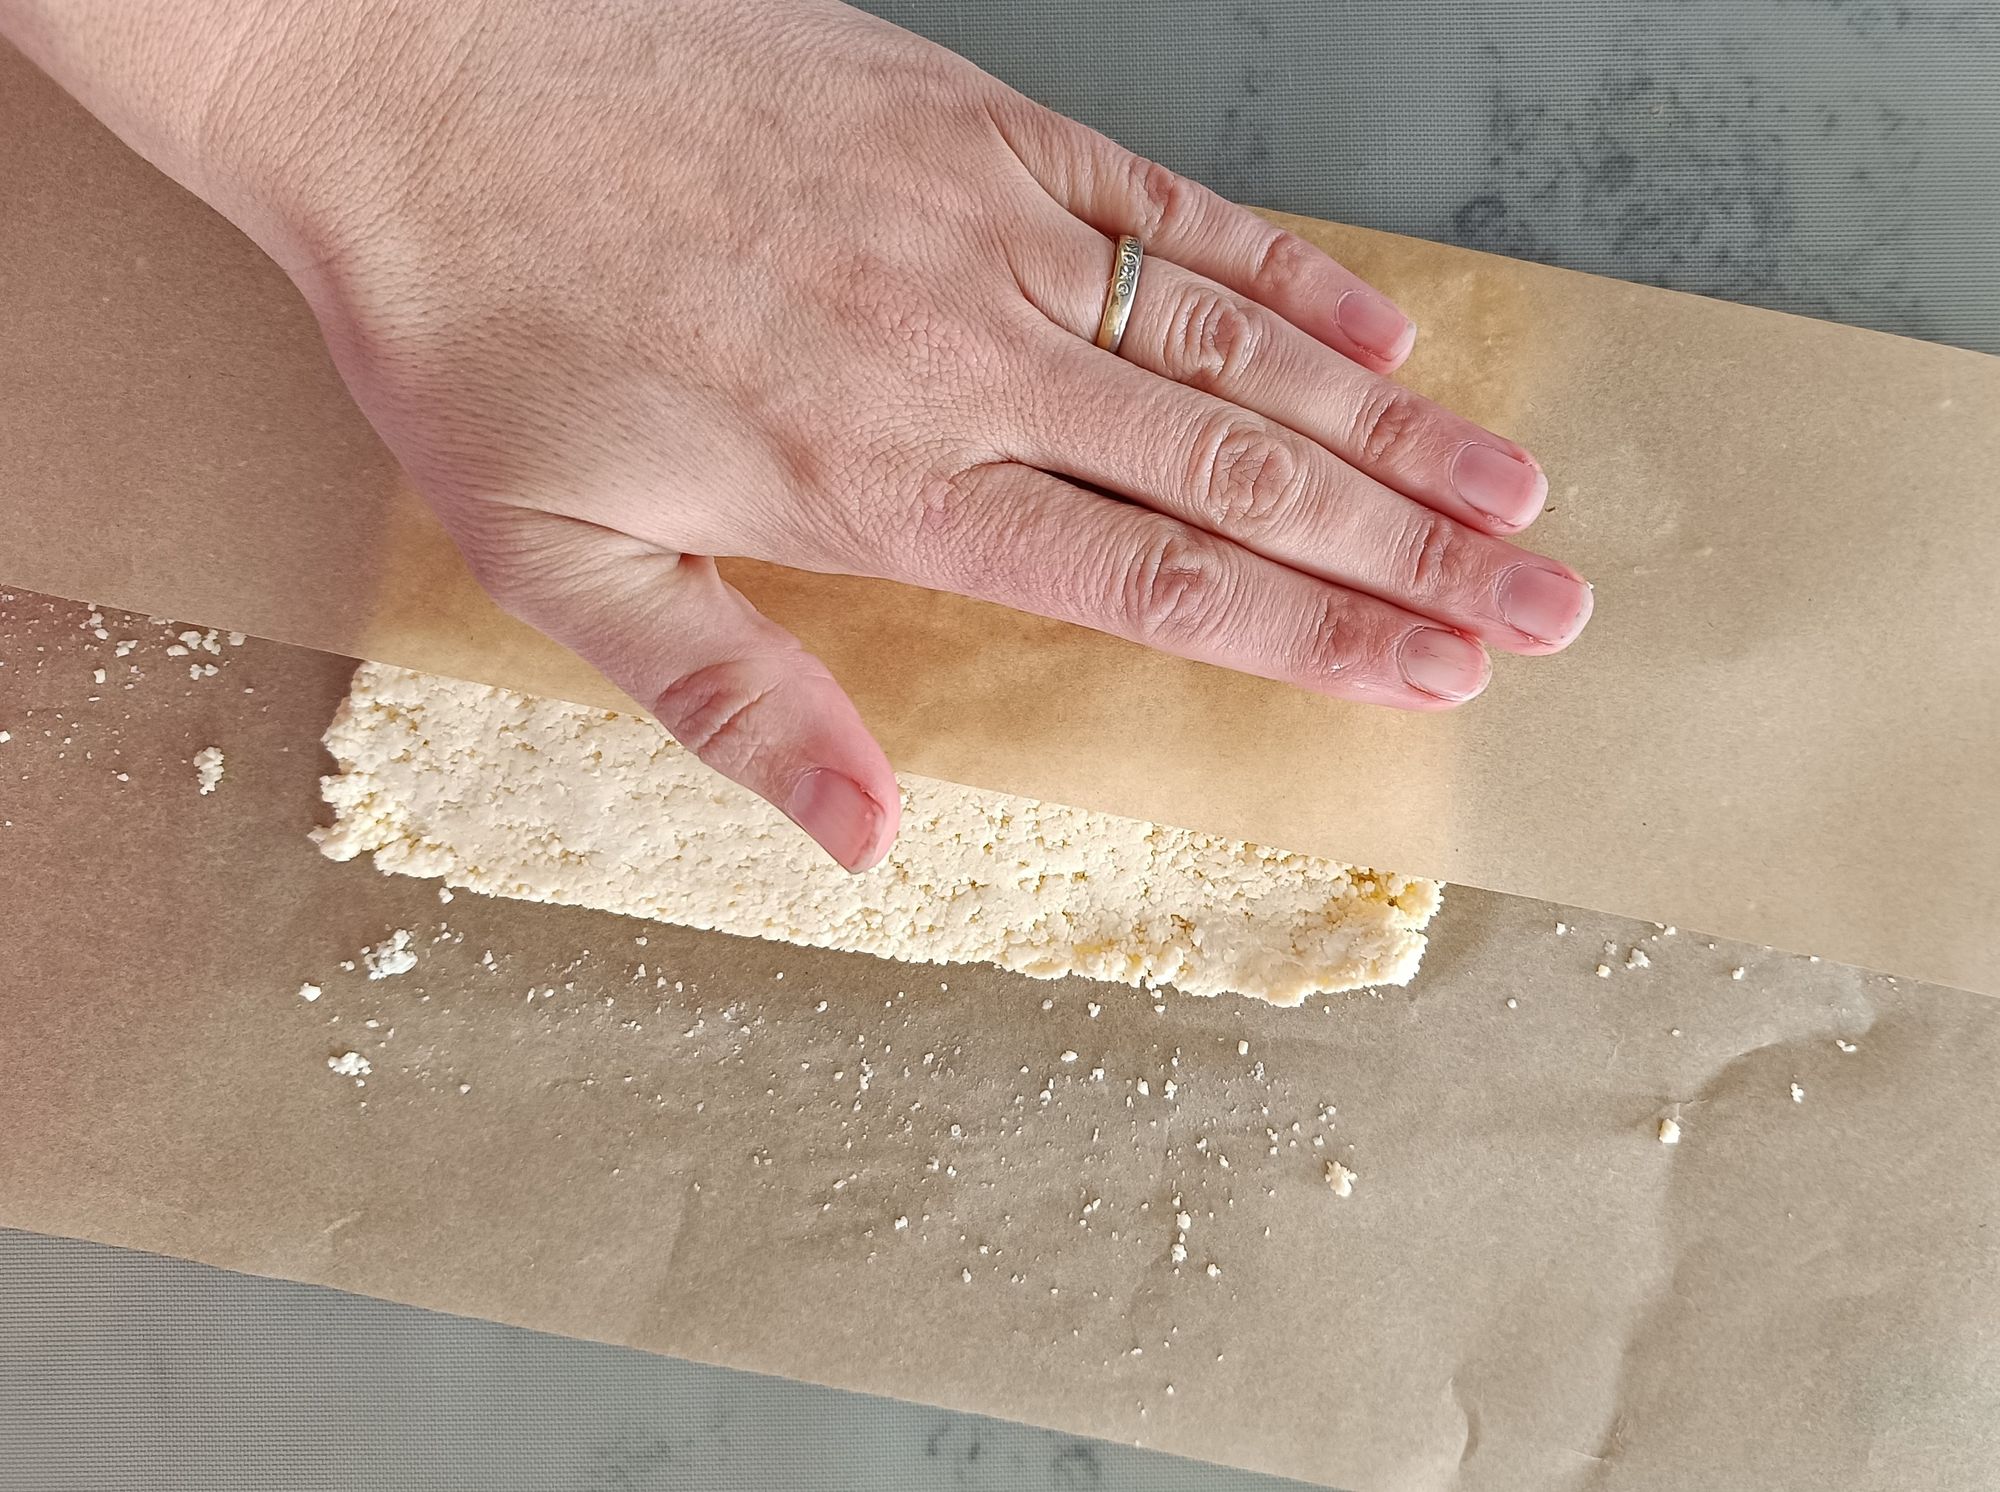
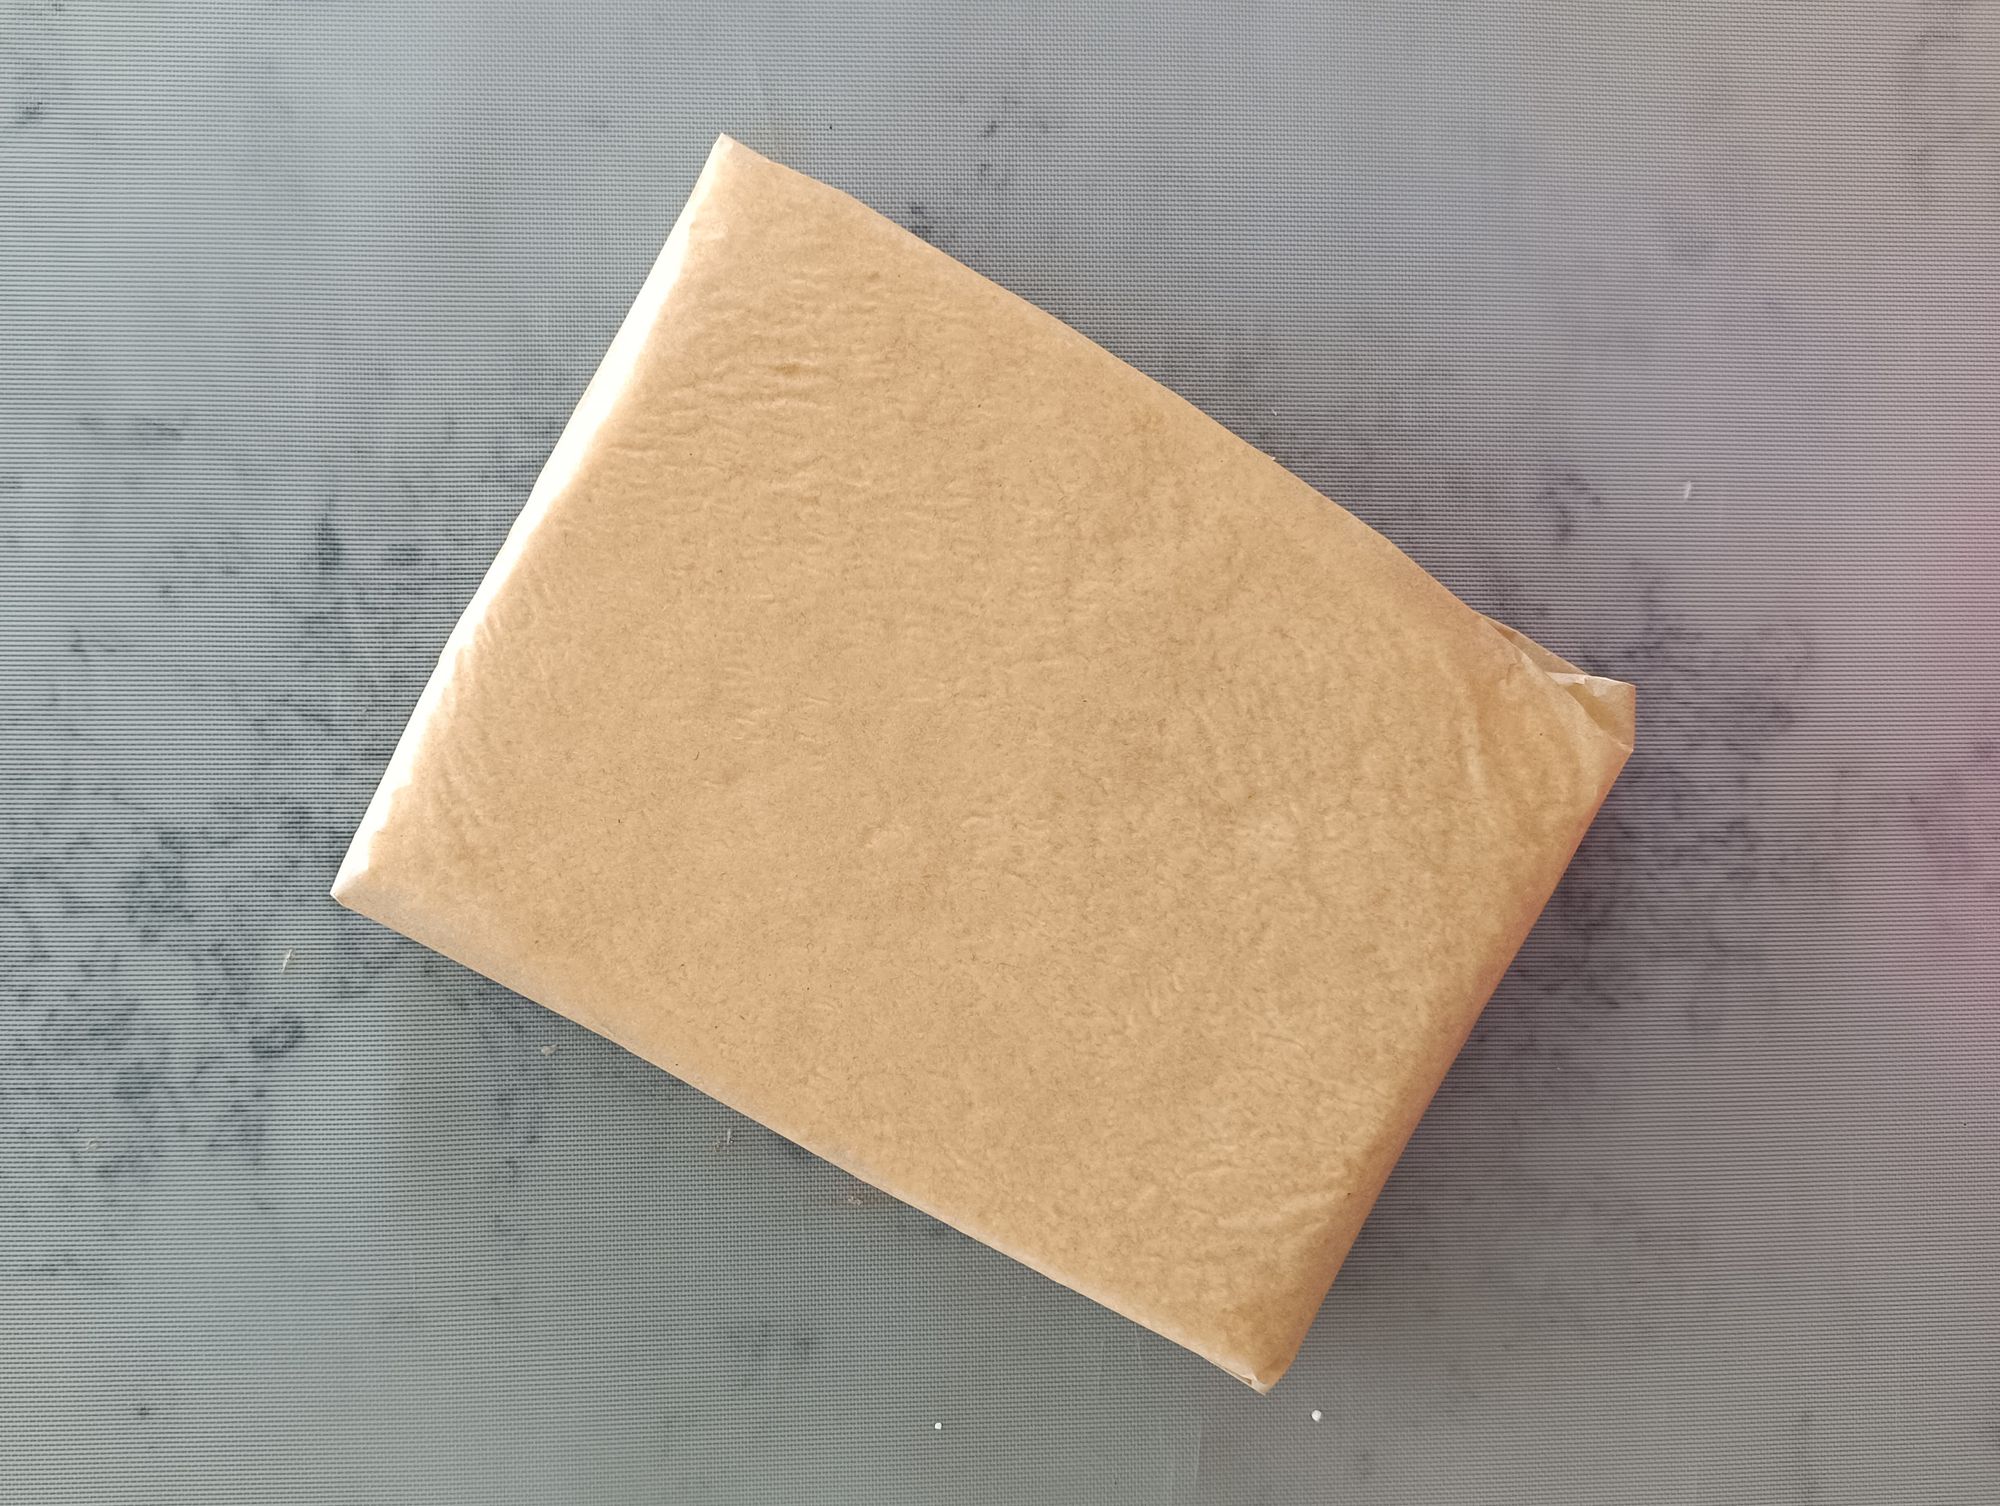
- Refrigerate for approximately 30 minutes.
- Lightly (gf) flour a fresh piece of baking paper. Put the pastry on top and sprinkle with some more flour. Roll out in one direction until it's 3 times longer than it is wide.
- Fold in one third and then fold over the other third so the rectangle is the same size as the original block of pastry. (This is called laminating.)
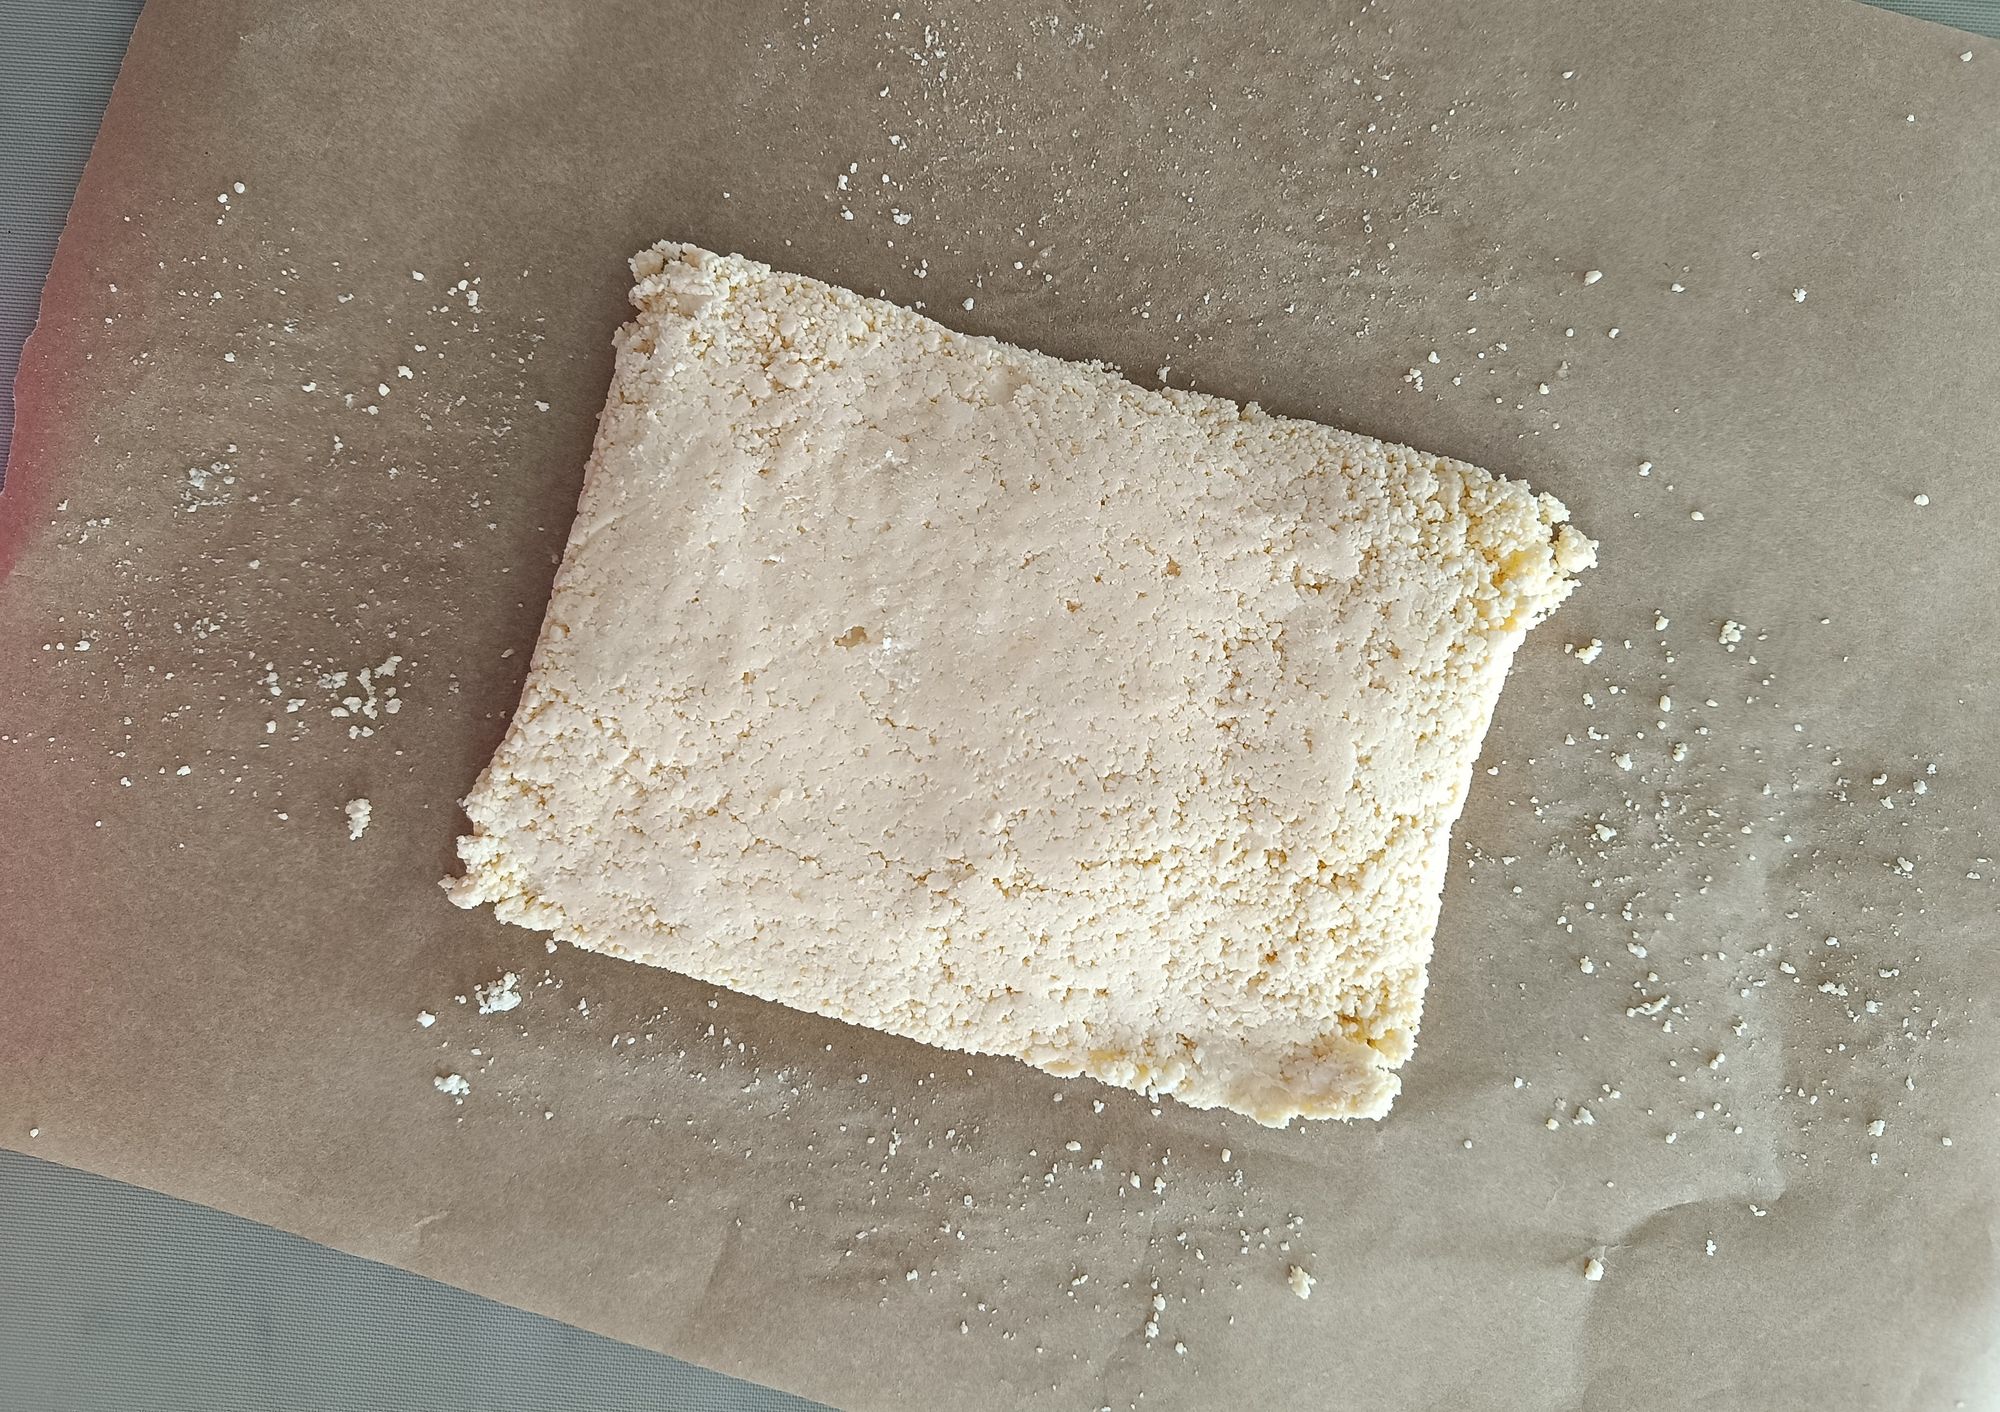
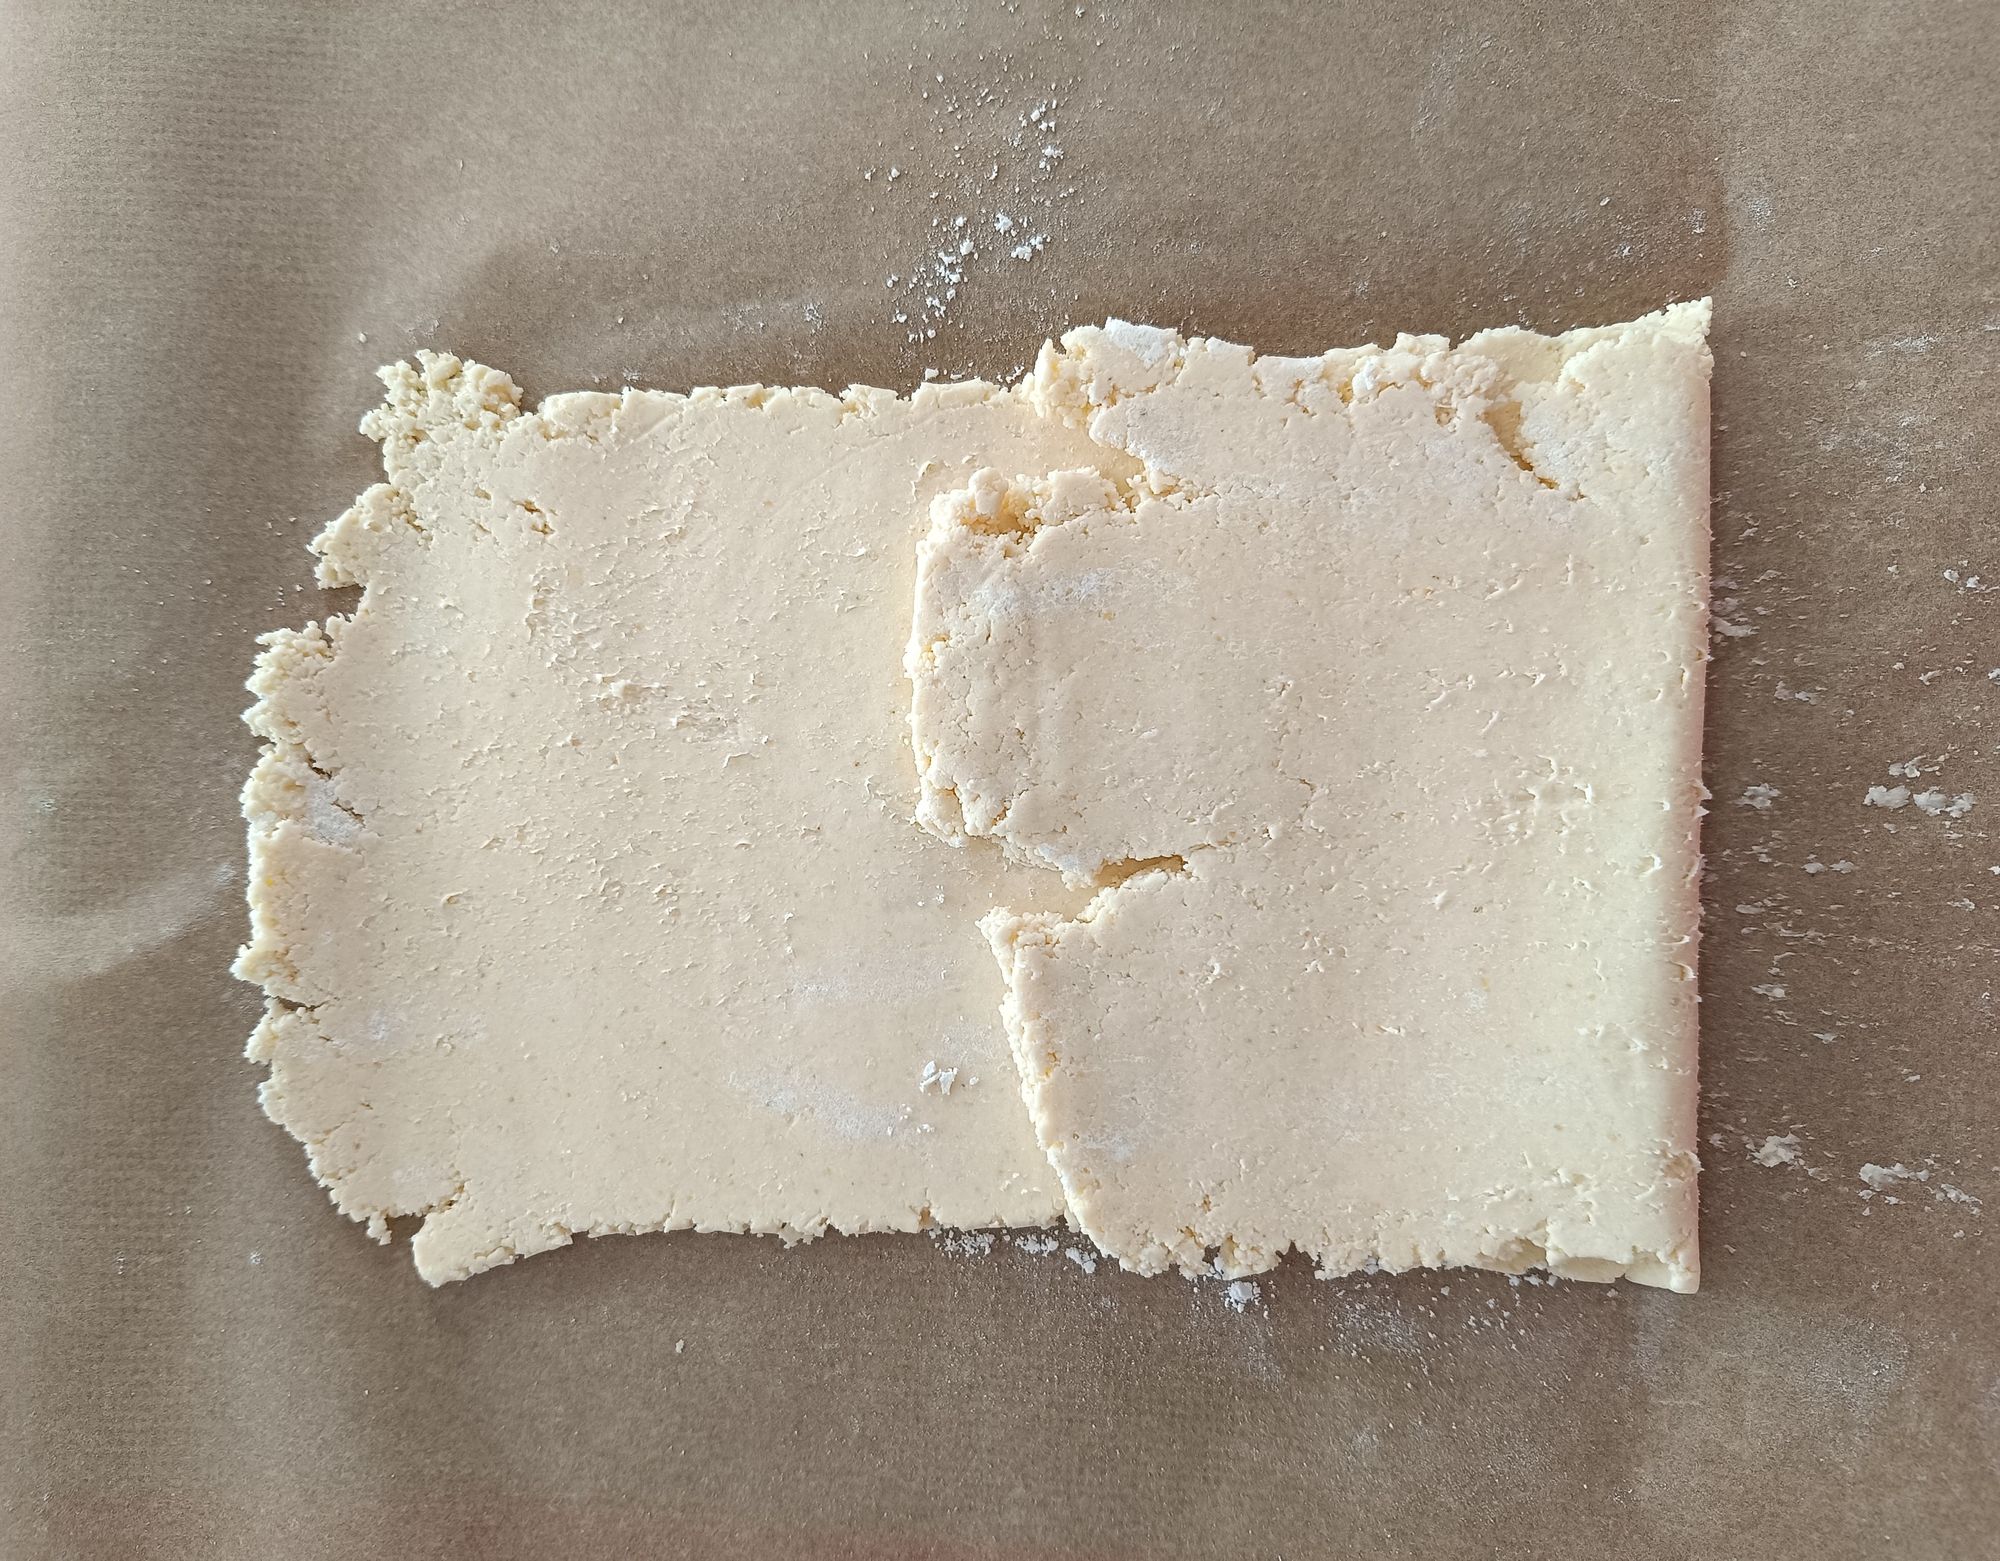
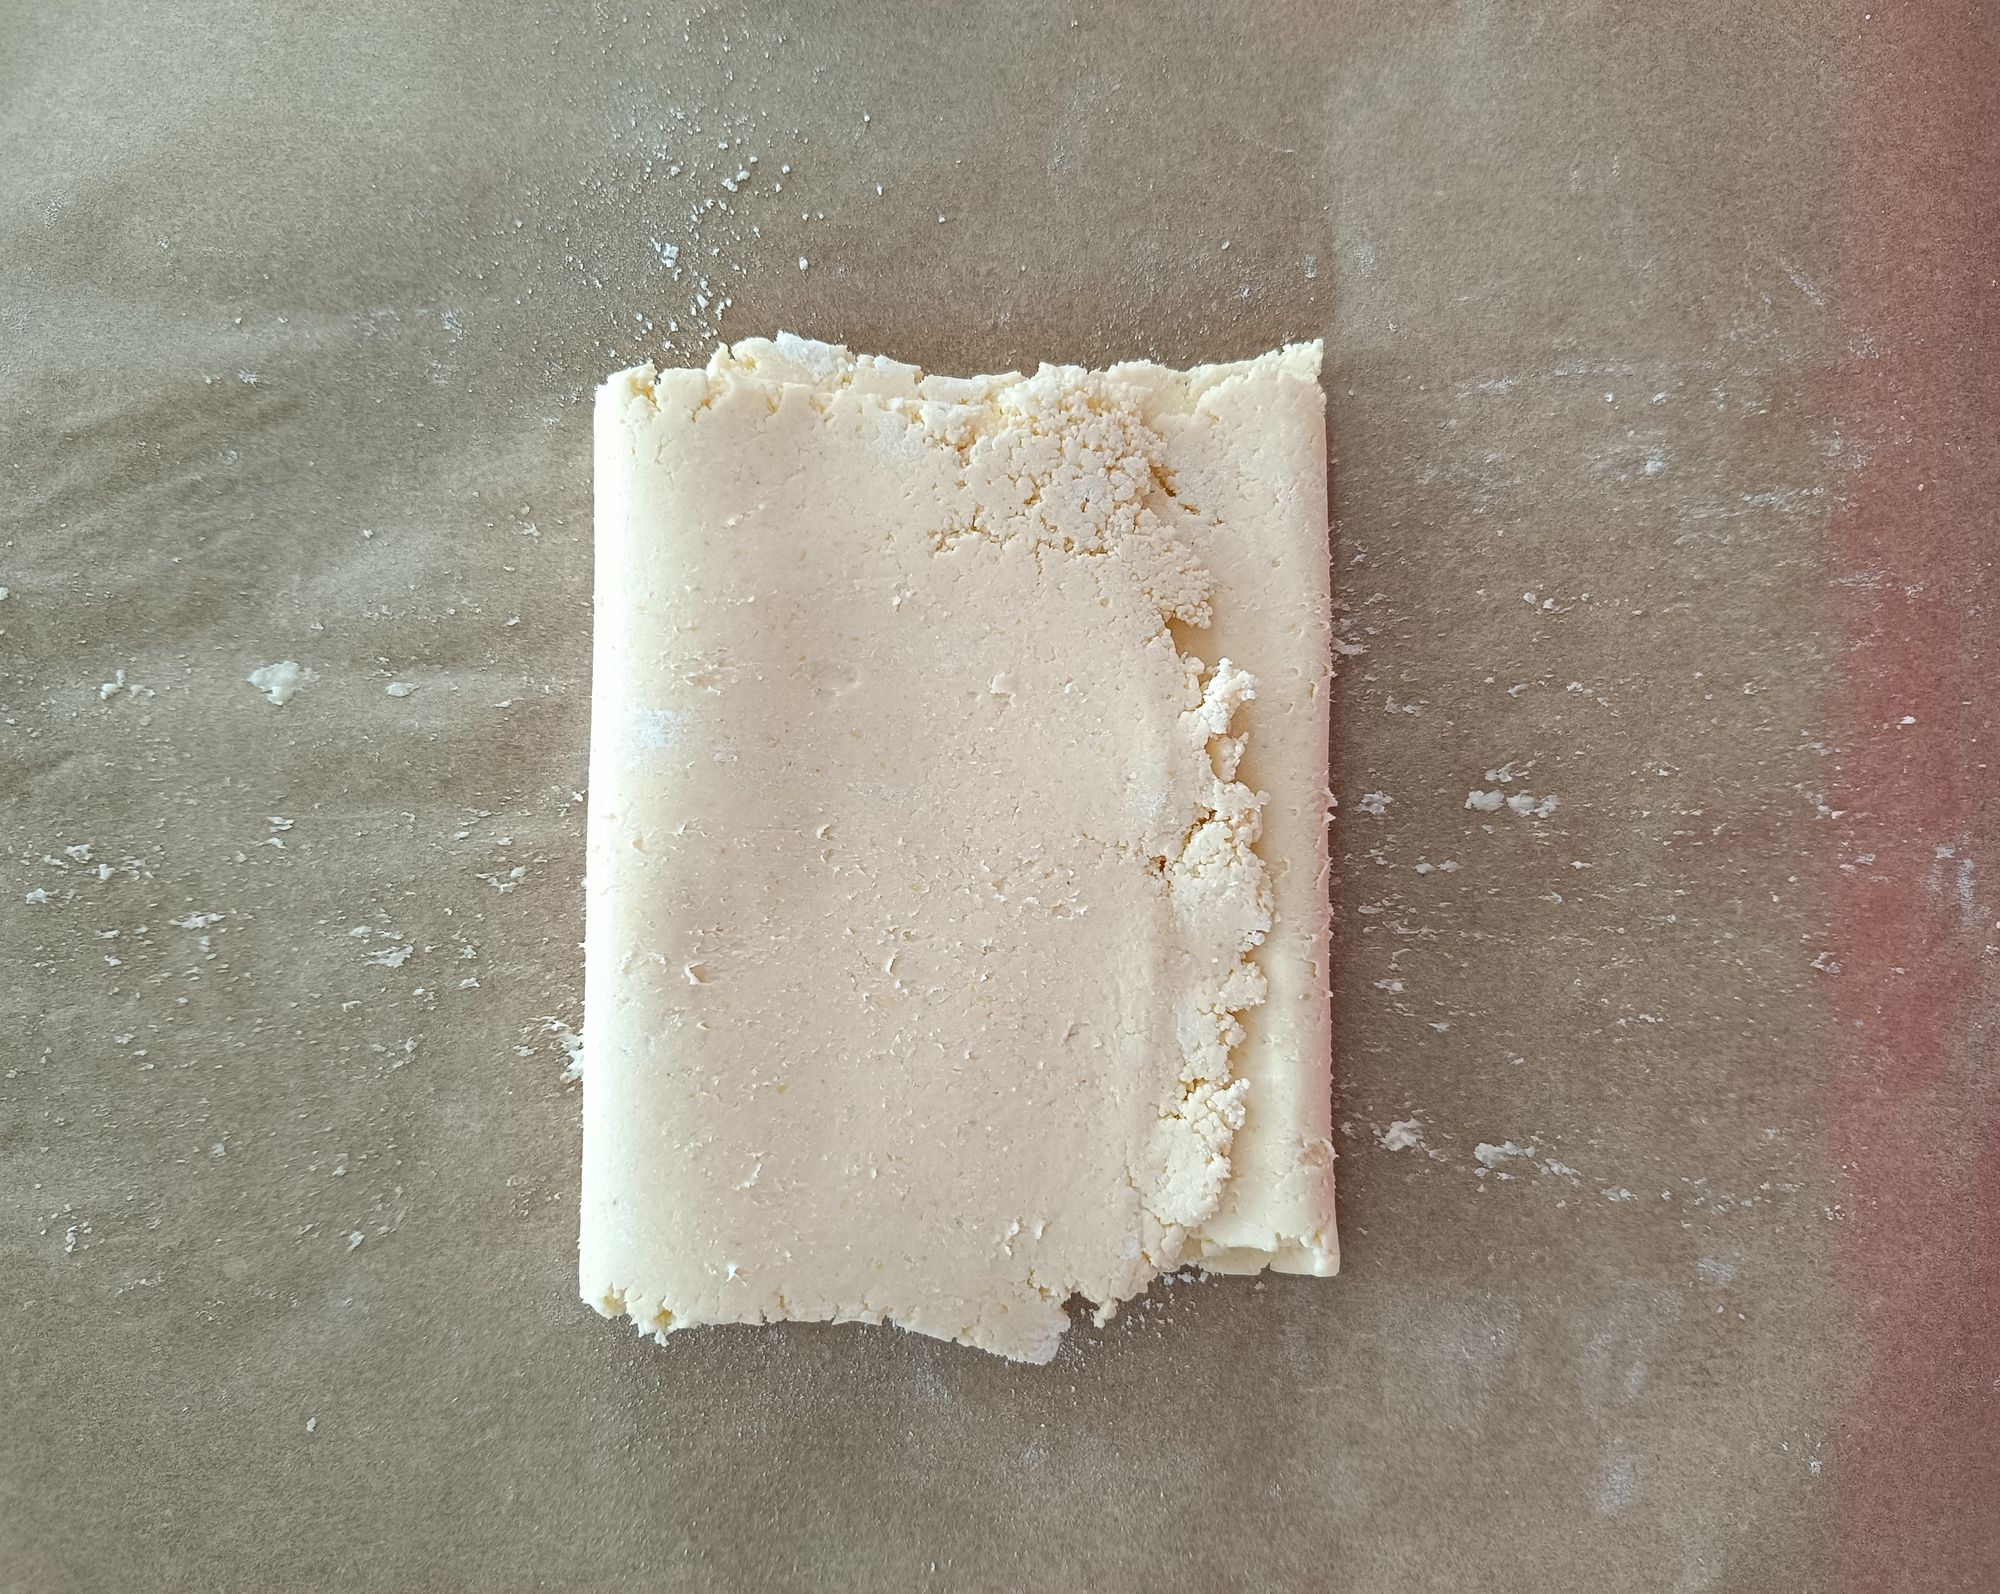
- Repeat this folding and rolling another 2 times. If the pastry becomes sticky, put it back into the fridge to firm up again.
- Roll again and cut the pastry into 12 equal squares.
- Leave 2 corners in tact, and cut slits about half a centimetre in on the other two corners. Fold one side across and then fold the other side across to create a decorative diamond shape.
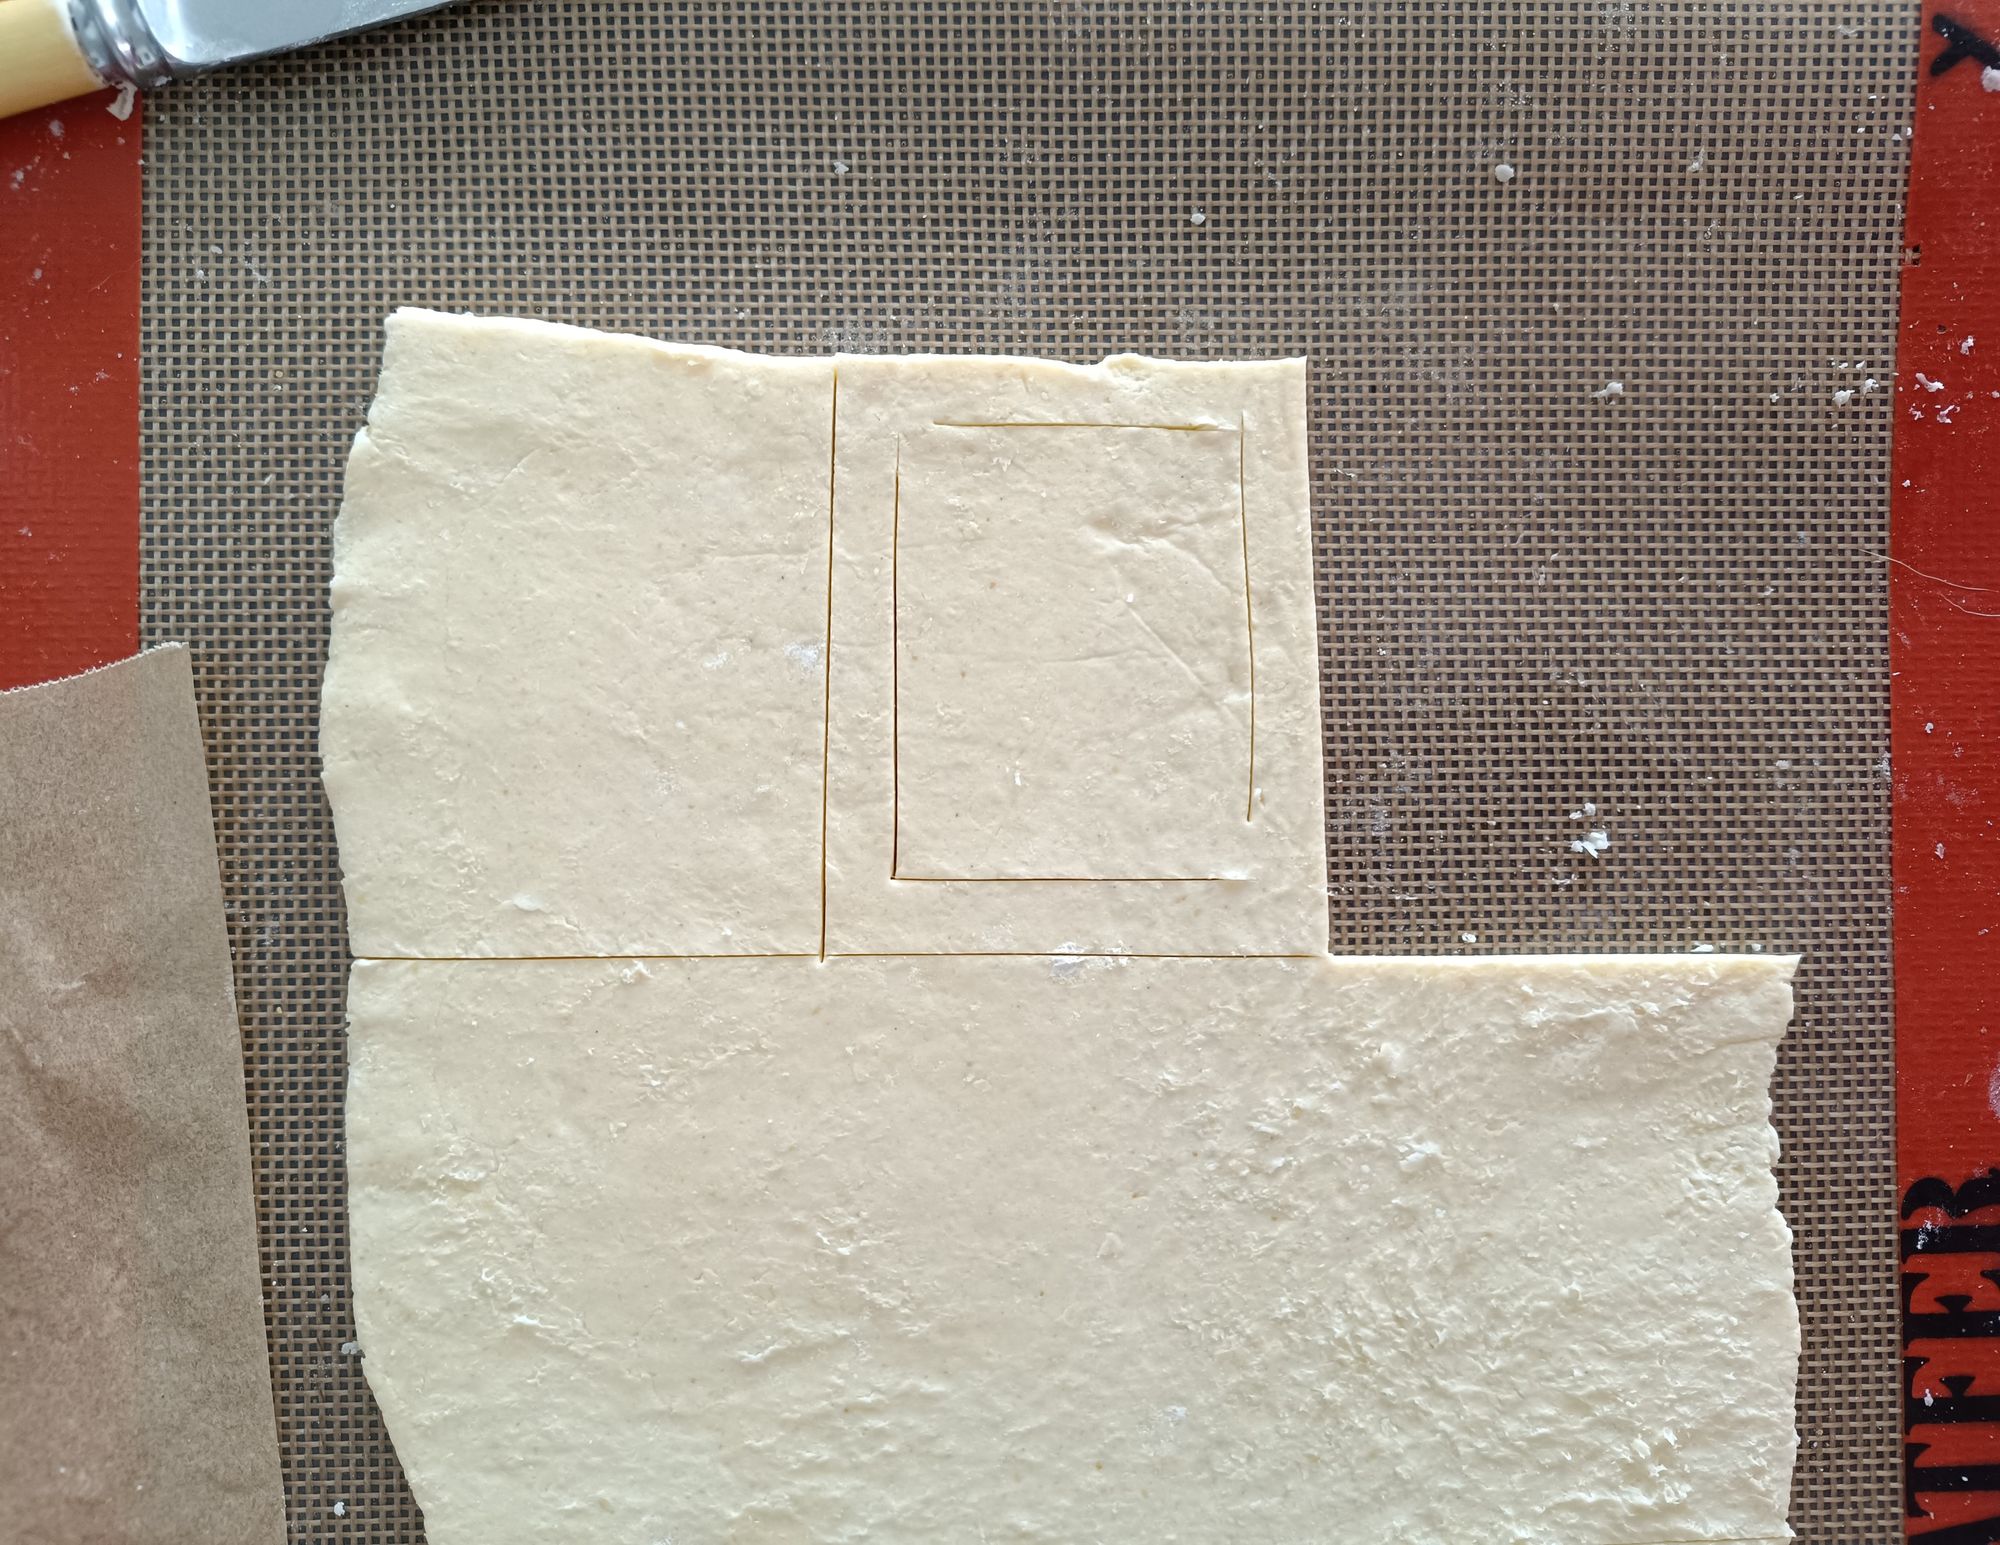
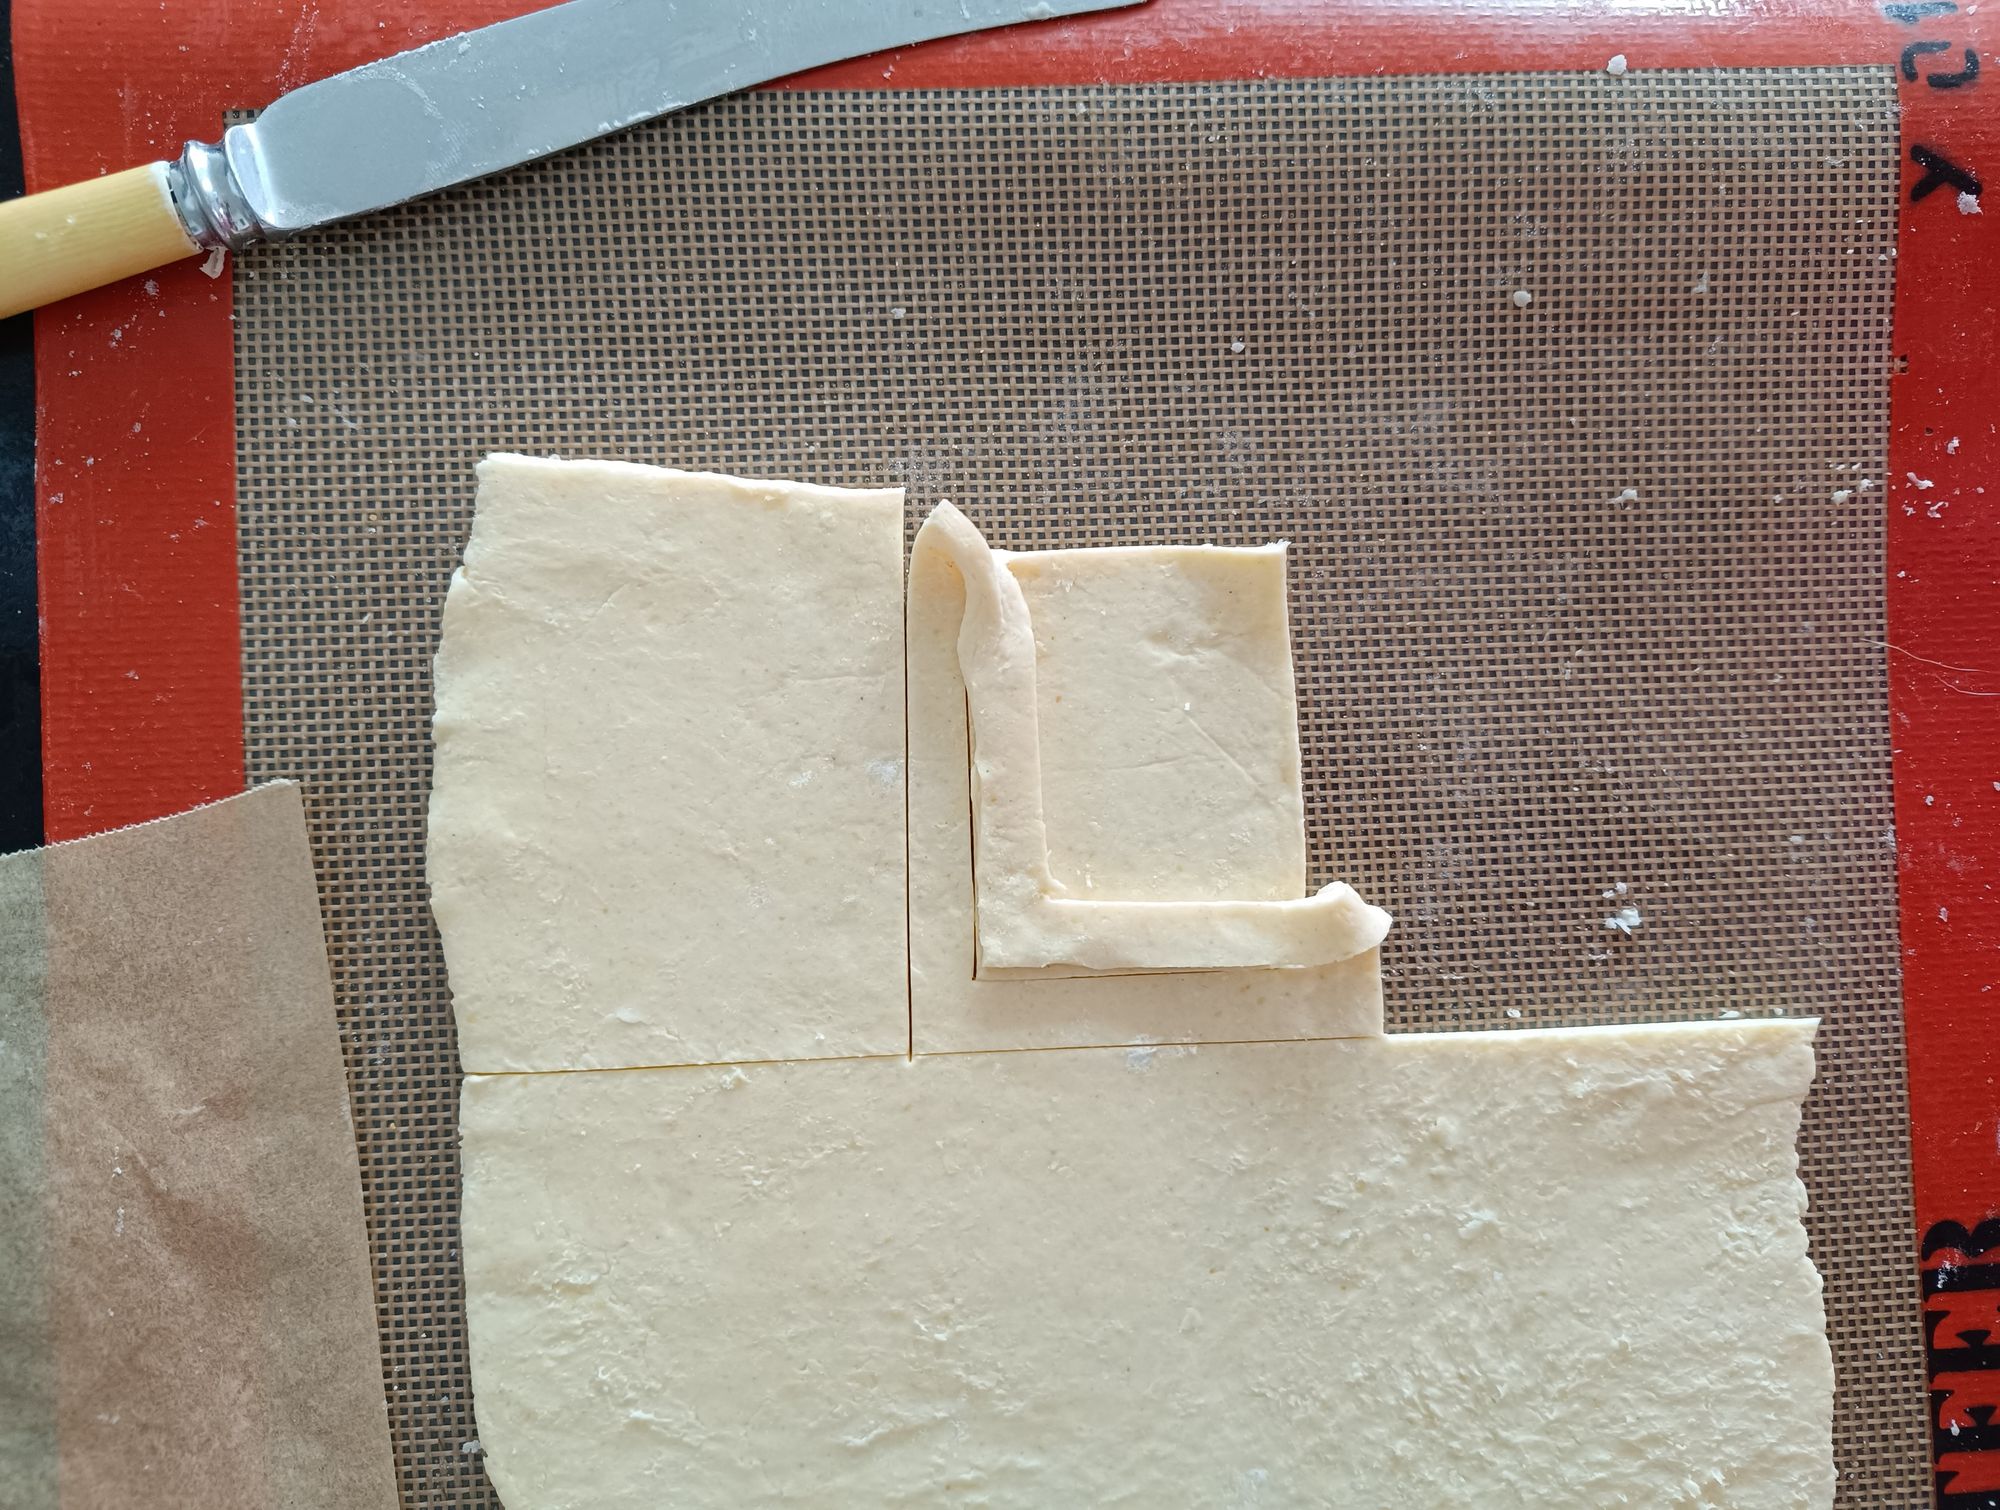
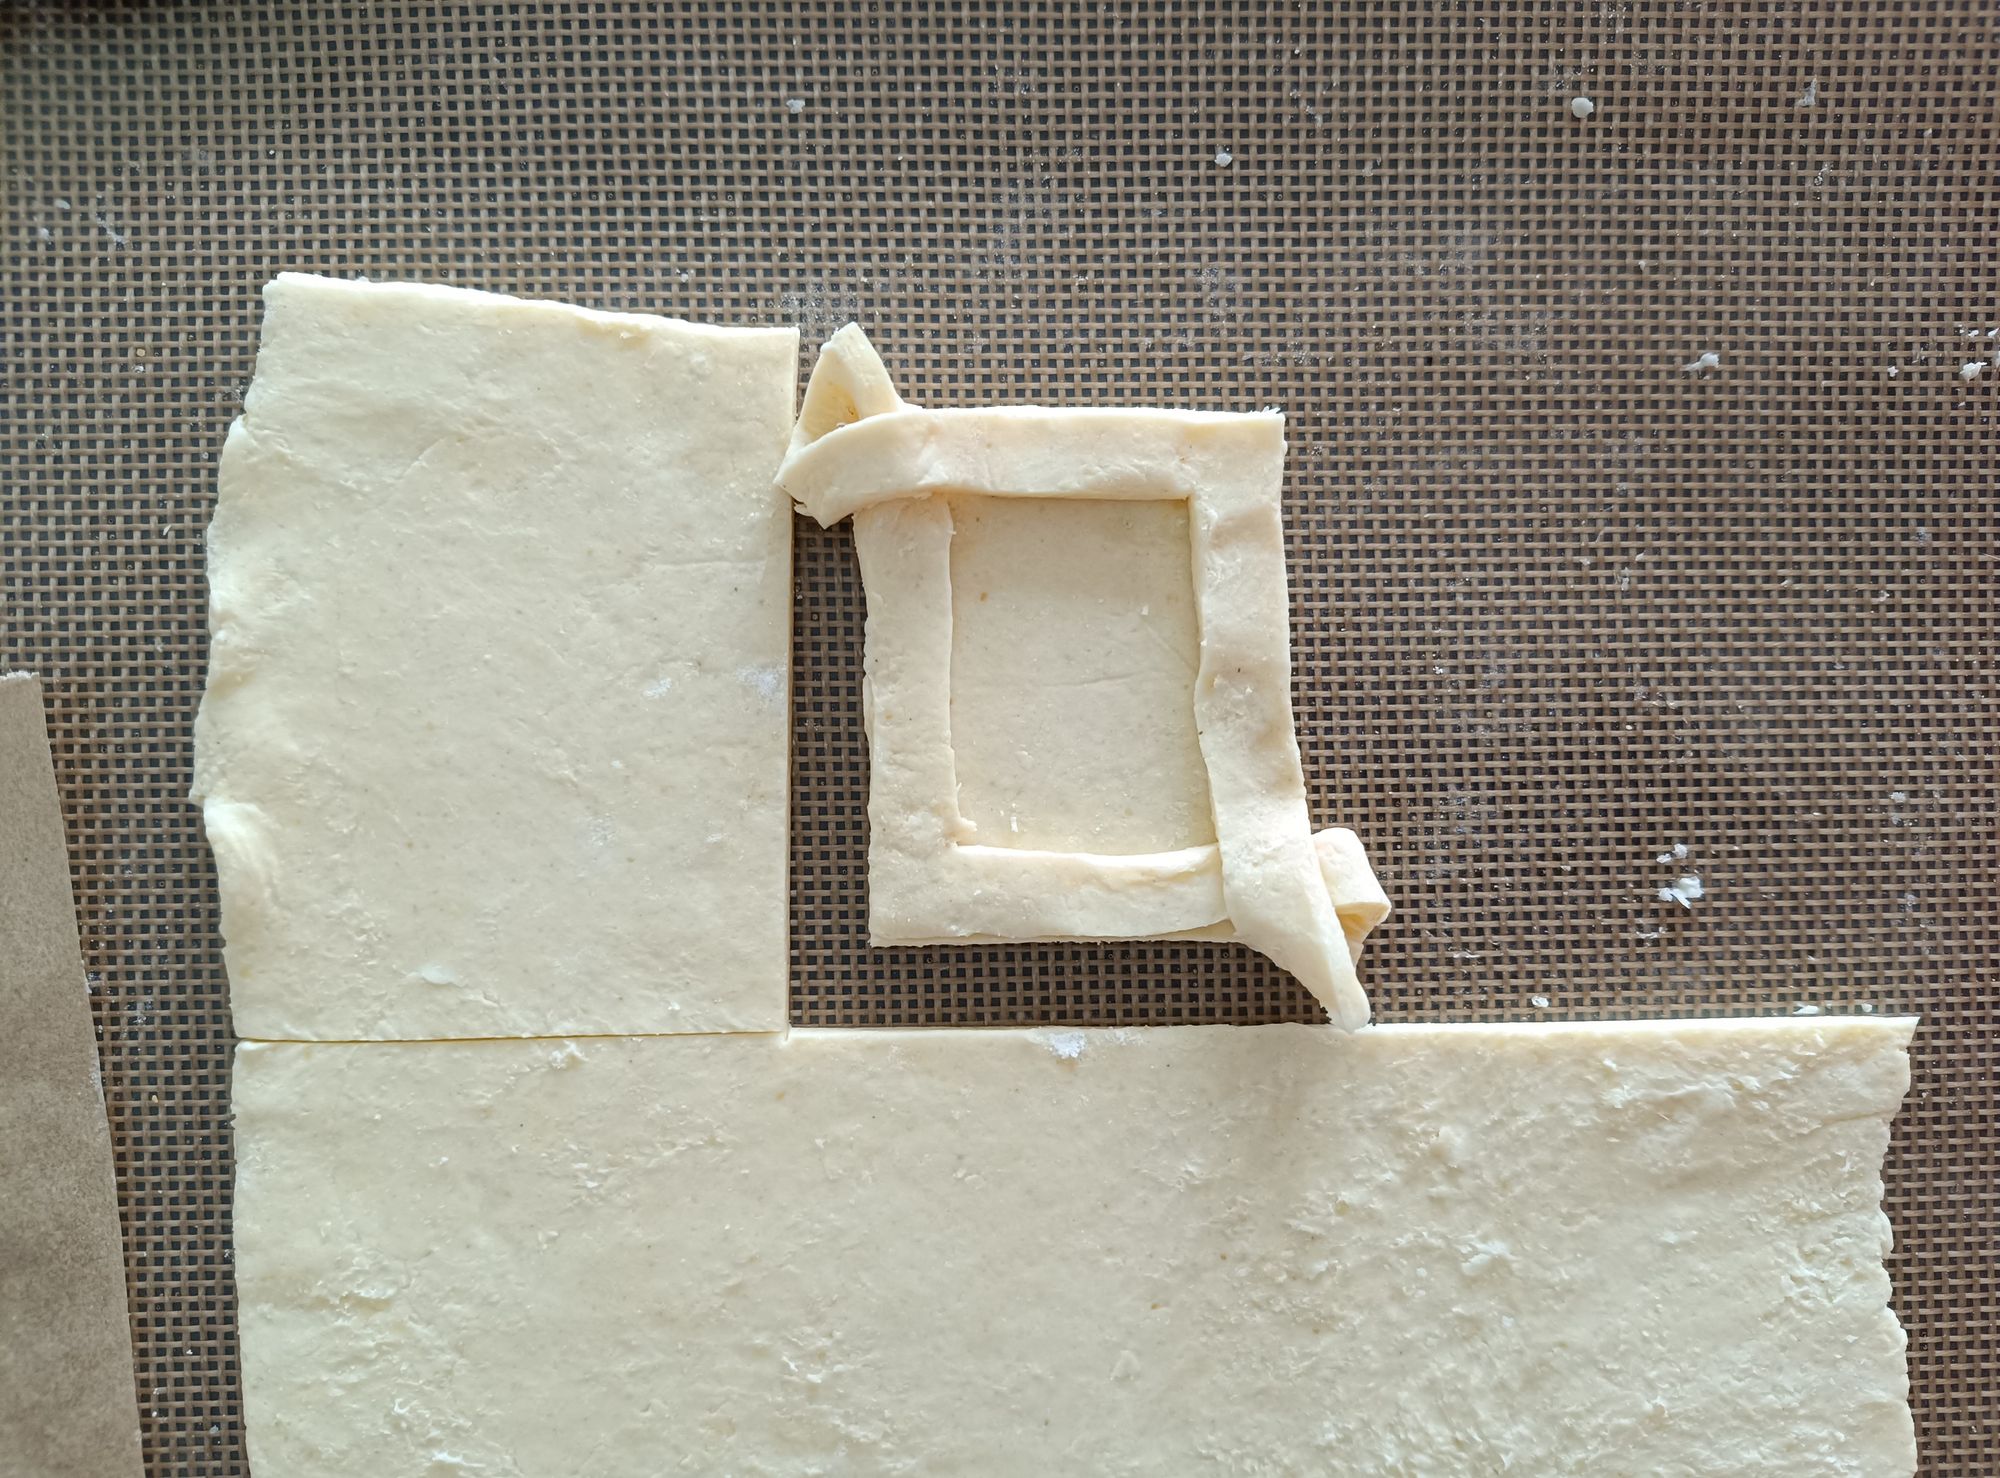
- Put a blob of jam in the centre and then a piece of drained apricot.
- Sprinkle with some chopped almonds.
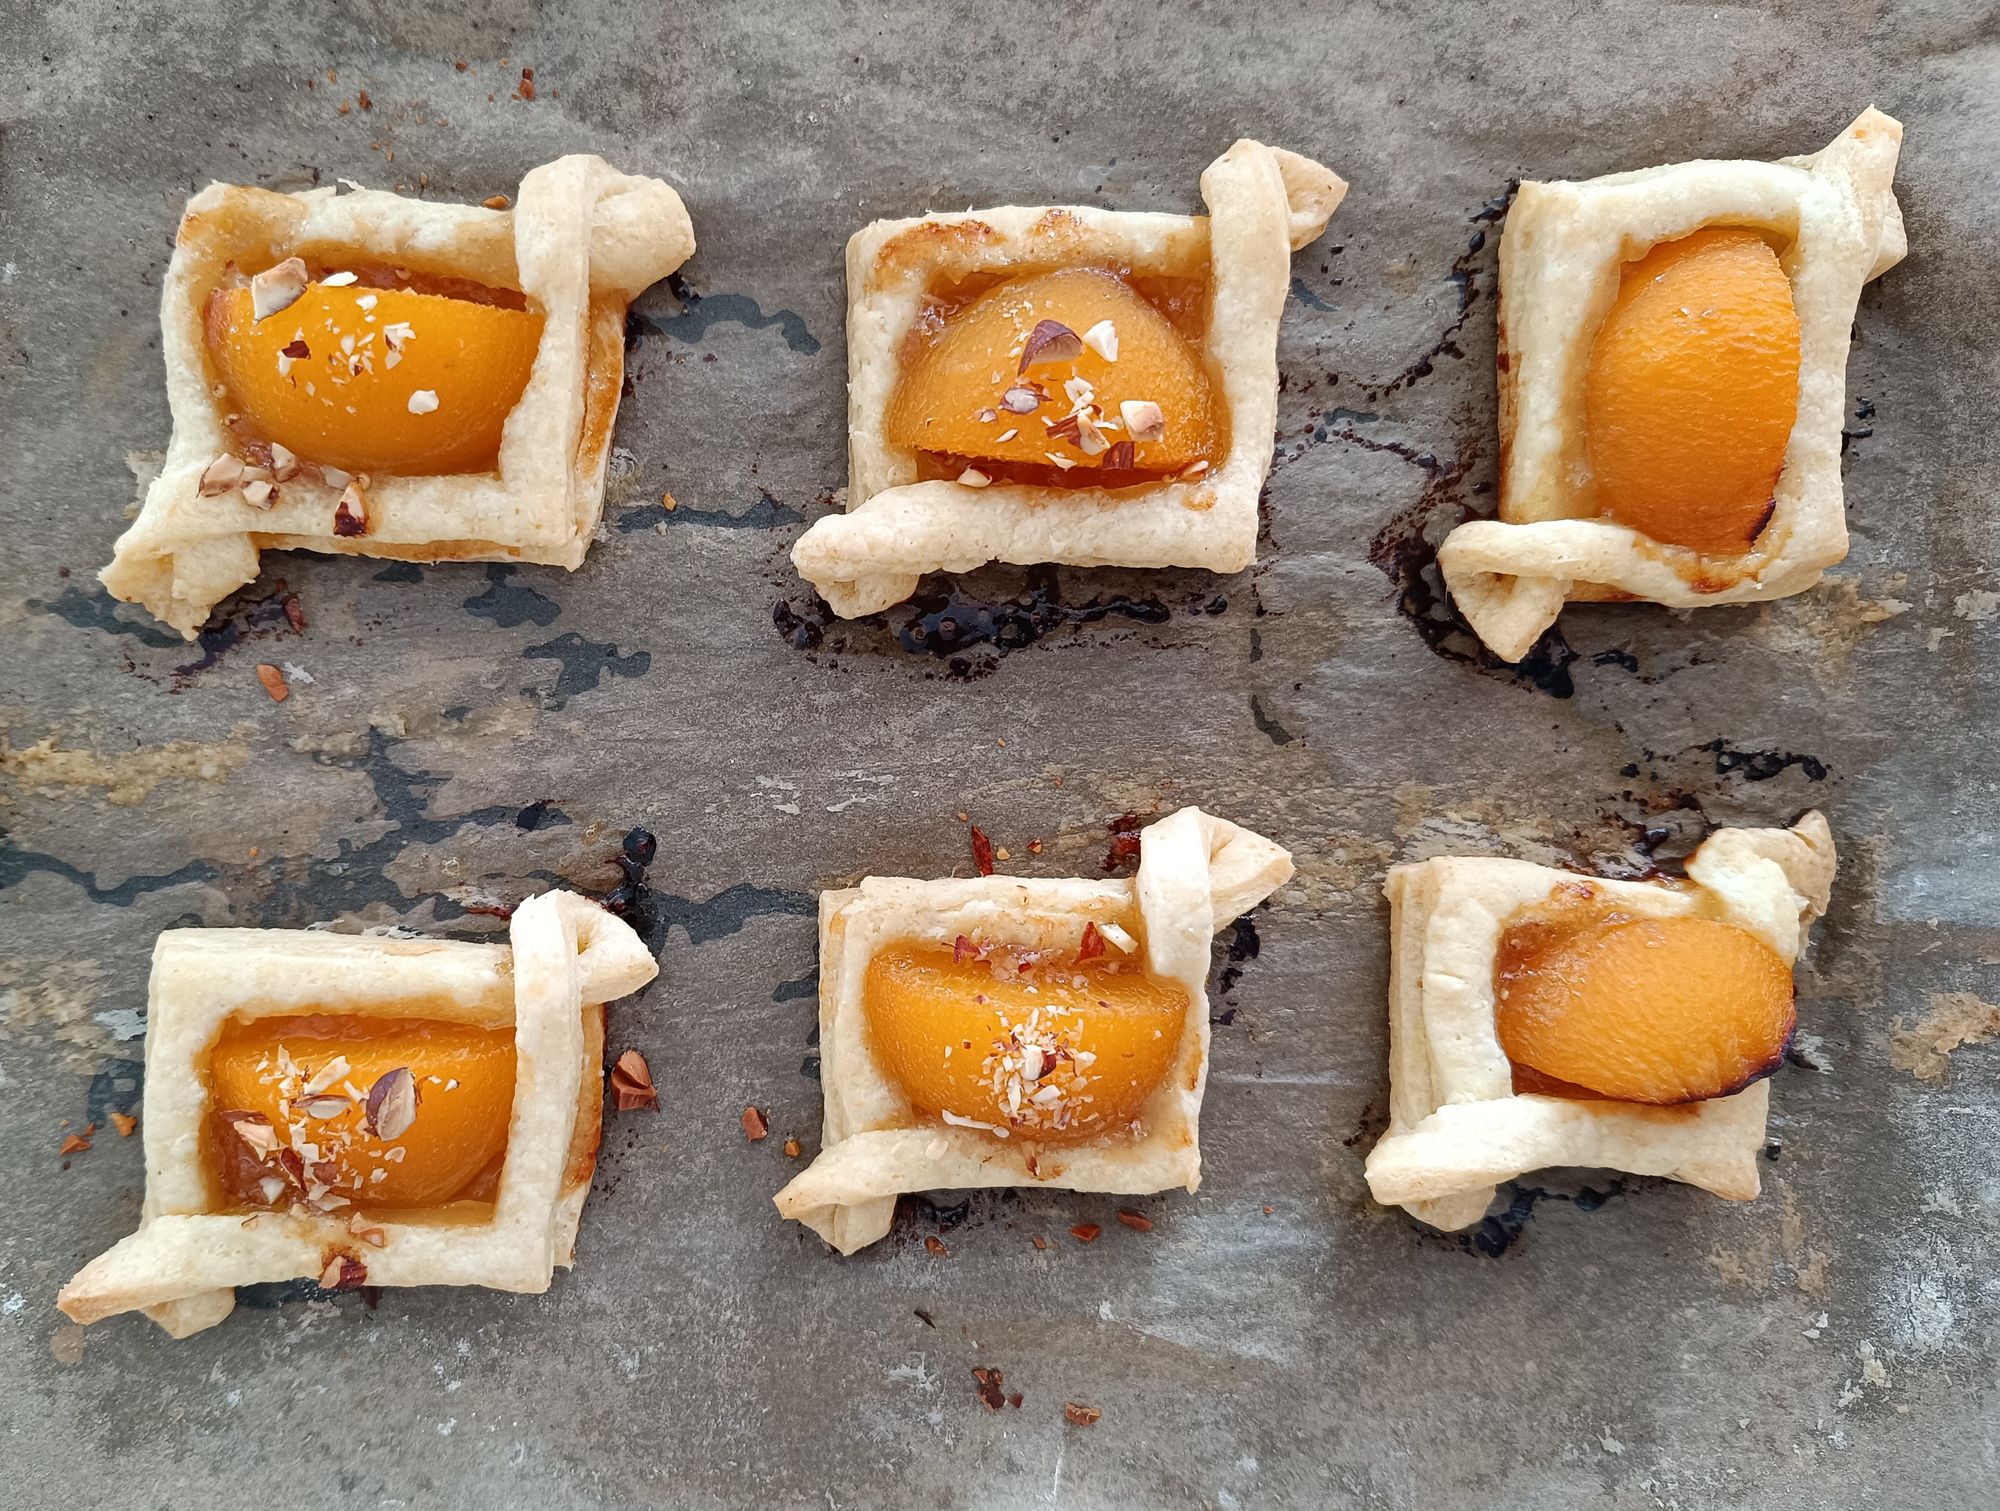
- Bake in a pre-heated oven at 200 degrees Celsius (400 degrees Fahrenheit) for approximately 15 minutes.
- You can either glaze with some melted jam when they come out of the oven, or dust with icing sugar or drizzle with melted chocolate to serve.
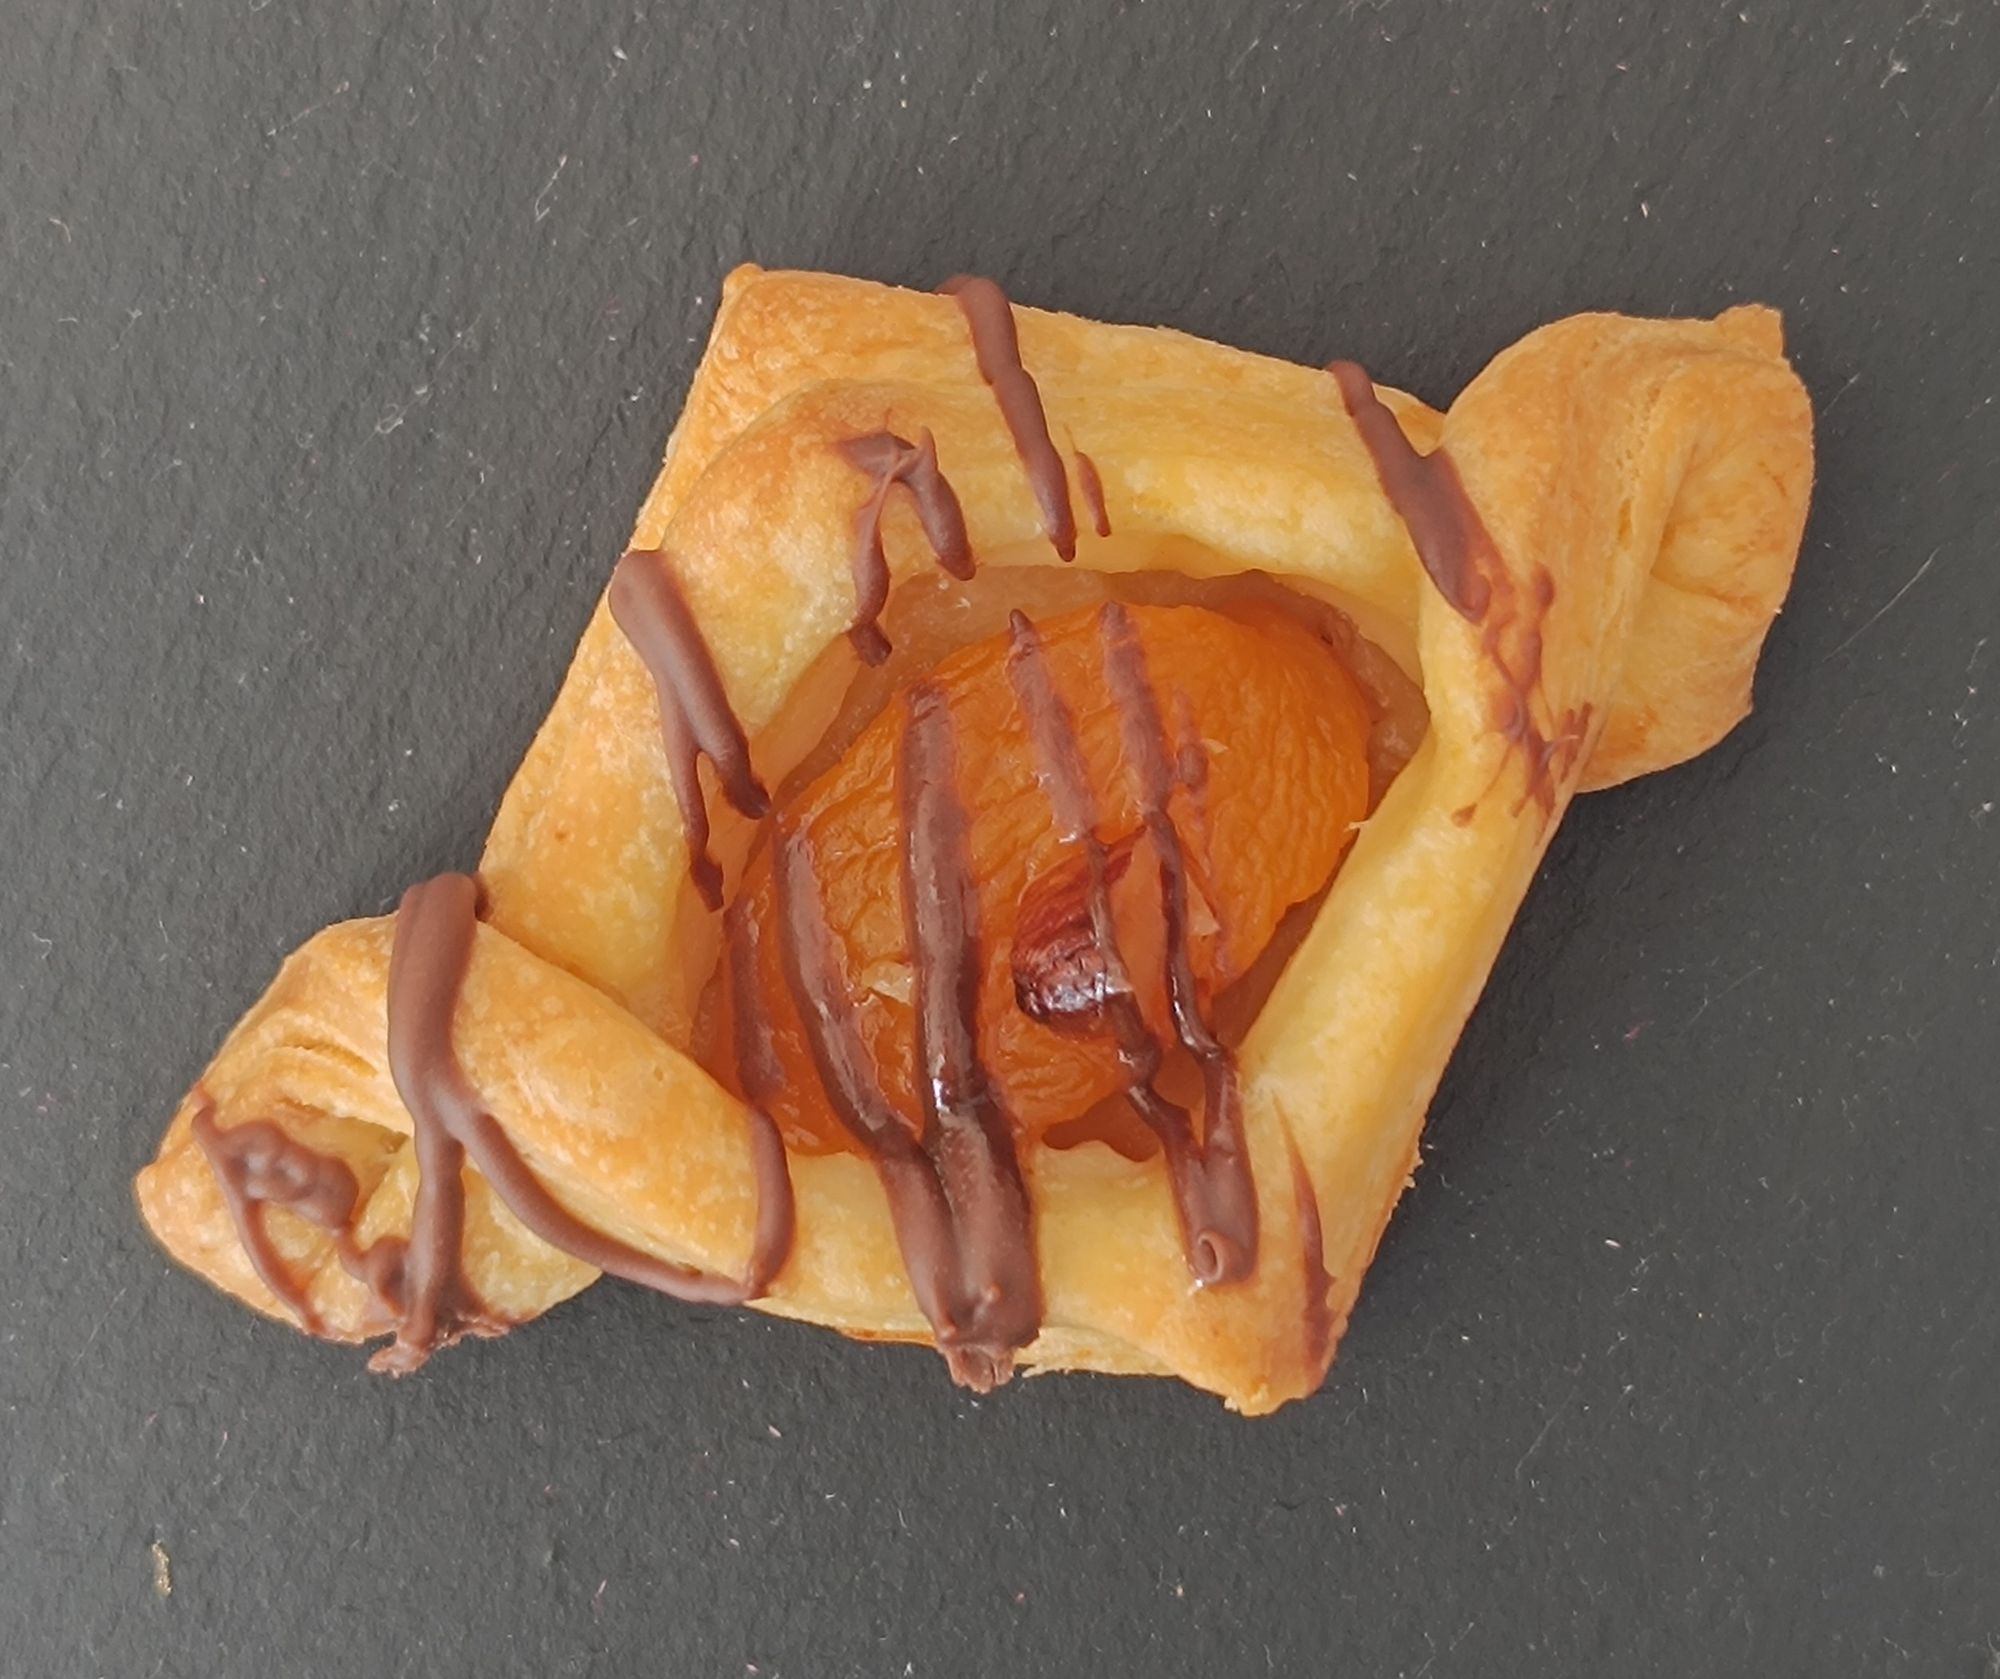
I hope you have some fun filling your freezer with delicious bites so that you can be prepared for whatever term 4 throws at you.
Happy cooking,
Taryn


