Easy Entrées - Issue #27

Happy Thursday!
I can hardly believe it is August already - where is the year disappearing to! With what seems like so little time on our hands, this weeks video features a 'no-cook' entrée that you can put together in just a few minutes. There's no need to keep it warm, and barely any preparation involved. It's perfect for busy people who still want to serve a beautiful multi course meal!
This newsletter also has a delicious banana loaf recipe with a chocolate twist, and a few interesting tips on plate colour. There aren't any rules, so go with whatever plate colour you think works best with your style.
In this issue:
- Fresh off the press - How To Put Together A Fancy Entrée In Minutes
- Inspiration from my kitchen - Chocolate Banana Loaf
- Q&A - What Colour Plates Should I Buy?
Fresh off the Press...(+ Recipes)
Our latest video - How to put Together a Fancy Entrée in Minutes - has just been published.
In this video I show you how to create a beautiful and delicious no-cook entrée that's perfect for when you want something fancy but don't have much time.
We'll be assembling a simple tomato and feta dish that you can serve with sliced bread - think of it like an upscaled bread and dips, but individually plated.
We'll start by preparing the ingredients, then we'll move on to plating, where I show you how to arrange the tomatoes and feta on a blue plate to create a striking contrast. Finally, we'll prepare some bread to go along with it.
This simple, but beautifully plated entrée is perfect for summer entertaining when you don't have hours to spend preparing. I hope you enjoy this video and can take some of these basic plating principles to use in your own kitchen.
You can have a look here...
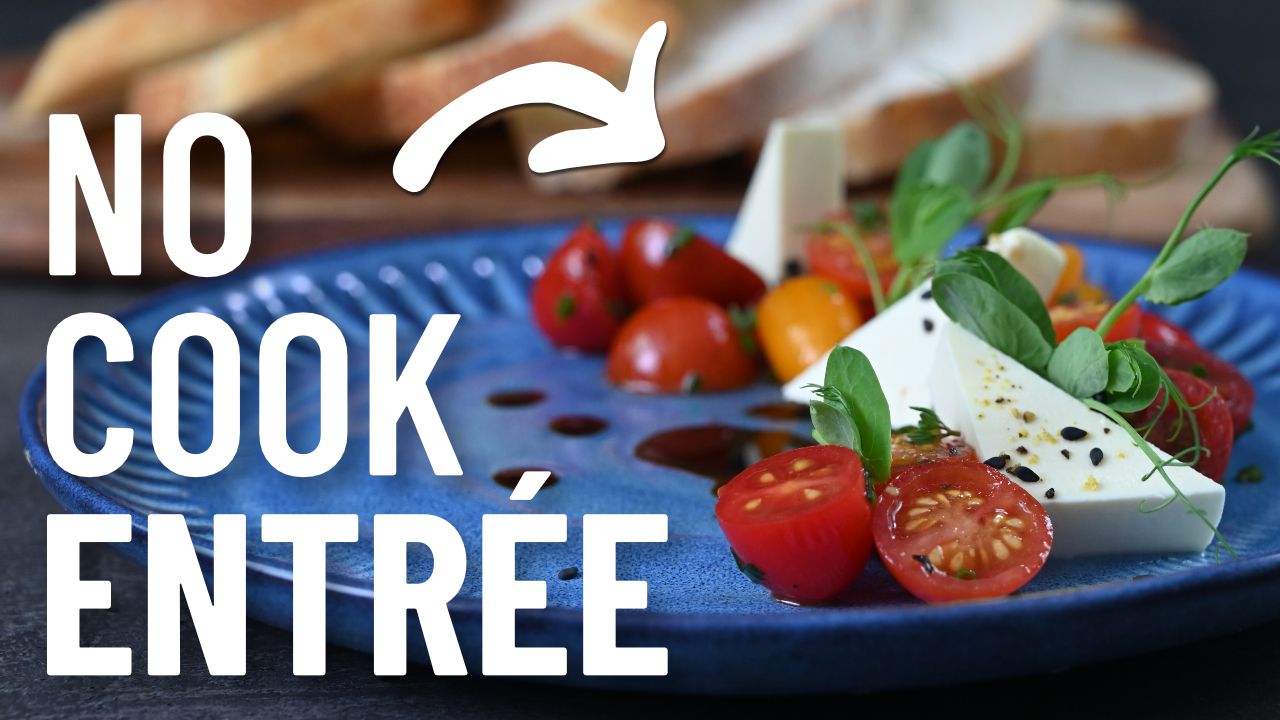
Tomato and Feta Entrée
Ingredients:
- A variety of cherry tomatoes (the more the better)
- Feta cheese
- Fresh thyme
- Fresh chives
- Snow pea shoots
- Olive oil
- Salt and pepper
- Lemon pepper
- Black sesame seeds
- Fresh bread
Method:
- Cut the cherry tomatoes and put into a small bowl.
- Drizzle with olive oil, and season with salt and pepper and chopped herbs.
- Arrange on the plate.
- Cut feta and position on the plate.
- Sprinkle on lemon pepper and sesame seeds.
- Garnish with snow pea shoots.
- Add oil and balsamic to the plate for dipping.
Inspiration from my Kitchen
I'm not sure what you do when the bananas in the fruit bowl get more and more brown spots and eventually no one wants to touch them - even though they're usually perfect underneath the skin.
I usually peel them and freeze them for muffins, loaves and cakes. We've had quite a few baked banana goods recently so I thought I'd try something different for a change.
This time I added some cocoa powder and a handful of chocolate chips to my usual banana loaf recipe. It made such a difference! It totally transformed the usual light coloured banana loaf into a dark decadent banana chocolate loaf.
It's so fun taking a recipe you already know well and tweaking it a little - sometimes you come up with a delicious new combination.
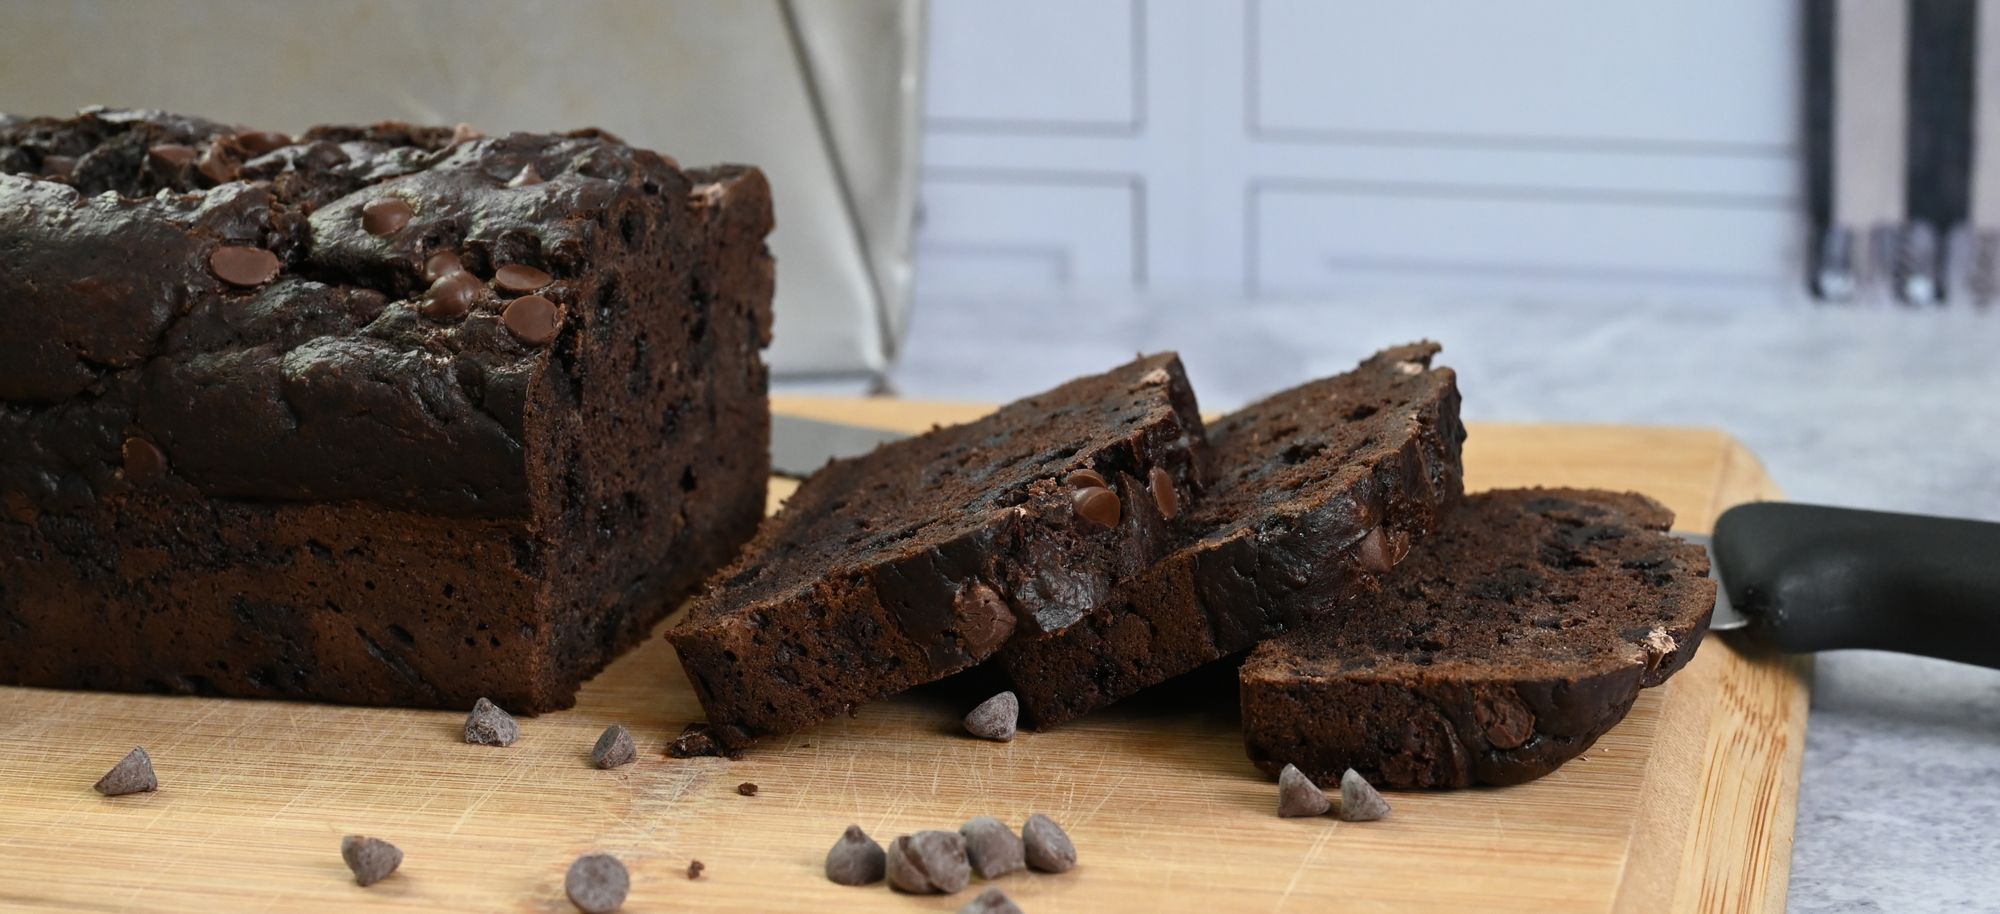
Chocolate Banana Loaf
Ingredients:
- 3 ripe bananas (The riper they are, the sweeter they are. They can be fresh, or frozen and defrosted)
- 1 teaspoon vanilla essence
- 150g (5 oz) butter
- 80g (2 1/2 oz) raw sugar
- 2 eggs
- 200g (6 1/2 oz) flour
- 40g (1 1/2 oz) cocoa powder
- 1 teaspoon baking powder
- 1 teaspoon bicarbonate of soda
- 100g (3 1/2 oz) chocolate chips
Method:
- Pre-heat the oven to 160 degrees Celsius (320 degrees Fahrenheit) and prepare a greased loaf tin.
- Mash the bananas and vanilla essence together (you can do this in a food processor).
- If you have mashed the bananas in the food processor, put them into a separate bowl. Then add the butter and sugar, and blend well together. (There's no need to clean the bowl before adding the butter).
- Add the banana and eggs, and blend again.
- Add the flour, cocoa powder, baking powder and baking soda, and briefly blitz together.
- Add most of the chocolate chips - reserving a few for the top - and mix through with a spatula while pouring into the prepared loaf tin.
- Sprinkle the remaining chocolate chips on top, and bake for approximately 1 hour or until a skewer comes out clean.
- Cool in the tin, then transfer to a wire rack.
Q&A
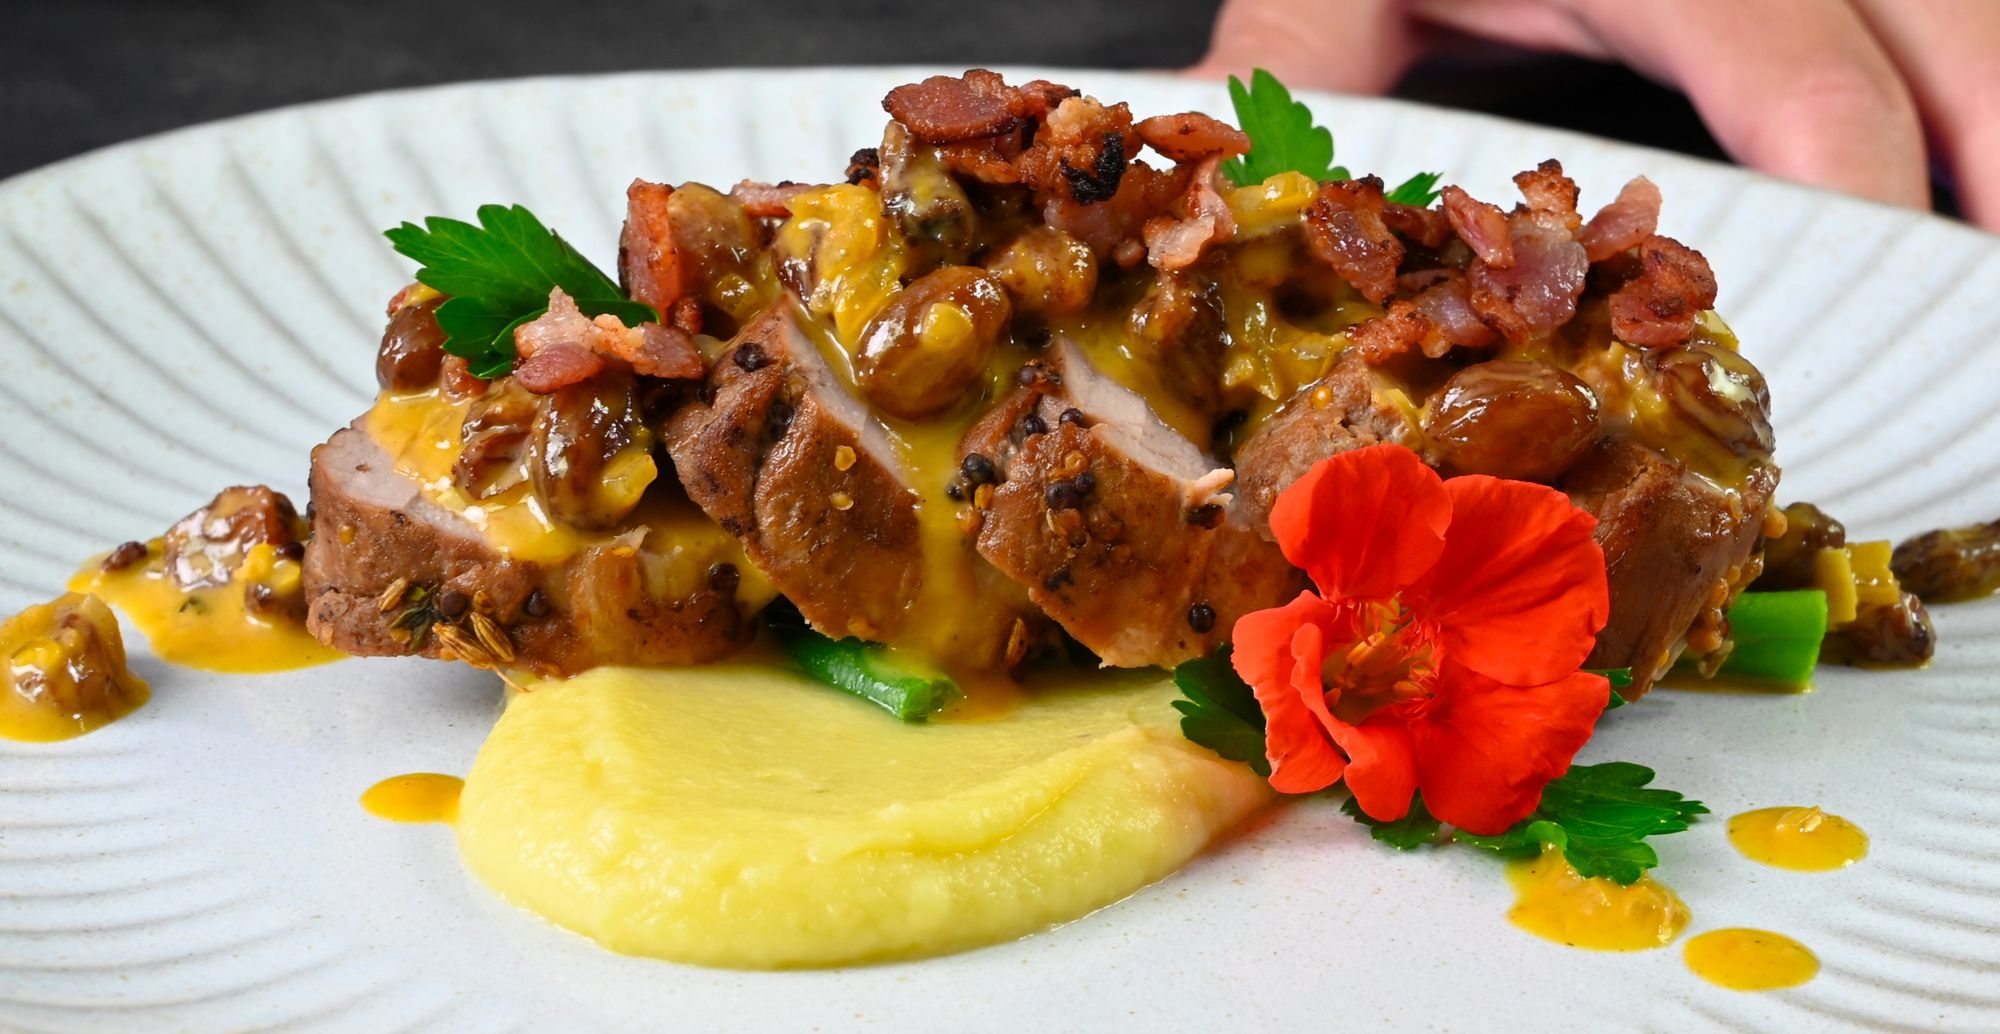
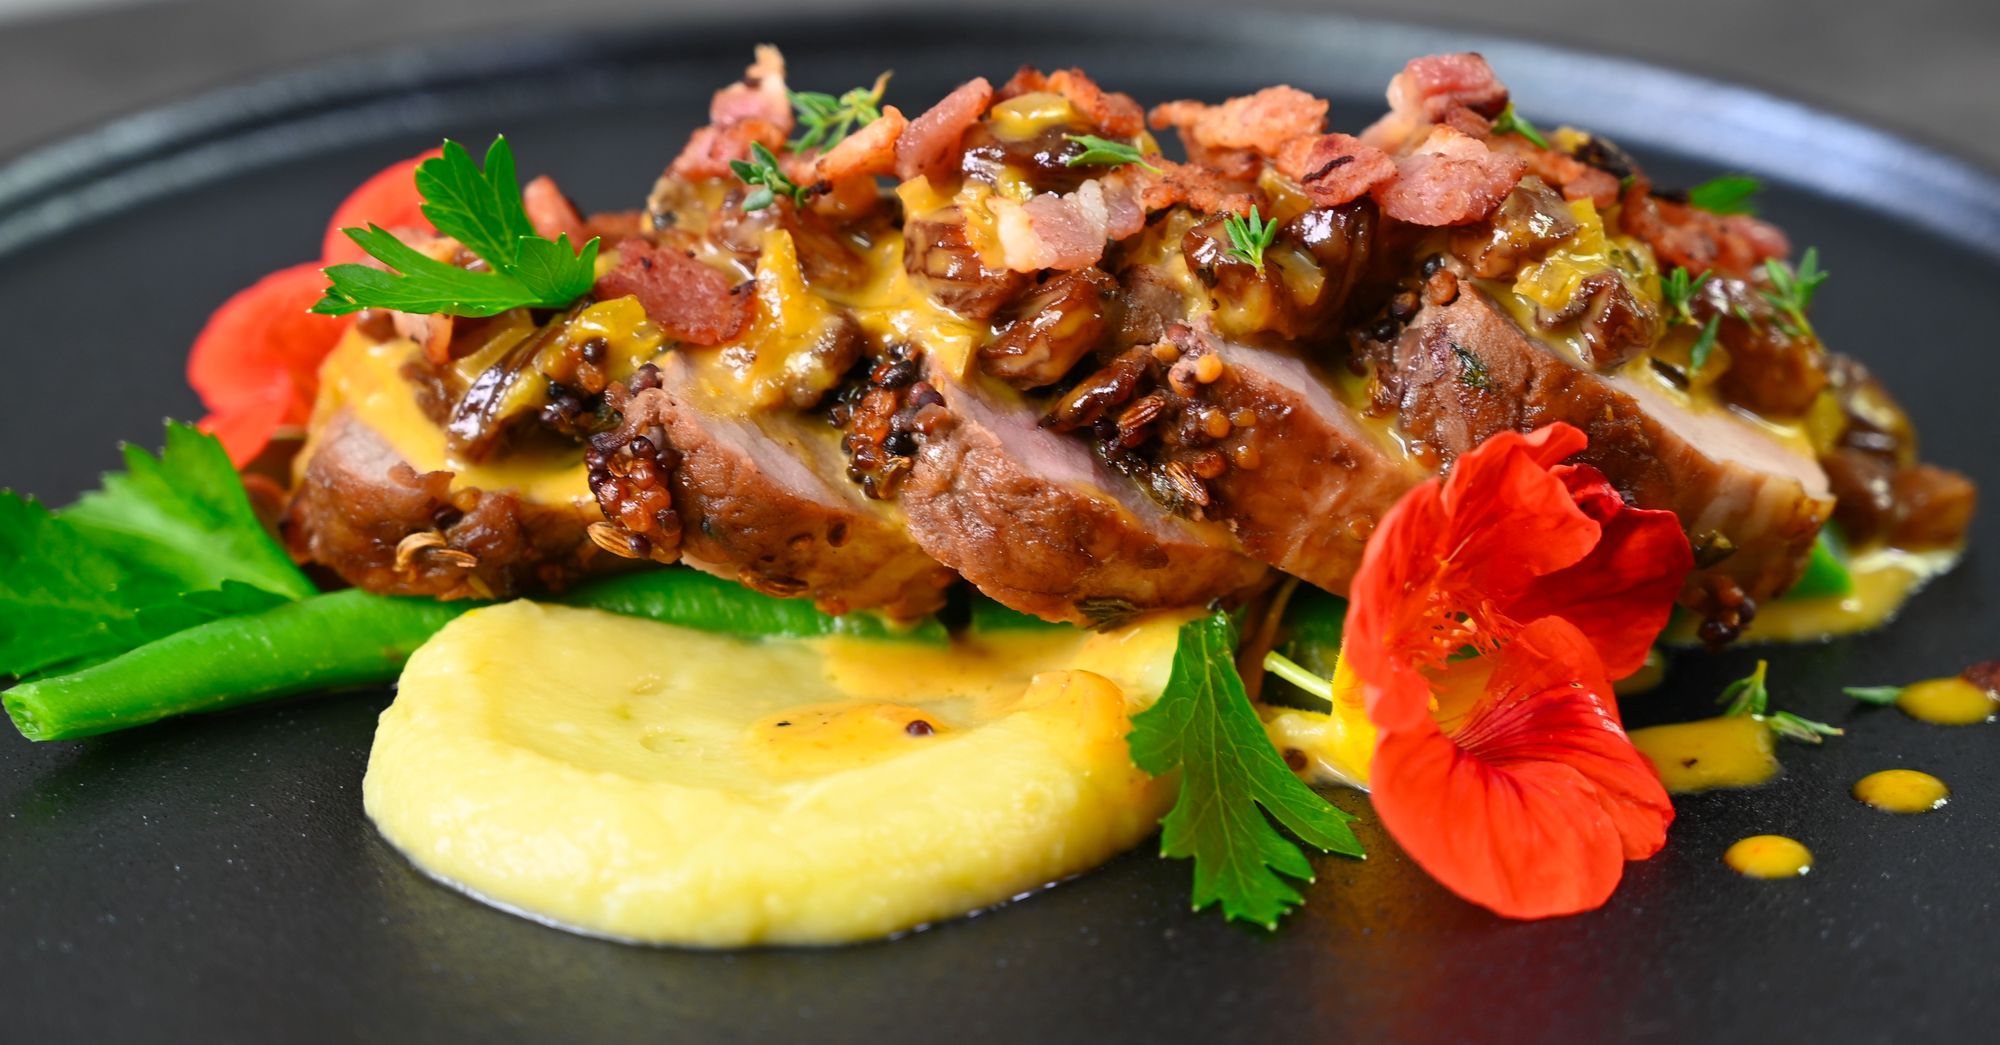
Pork fillet meal served on black and white plates.
Q: I need to replace my dinner plates, which colour do you think is best?
A: Choosing your plate colour is a matter of personal preference, however if you want to choose a colour that will complement your food there are a few things to consider before making your decision.
- White plates are usually the top choice because almost any colour food looks good on white. Your food can look more vibrant and appealing when served on a white plate.
- Black or darker coloured plates can create a pretty stark contrast. It can also alter a persons perception of the portion size making it look more generous.
- If you're wanting something a little more funky, blue plates can also be a good option. They're on the opposite side of the colour wheel to a lot of food colours so they can create a great contrast while still being complementary.
I hope you enjoy these photos of similar food on different coloured plates to help with your plate colour decisions.
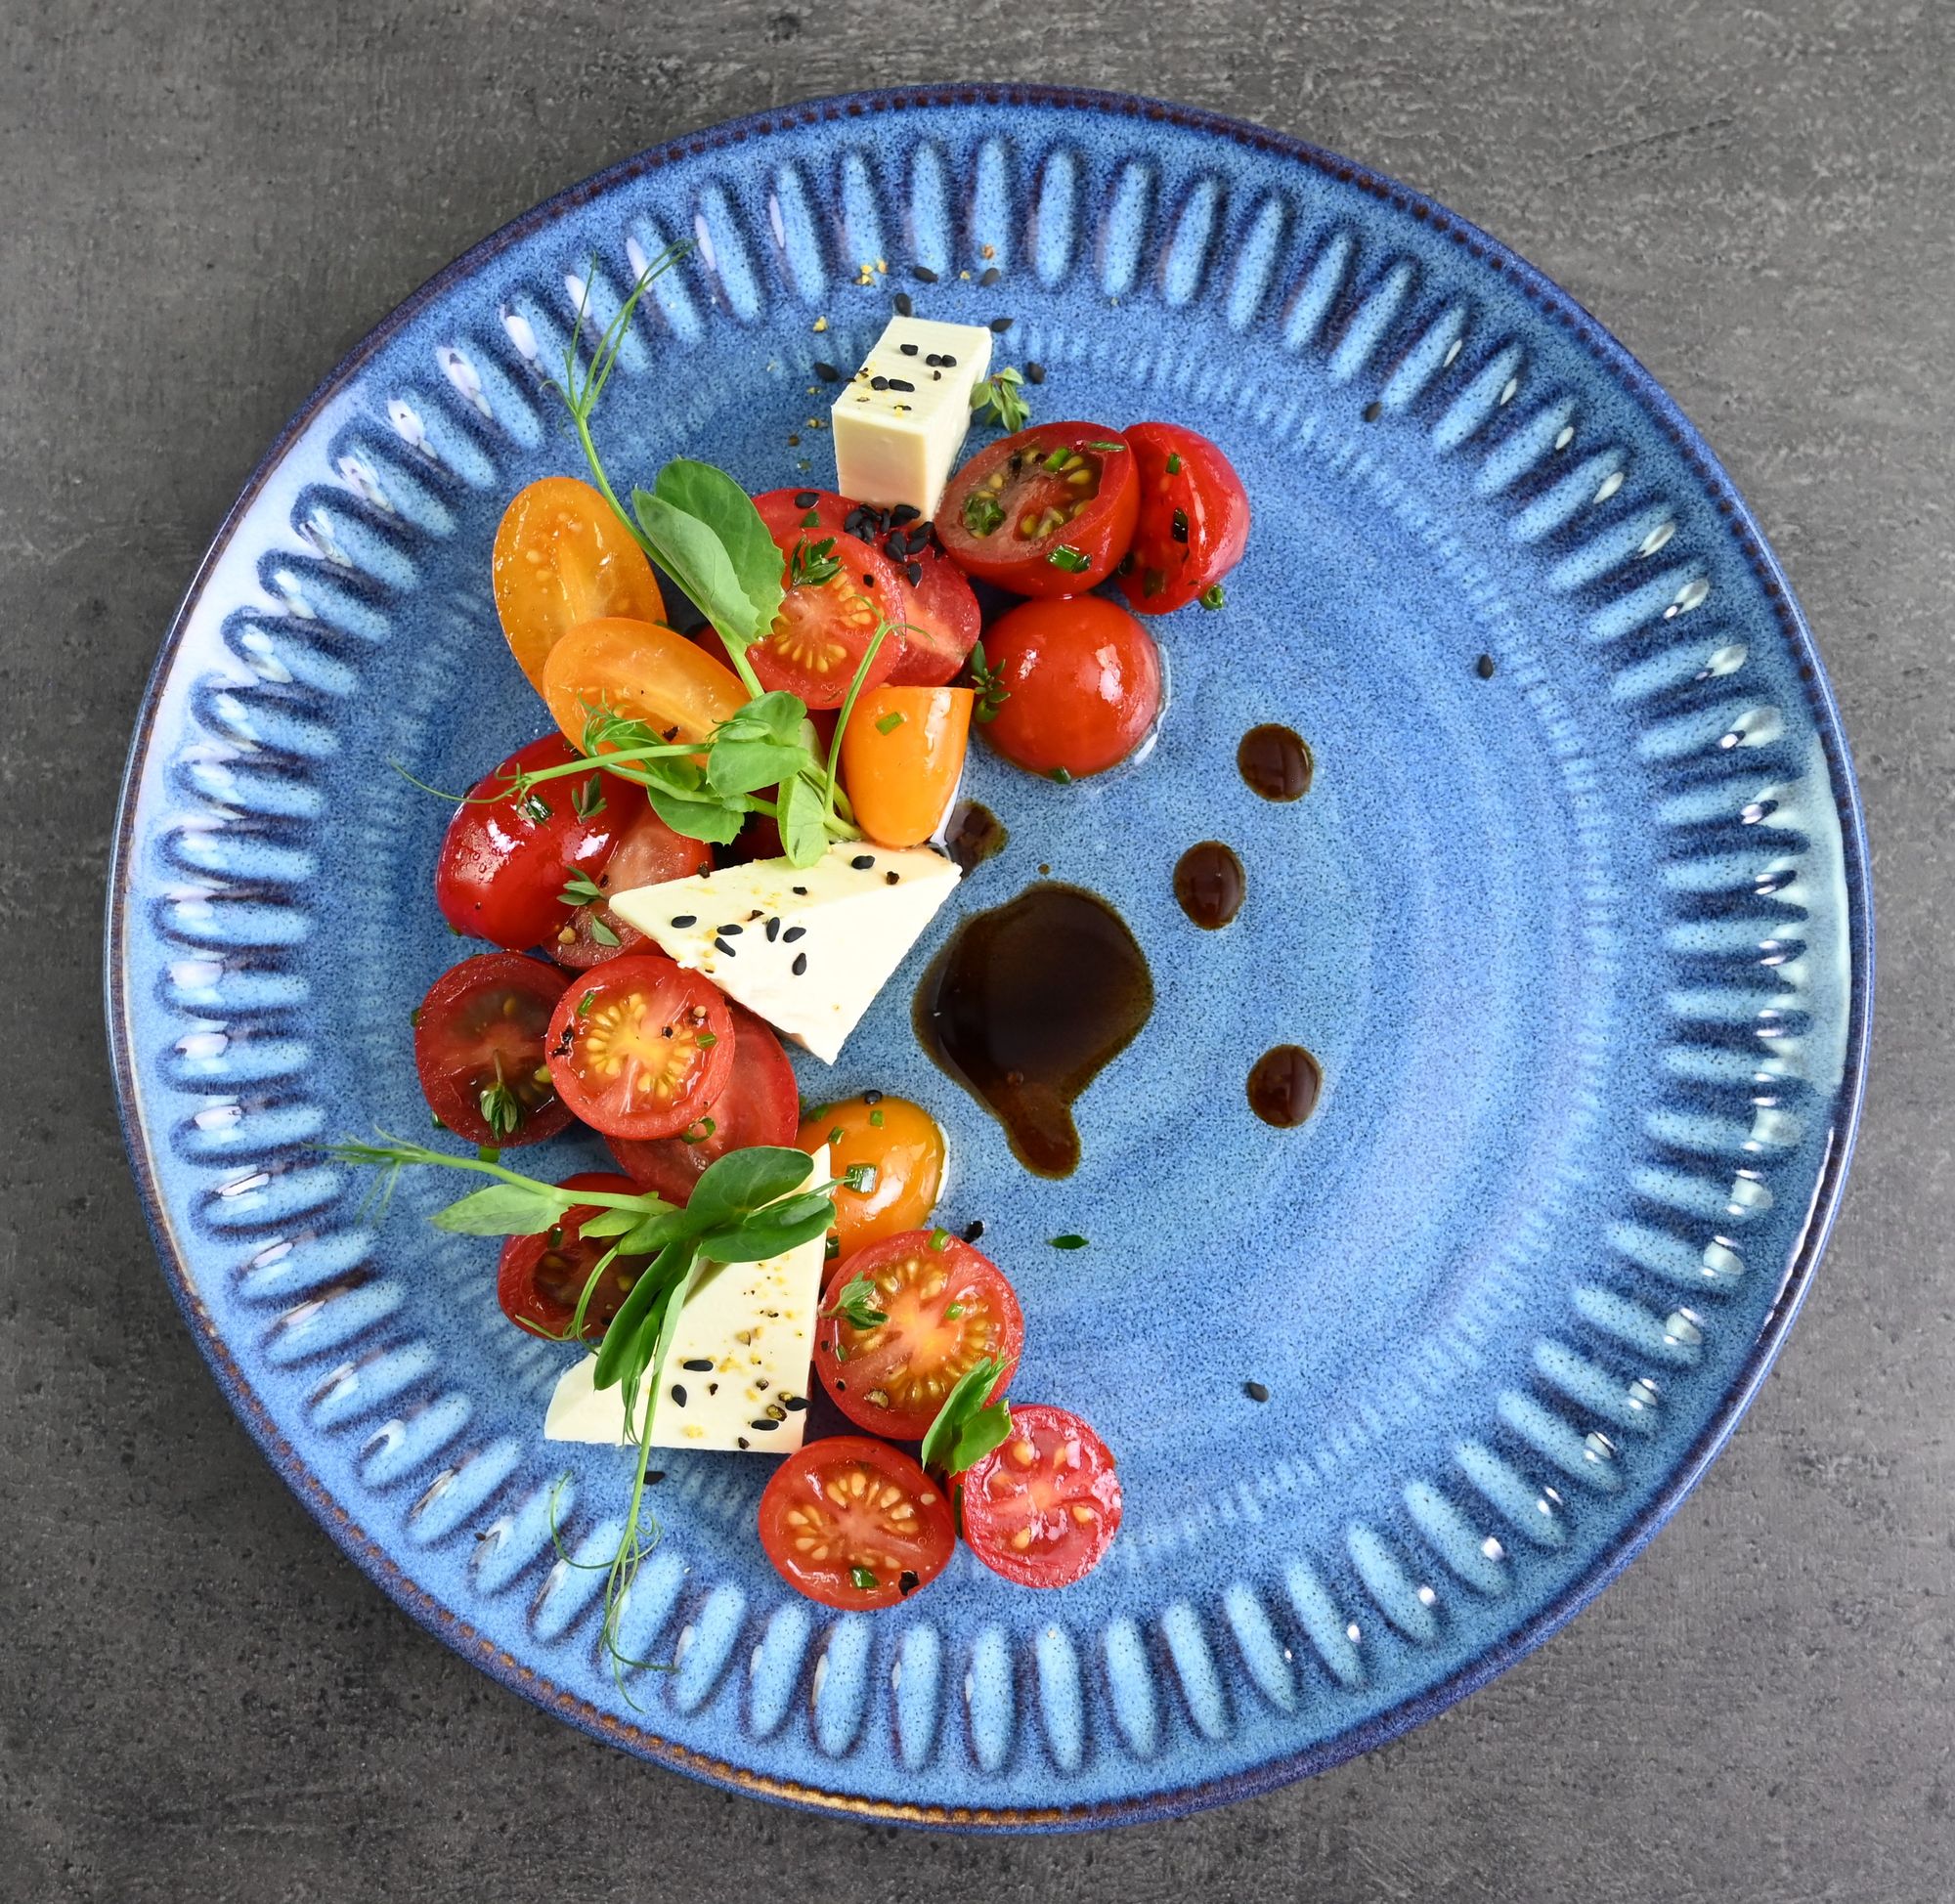
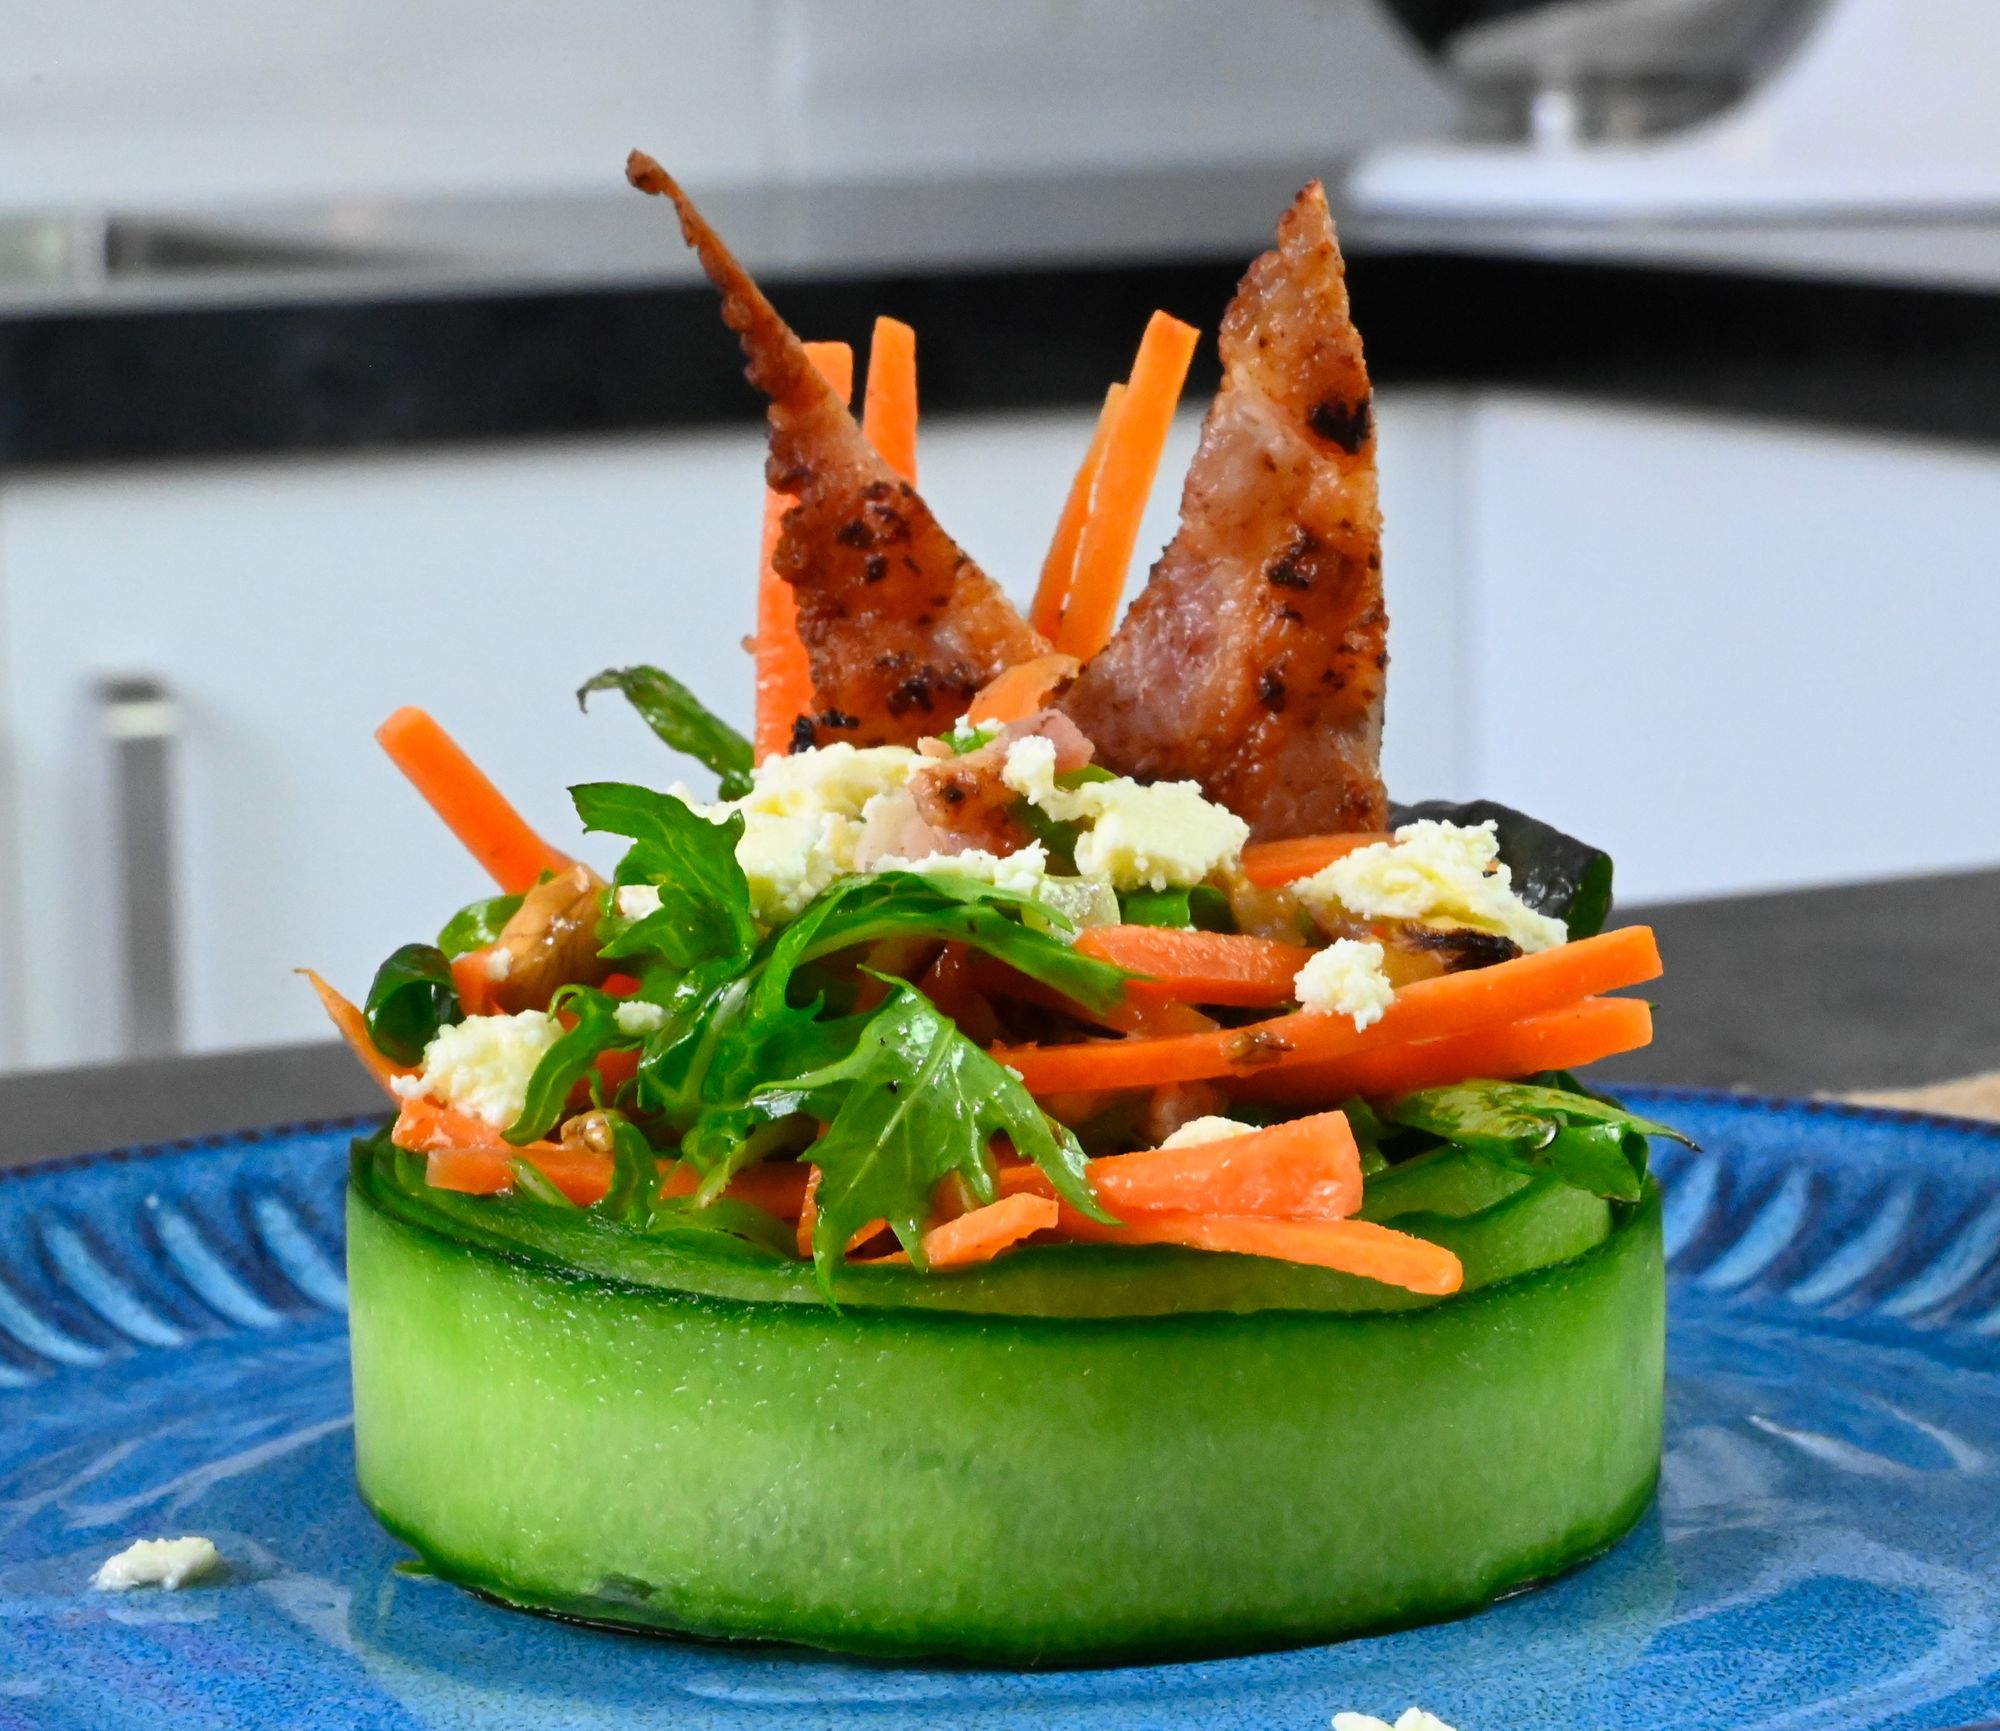
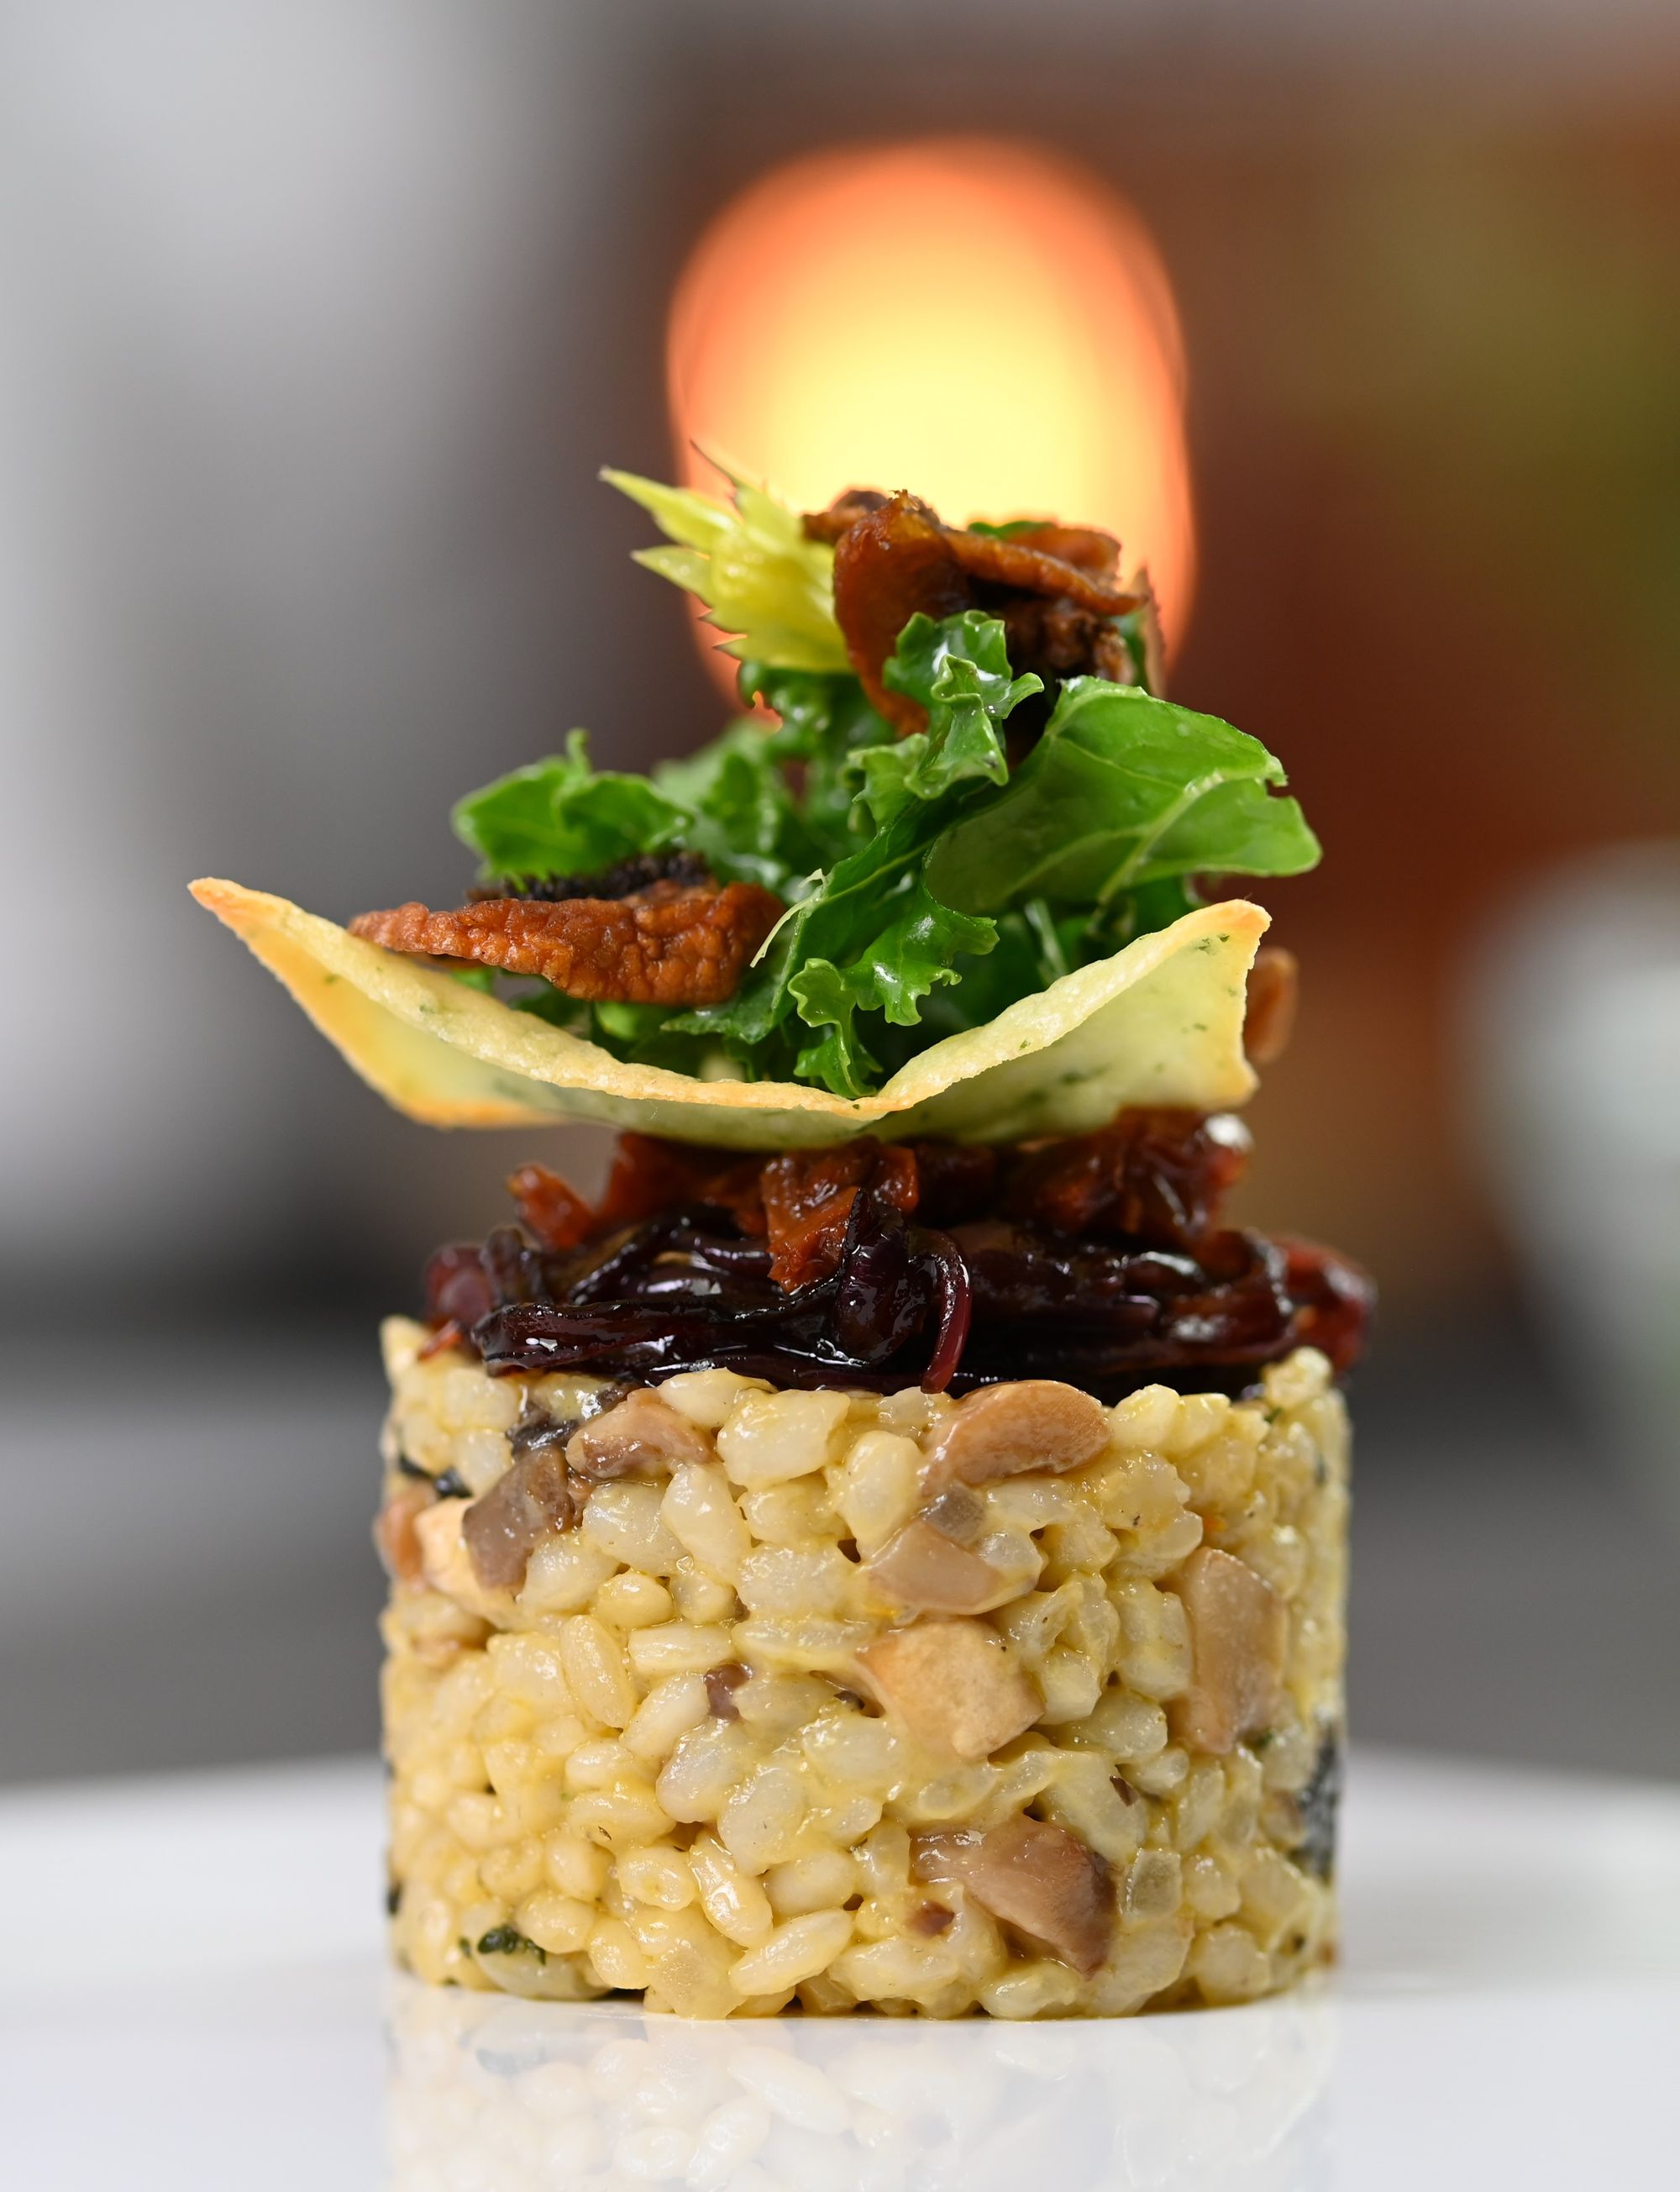
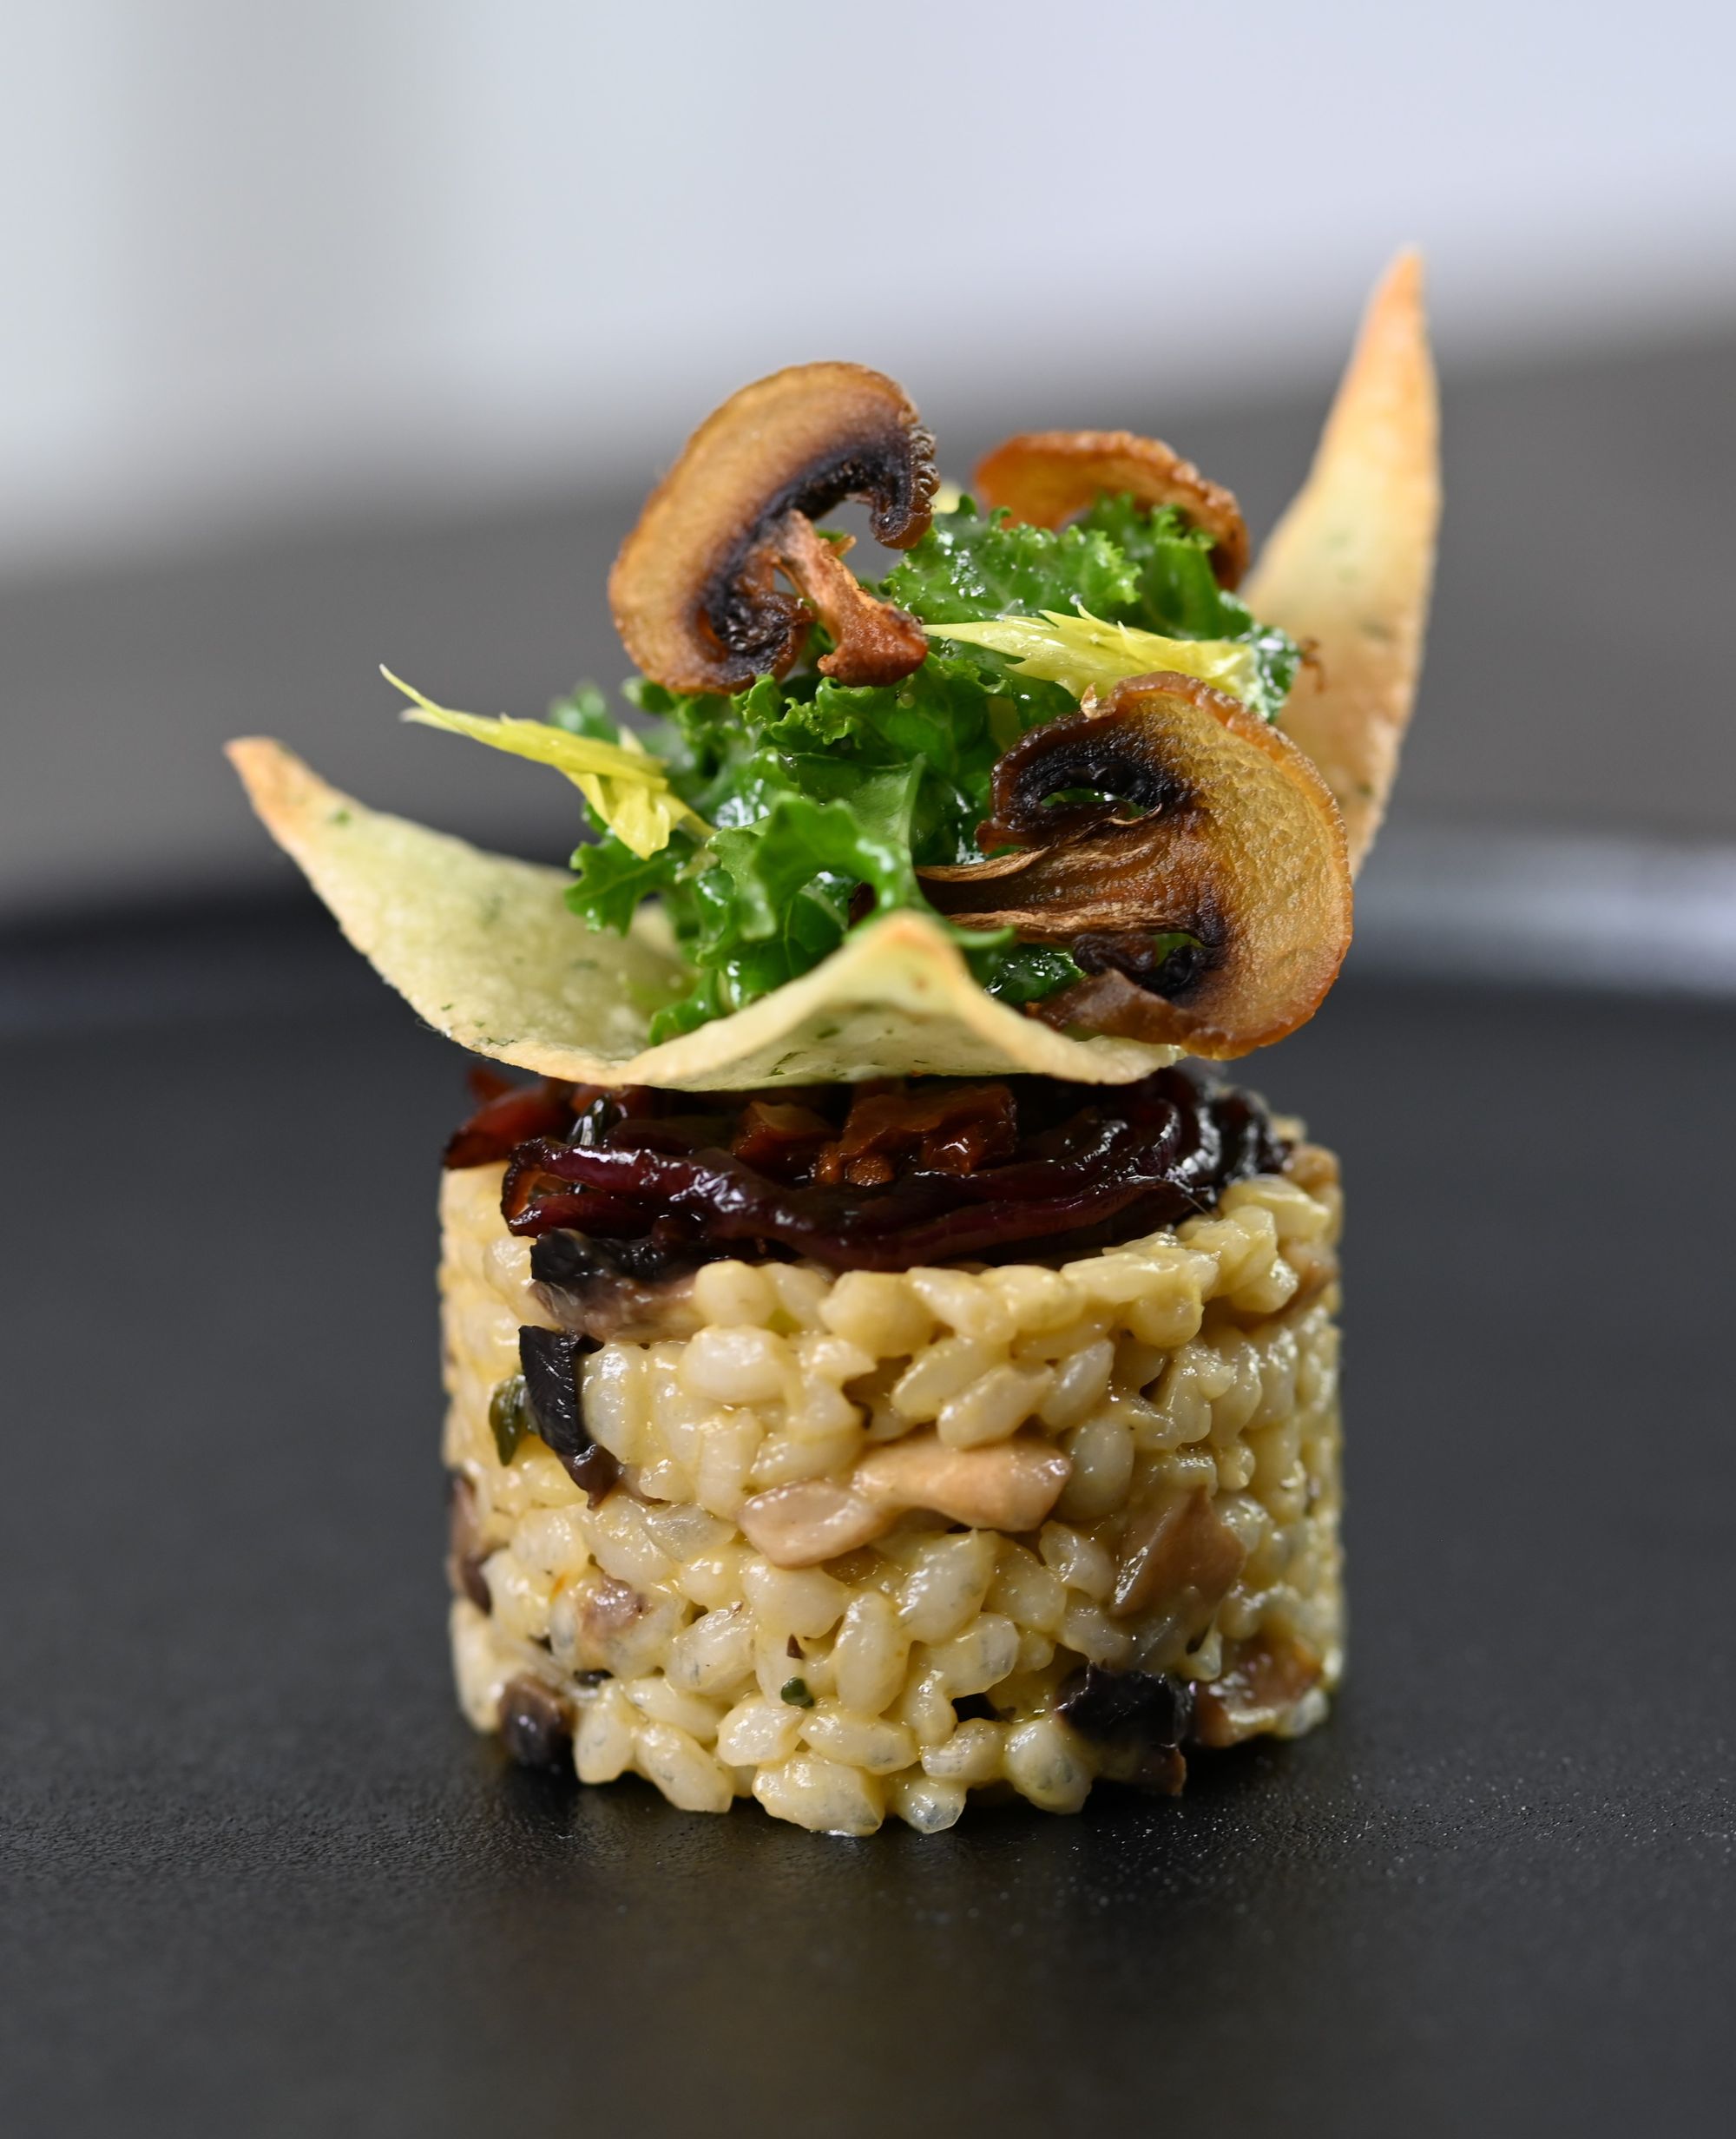
Examples of the same food on different plate colours.
Which ever look you prefer, I'm sure your food will still taste and look amazing!
Happy cooking,
Taryn



Member discussion